
K 2500 Truck 4WD V8-6.0L VIN U (1999)
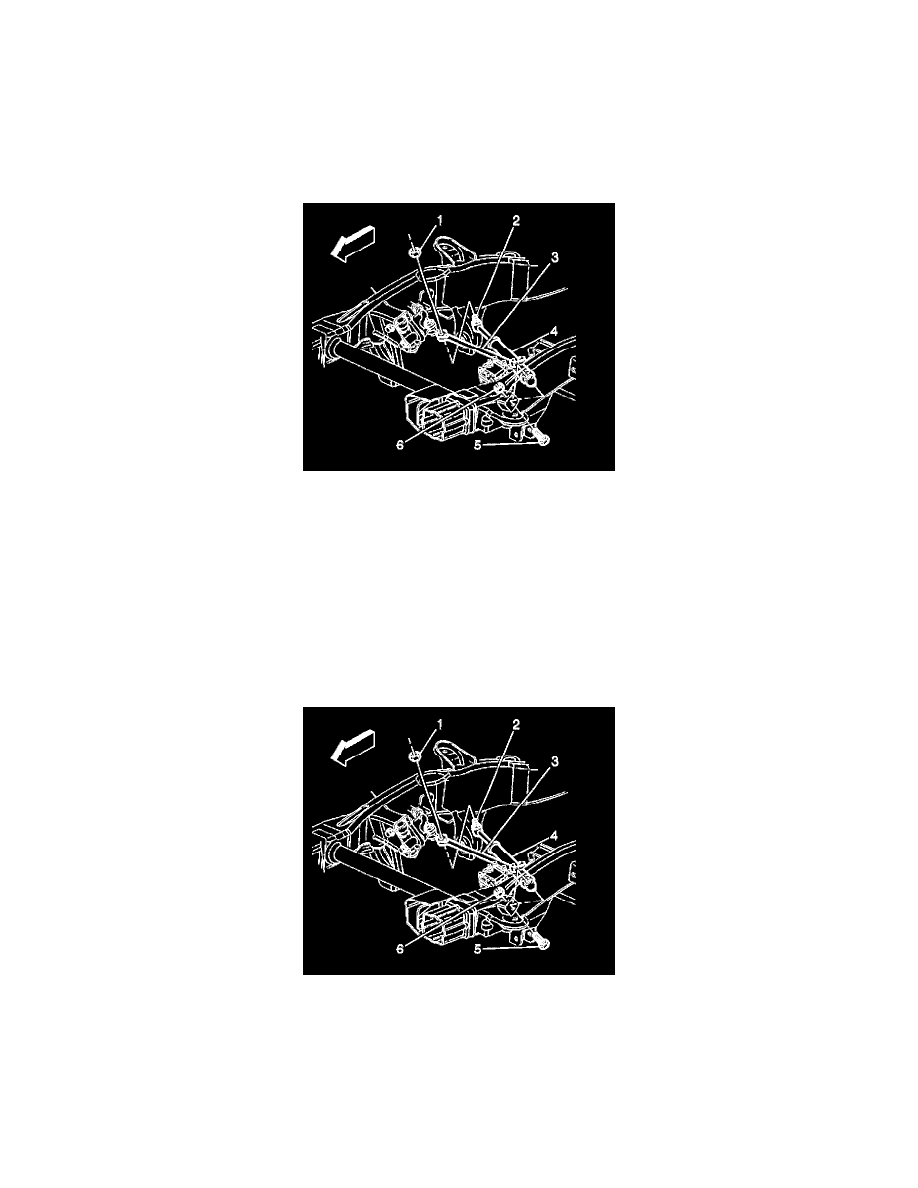
5. Remove the steering damper mounting bolt (5) and the nut (6).
Do not reuse the nut.
6. Remove the steering damper (4) from the vehicle.
7. Inspect the following parts:
-
The steering damper for leaks and damage
-
The mounting bolts and the nuts for damage or corrosion
INSTALLATION PROCEDURE
1. Install the steering damper (4).
2. Install the mounting bolt (5) and a new prevailing torque nut (6).
3. Install the steering damper ball stud (2) to the relay rod (3).
4. Install the J29193.
Tighten the steering linkage installer in order to seat the ball stud in the relay rod.
NOTICE: Refer to Fastener Notice in Service Precautions.
-
Tighten the steering linkage installer to 62 Nm (46 ft. lbs.).
5. Remove the J 29193.
6. Lower the vehicle.
7. Install the prevailing ball stud nut (1).
-
Tighten the mounting nut (6) to 40 Nm (30 ft. lbs.).
-
Tighten the ball stud nut (1) to 62 Nm (46 ft. lbs.).
8. Install the differential carrier shield.