
K 2500 Truck 4WD V8-6.0L VIN U (1999)
Shifter A/T: Service and Repair
Shift Lever Replacement - On Vehicle (With Tow/Haul Switch)
REMOVAL PROCEDURE
1. Disconnect the negative battery.
CAUTION: Refer to Battery Disconnect Caution in Service Precautions.
2. Disable the Supplemental Inflatable Restraint (SIR) system. Refer to Air Bag(s) Arming and Disarming.
3. Remove the 2 TORX head screws from the lower column cover.
4. Remove the lower column cover.
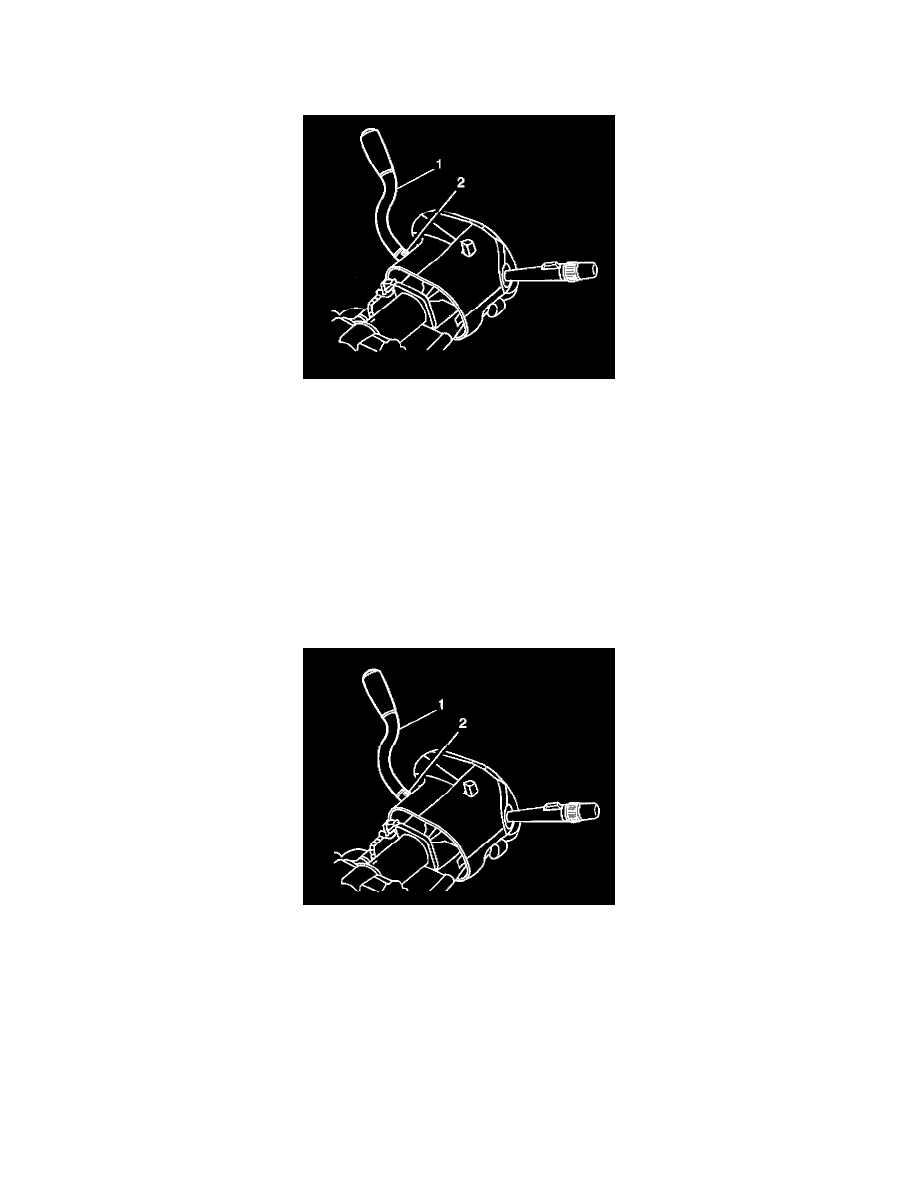
5. Roll back the seal on the shift lever (1) until the TORX head screw (2) is exposed.
6. Remove the TORX head screw (2).
7. Remove the shift lever wiring from the retainer clips.
8. Remove the wiring from the electrical connector.
9. Remove the shift lever (1).
INSTALLATION PROCEDURE
1. Install the shift lever.
2. Connect the wiring to the electrical connector.
3. Install the wiring on the retainer clips.
4. Install the TORX head screw.
NOTICE: Refer to Fastener Notice in Service Precautions.
^
Tighten the screw to 22 Nm (16 ft. lbs.).
5. Roll the seal over the TORX head screw.
6. Install the lower column cover.
7. Install the 2 TORX head screws to the lower column cover.