
K 2500 Truck 4WD V8-6.5L DSL Turbo VIN S (1998)
CAUTION: Refer to Battery Disconnect Caution in Service Precautions.
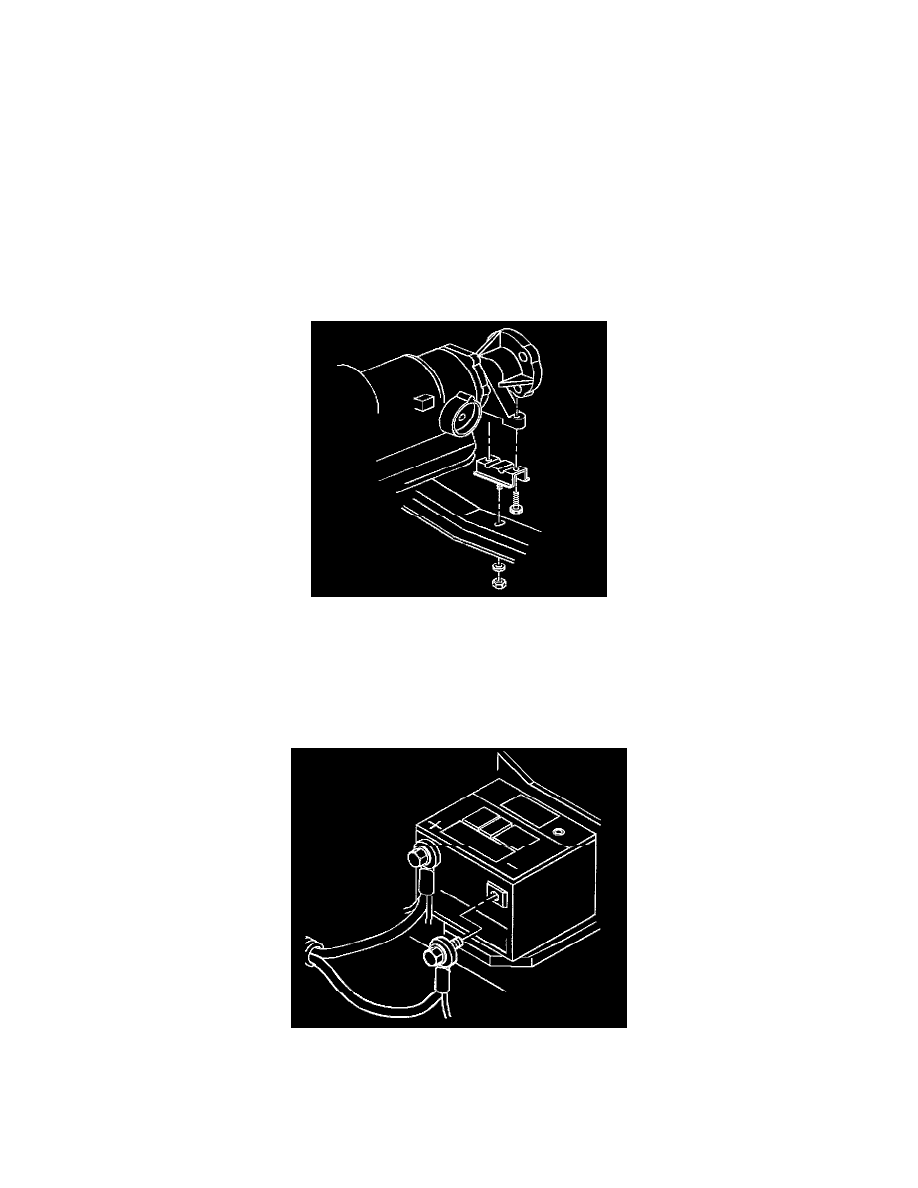
1. Disconnect the battery negative cable from the battery.
NOTICE: When raising or supporting the engine for any reason, do not use a jack under the oil pan, any sheet metal, or the crankshaft pulley.
Due to the small clearance between the oil pan and the oil pump screen, jacking against the oil pan may cause the pan to be bent against the pump
screen. This will result in a damaged oil pickup unit.
2. Support the rear of the engine to relieve the weight on the rear mounts.
3. Remove the bolts and washers from the rear engine mount.
4. Raise the rear of the engine only enough to permit removal of the mount.
5. Remove the mount.
INSTALLATION PROCEDURE
C-Models (Automatic Transmissions)
1. Install the mount.
2. Lower the rear of the engine.
NOTICE: Refer to Fastener Notice in Service Precautions.
3. Install the engine mount bolts and washers to the rear engine mount.
Tighten the bolts to 47 Nm (35 ft. lbs.).
4. Connect the negative battery cable.
C-Models (Manual Transmissions)