
K 2500 Truck 4WD V8-6.5L DSL Turbo VIN S (1998)
Front Crankshaft Seal: Service and Repair
REMOVAL PROCEDURE
1. Disconnect the battery negative cables from the batteries.
2. Remove the upper fan shroud from the radiator.
3. Remove the drive belt from the pulleys.
4. Raise the vehicle.
5. Remove the lower fan shroud from the radiator.
6. Remove the crankshaft balancer from the crankshaft.
IMPORTANT: Use care as not to damage the engine front cover, or the crankshaft when removing this seal.
7. Remove the crankshaft front cover oil seal from the engine front cover.
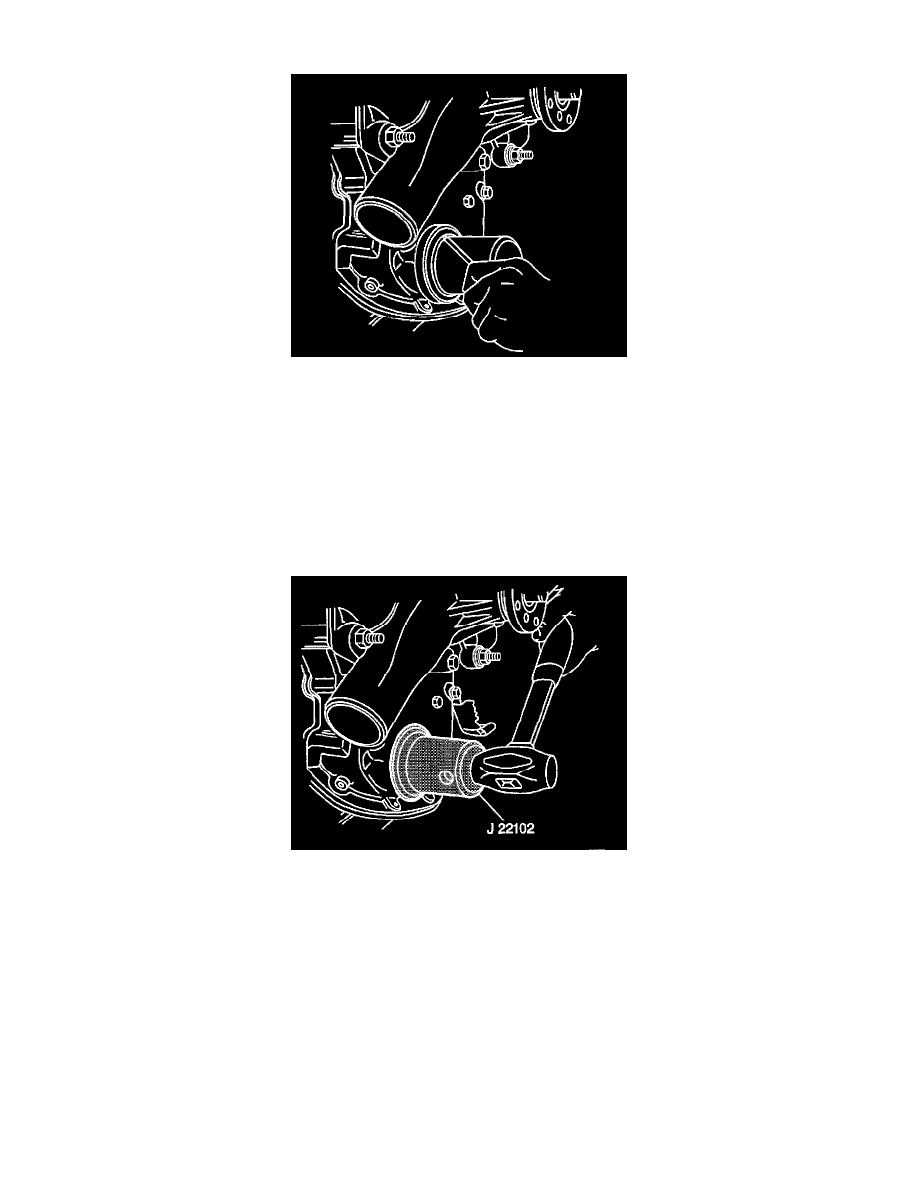
INSTALLATION PROCEDURE
^
Tools Required
-
J 22102 Seal installer
1. Apply a small amount of clean engine oil to the sealing surface of the crankshaft balancer.
2. Apply a small amount of clean engine oil to the inner sealing surface of the oil seal.
3. Use the Install New Engine Front Cover Oil Seal to install the crankshaft front cover oil seal.
4. Install the crankshaft balancer to the crankshaft.
5. Install the lower fan shroud to the radiator.
6. Lower the vehicle.
7. Install the upper fan shroud to the radiator.
8. Install the drive belt to the pulleys.
9. Connect the battery negative cables to the batteries.