
K 2500 Truck 4WD V8-6.5L DSL Turbo VIN S (1998)
Torque Converter Clutch: Service and Repair
REMOVAL PROCEDURE
1. Disconnect the battery negative cable assembly from the battery negative terminal.
CAUTION: Refer to Battery Disconnect Caution in Service Precautions.
2. Raise the vehicle. Refer to Vehicle Lift Points.
3. Support the vehicle with safety stands.
4. Remove the transmission oil pan and the transmission oil filter. Refer to AT Fluid/Filter Changing
5. Remove the wiring harness (if needed)
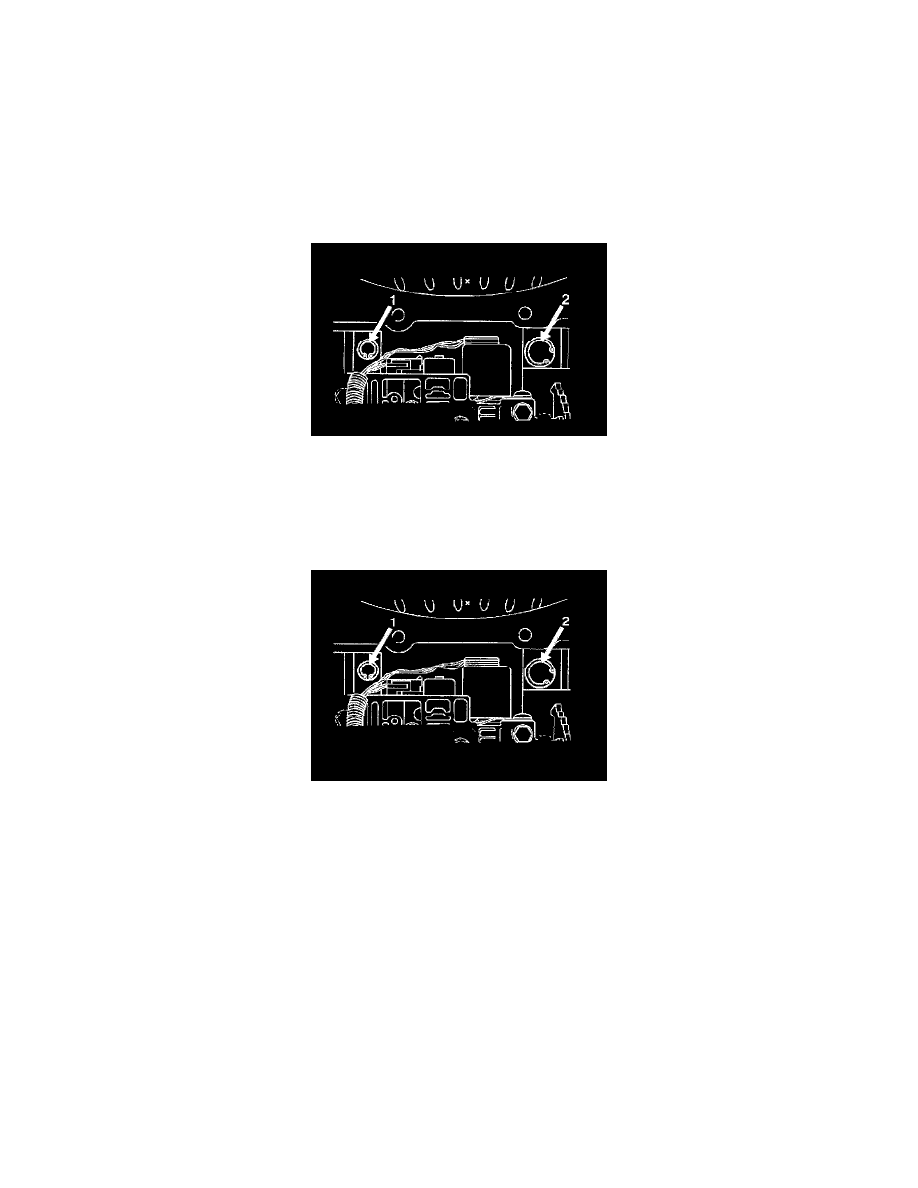
6. Remove the valve bore plug retainer ring.
7. Remove the following parts: (Refer to Pressure Regulator Valve and TCC Valve.)
7.1.
The valve bore plug
7.2.
The TCC valve
7.3.
The TCC valve spring
INSTALLATION PROCEDURE
1. Install the following parts: Refer to Pressure Regulator Valve and TCC Valve
1.1.
The TCC valve spring
1.2.
The TCC valve
1.3.
The valve bore plug
2. Install the valve bore plug retainer ring.
3. Install the wiring harness, if removed
4. Install the transmission oil pan and the transmission oil filter. Refer to AT Fluid/Filter Changing
5. Remove the safety stands.
6. Lower the vehicle.
7. Connect the battery negative cable assembly to the battery negative terminal.
-
Tighten the terminal bolt to 15 Nm (11 ft. lbs.).