
K 2500 Truck 4WD V8-6.5L DSL Turbo VIN S (1998)
2. Drill out the rivets in order to remove the inside door handle bracket from door.
Installation Procedure
1. Using the J 34940, install with rivets the inside door handle bracket to the door.
2. Install the inside door handle assembly.
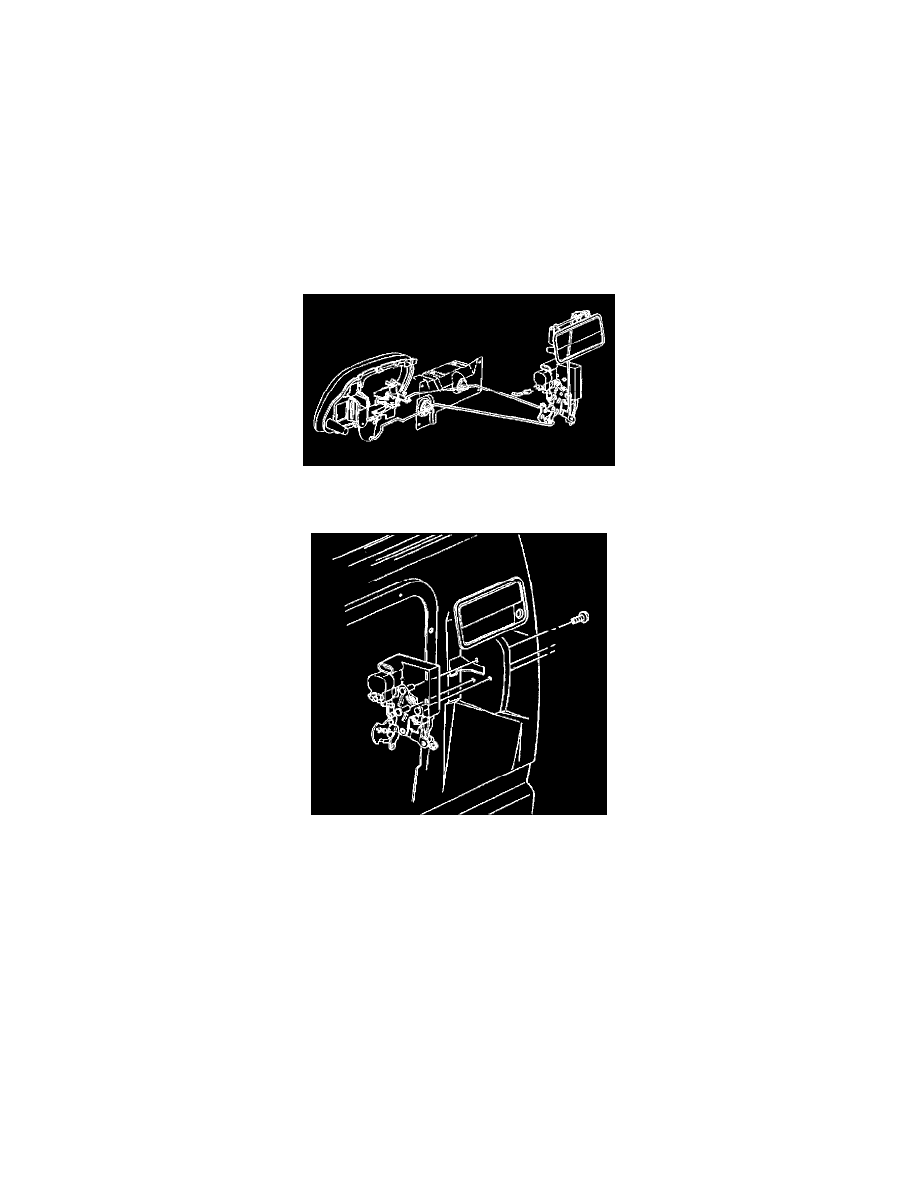
Lock Replacement
Removal Procedure
1. Remove the trim panel.
2. Remove the water deflector.
3. Remove the inner mounting panel assembly.
4. Remove the inside door handle and lock control rods.
5. Remove the lock assembly bolts.
6. Remove the outside door handle and lock control rods.
7. Replace the plastic retainers following disassembly.
Installation Procedure
1. Pull out the outside handle from the door opening. Slide the latch outside door connector onto the outside handle rod.
2. Twist the latch into the door assembly.
3. Retain the latch with the 3 screws.
4. Connect the inside handle rod to the latch. The inside handle rod is the top rod.
5. Connect the inside lock rod to the latch. The inside lock rod is the bottom rod.
6. Insert the key in the lock cylinder.
7. Adjust up and down the rod by turning the key through the opening.
8. Install the inner mounting panel assembly.
9. Install the water deflector.
10. Install the trim panel.
Lock Cylinder