
K 2500 Truck 4WD V8-8.1L VIN G (2001)
35. Remove the 3rd ball valve bushing (4) and 3rd ball valve bushing seal (3).
36. Remove the 3-4 shift valve (2).
37. Remove the 3-4 shift valve spring (1).
Control Valve Body Assemble
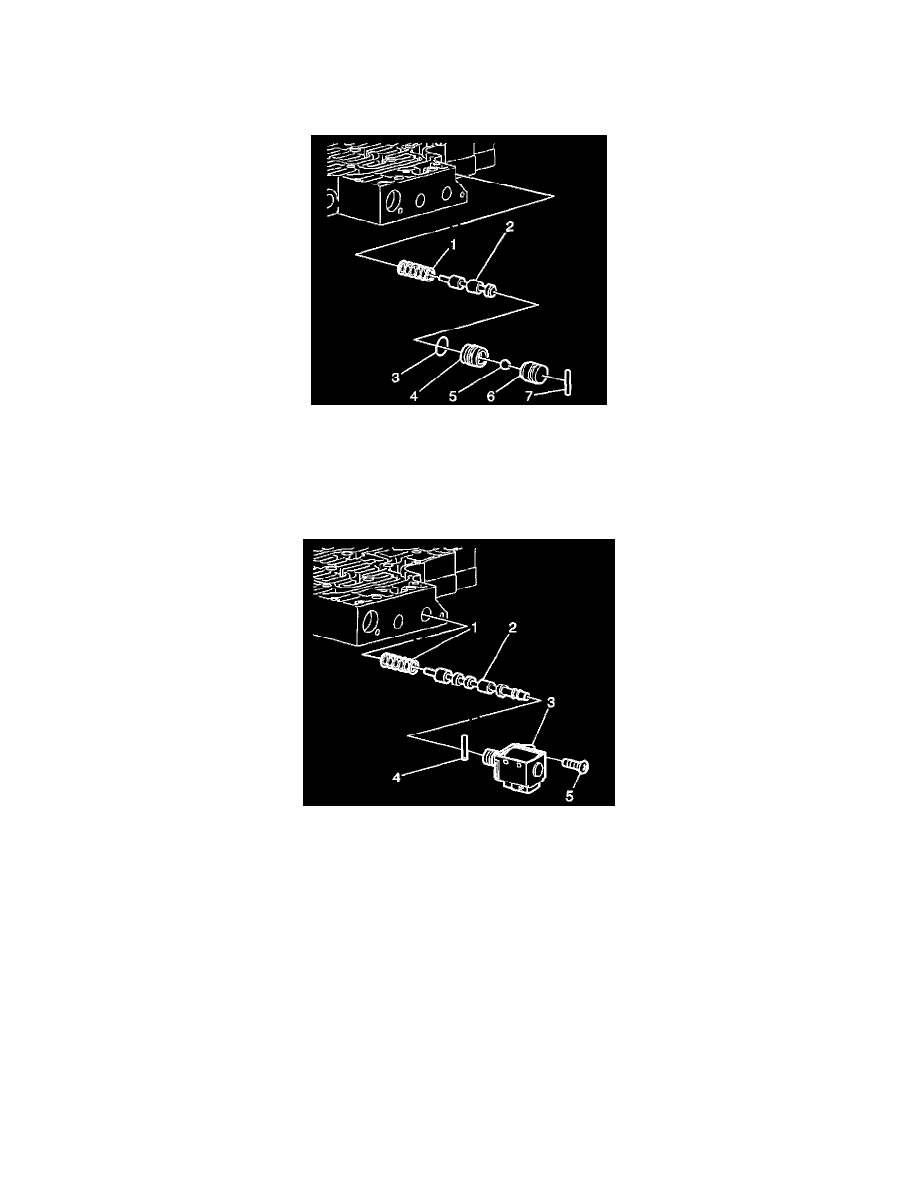
1. Install the 3-4 shift valve spring (1).
2. Install the 3-4 shift valve (2).
3. Install the 3rd ball valve bushing (4) and 3rd ball valve bushing seal (3).
4. Install the 3rd -reverse ball valve (5).
5. Install the reverse ball valve bushing (6).
6. Install the 3rd -reverse ball valve seat pin (7).
7. Install the 2-3 shift valve spring (1).
8. Install the 2-3 shift valve (2).
9. Install the 2-3 shift valve pin (4).
10. Install the 2-3 shift solenoid valve (3).
Notice: Refer to Fastener Notice in Service Precautions
11. Install the 2-3 shift solenoid valve bolt (5).
^
Tighten the bolt to 8 Nm (71 inch lbs.).