
K 2500 Truck 4WD V8-8.1L VIN G (2001)
*
Inspect the condition of the windshield opening and the adhesive bead to determine which installation method should be used.
*
Remove no more of the urethane adhesive from the pinchweld than necessary in order to maintain the original shape. This will ensure the
proper clearance between the windshield and the pinchweld flange.
*
Remove all traces of broken glass from the outer cowl panel, seats, floor and defroster ducts.
*
Clean around the edge of the inside surface of the windshield with a 50/50 mixture of isopropyl alcohol and water by volume on a dampened
lint free cloth.
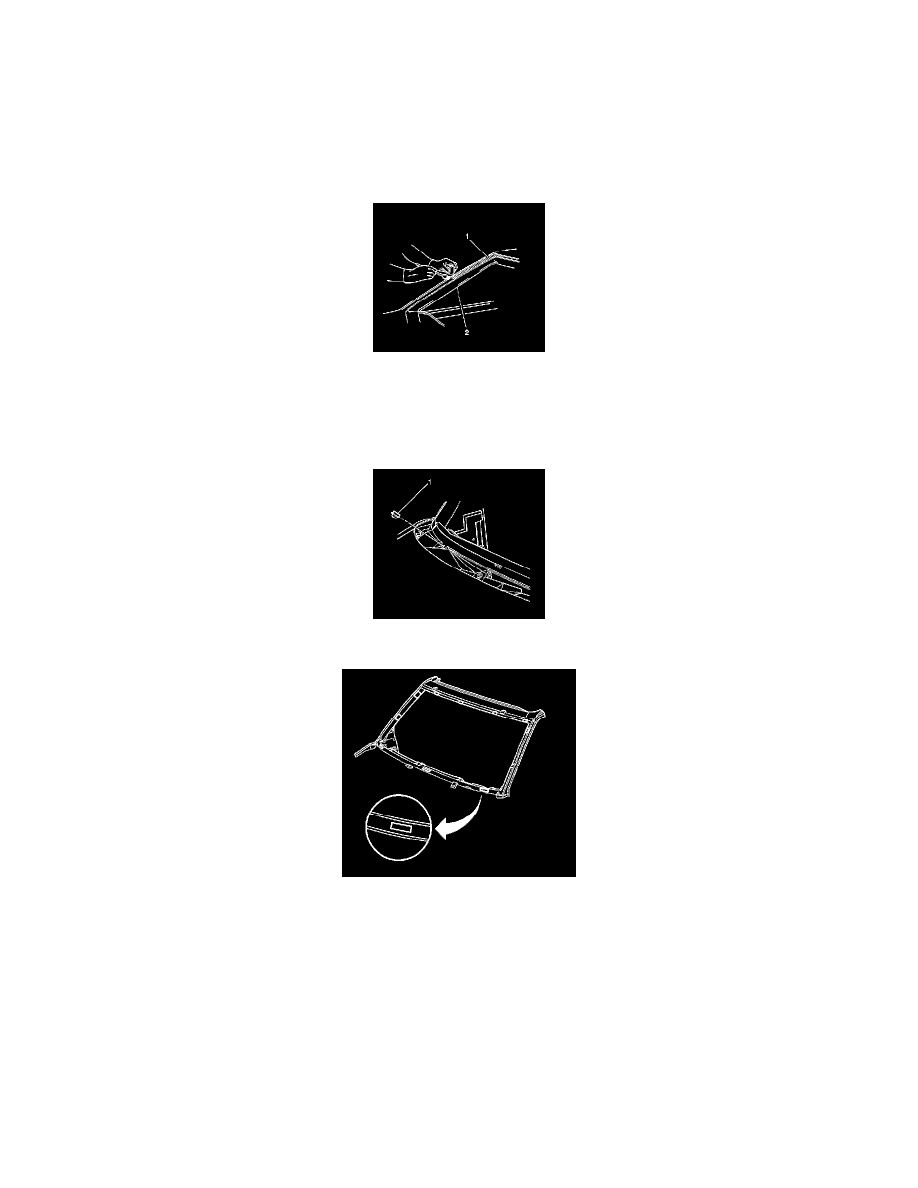
5. After repairing the opening as indicated, shake the pinchweld primer (black #3) for at least 1 minute.
Caution: Failure to prep the area prior to the application of primer may cause insufficient bonding of urethane adhesive. Insufficient
bonding of urethane adhesive may allow unrestrained occupants to be ejected from the vehicle resulting in personal injury.
6. Use a new dauber to apply the pinchweld primer (black #3) to the surface (1) of the bonding area on the body only.
7. Allow the primer to dry for approximately 10 minutes. Ensure that all nicks and scratches are covered.
8. Install the lower windshield supports (1) to the cowl panel, if equipped.
9. If using extended method, install the spacers and the VIN plate filler strip.