
K 2500 Yukon 4WD V8-6.0L VIN U (2000)
14.
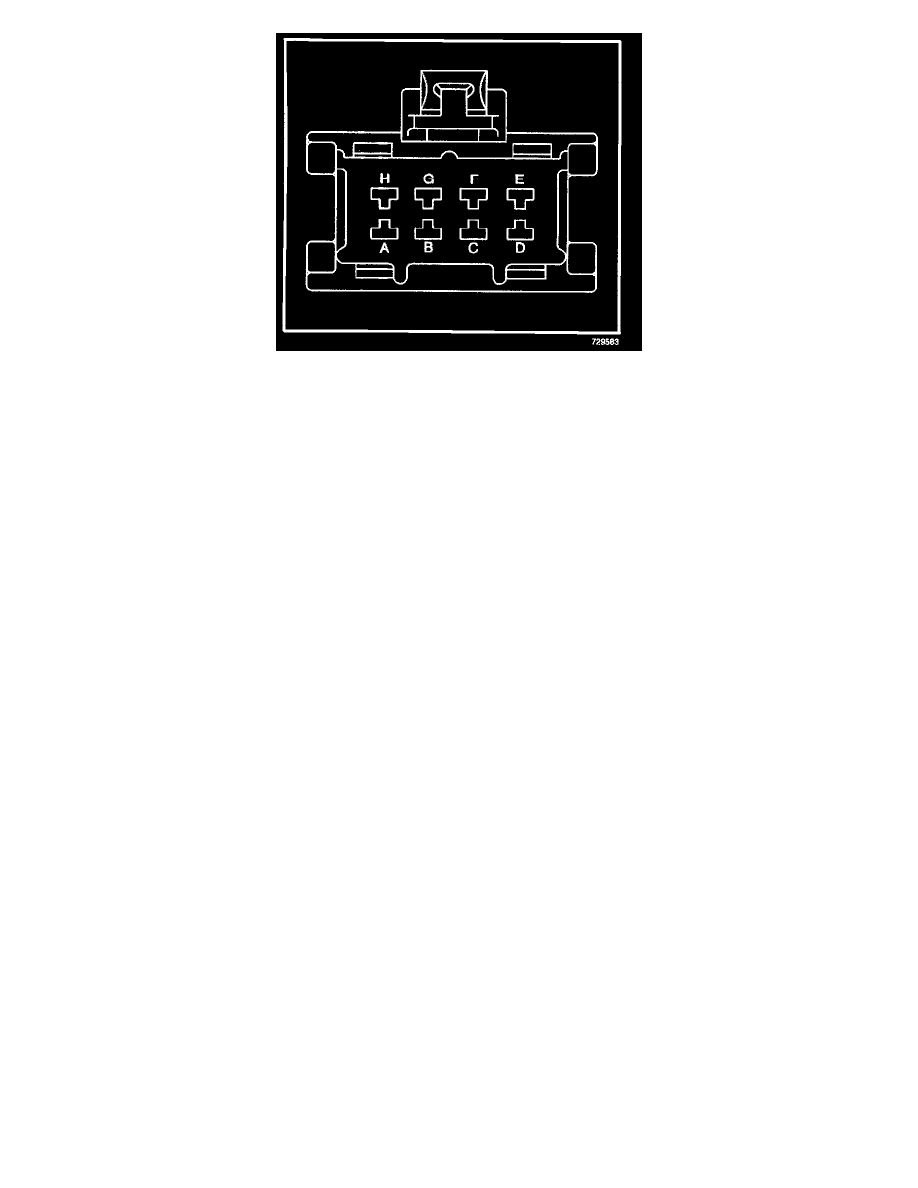
Locate and remove the terminal in cavity F of the amplifier connector.
15.
Cut off the terminal and secure the remaining wire to the harness with tape.
16.
Using the repair harness made earlier (steps 1-7),replace the circuits that were removed from the system.
^
Install the terminal, P/N 12129424, with the two wires into cavity A10 of the RH IP BEC.
^
Route the wires along the IP harness to the radio and amplifier (the shorter of the two wires should go to the amplifier).
^
Install the terminal, P/N 12129424, and the wire into cavity F of the amplifier connector.
^
Install the remaining terminal, P/N 12089649 and wire into cavity of the radio connector.
17.
Carefully secure the wires to the IP harness with tape, ensuring proper routing and clearance from sharp objects or pinch points.
18.
Replace the radio if the part number for the existing radio is one of the following P/Ns:15757508, 15757509, or 9383075. Replace the radio with
one of the following radio P/Ns respectively: 15764356, 15764357, or 15764358.
19.
Connect the electrical connector to the amplifier.
20.
Install the IP storage compartment.
21
Connect the radio electrical connectors and install the radio.
22.
Install the IP cluster bezel.
Radio Replacement
Replace the radio if the part number for the existing radio is one of the following P/NS: 15757508, 15757509, or 9383075. Replace the radio with one of
the following radio P/Ns respectively: 15764356, 15764357, or 15764358. Refer to the Radio Replacement procedure in the Entertainment subsection of
the 2000 C/K Service Manual.