
K 2500 Yukon 4WD V8-6.0L VIN U (2000)
Brake Rotor/Disc: Service and Repair
Brake Rotor Replacement
Brake Rotor Replacement-Front
Removal Procedure
1. Remove 2/3 of the brake fluid from the master cylinder.
2. Raise and support the vehicle. Refer to Vehicle Lifting.
3. Remove the tire and wheel assembly. Refer to Tire and Wheel Removal and Installation in Wheels, Tires and Alignment.
4. Remove the caliper and mounting bracket as an assembly. Refer to Brake Pads Replacement - Front.
5. Hang the caliper and the mounting bracket assembly from the suspension using heavy gauge wire.
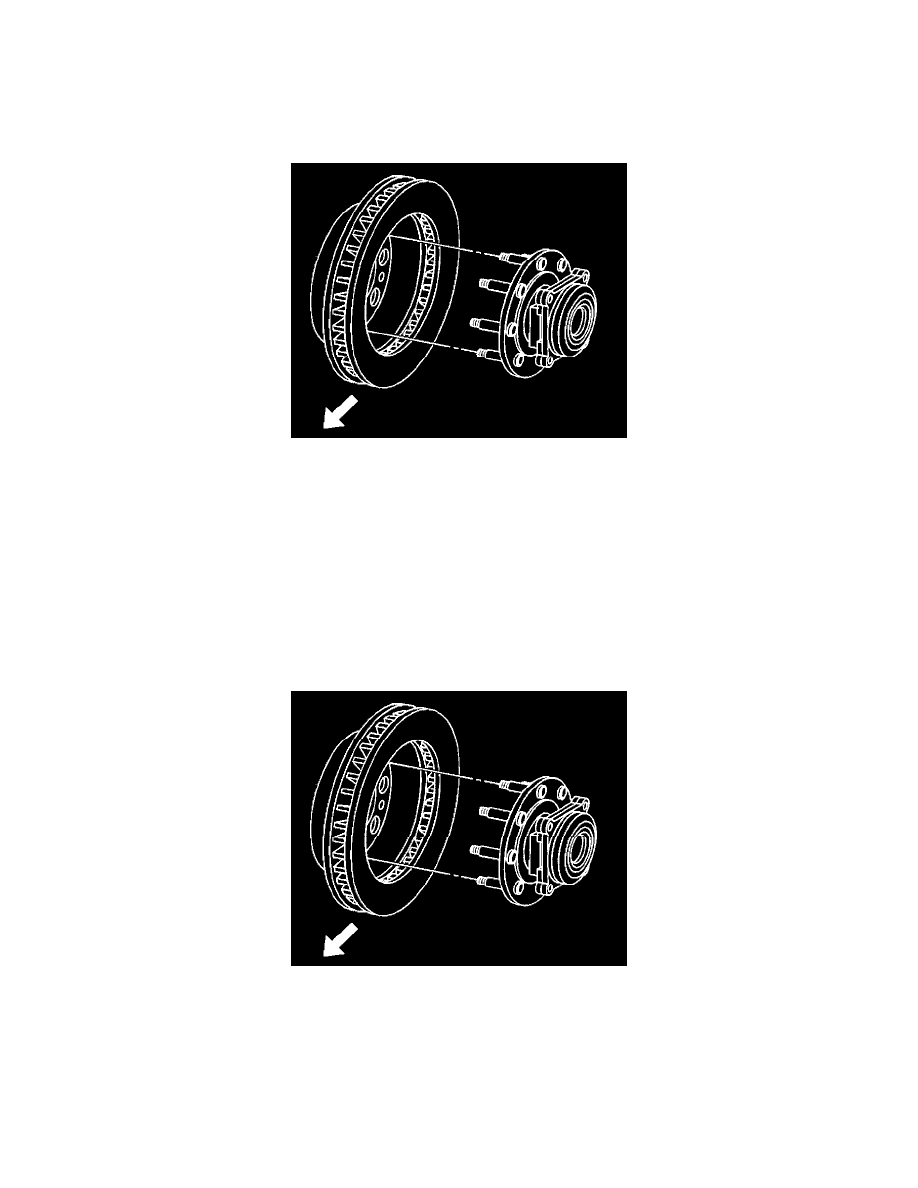
6. Remove the rotor.
7. If the rotor is difficult to remove due to corrosion in the hub area use the following procedure to remove the rotor (25 series only).
^
Clean all the surface areas and the threaded holes of contamination.
^
Generously apply penetrating oil or the equivalent to the hub/rotor area.
^
Insert (2) M10 x 1.5 bolts (jack screws) into the threaded holes of the rotor.
^
Tighten both bolts evenly to force the rotor from the hub.
Installation Procedure
1. Clean all rust and contaminants from the both side of the rotor and the hub flange.
Important: If the rotor was removed using the jack screw method you must ensure that the hub flange is free of nicks or marks caused by this
procedure. Remove all raised nicks or marks before installing the rotor.
2. Install the rotor.
3. Install the caliper and the mounting bracket as an assembly. Refer to Brake Pads Replacement - Front.
4. Install the tire and wheel assembly. Refer to Tire and Wheel Removal and Installation in Wheels, Tires and Alignment.
5. Remove the safety stands.