
K 2500 Yukon 4WD V8-6.0L VIN U (2000)
1. Apply a 5 mm (0.20 inch) bead of sealant GM P/N 12378190 or equivalent 20 mm (0.8 inch) long to the engine block.
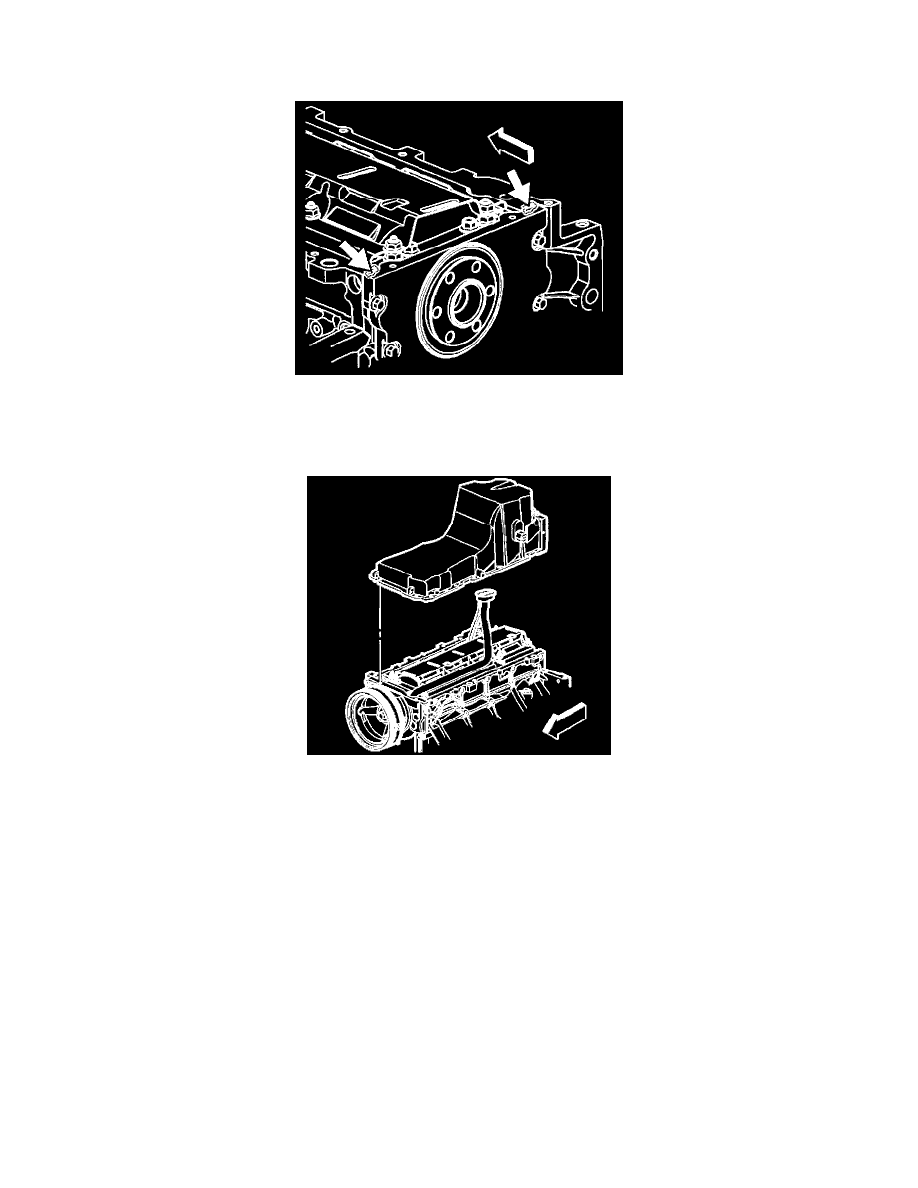
2. Apply the sealant directly onto the tabs of the front cover gasket that protrudes into the oil pan surface.
3. Apply a 5 mm (0.20 inch) bead of sealant GM P/N 12378190 or equivalent 20 mm (0.8 inch) long to the engine block.
4. Apply the sealant directly onto the tabs of the rear cover gasket that protrudes into the oil pan surface.
Important: Be sure to align the oil gallery passages in the oil pan and engine block properly with the oil pan gasket.
5. Pre-assemble the oil pan gasket to the pan.
^
Install the gasket onto the pan.
^
Install the oil pan bolts to the pan through the gasket.
6. Install the oil pan, gasket and bolts to the engine block.
7. Snug the oil pan bolts finger tight. Do not overtighten.
8. Install the two lower bellhousing bolts to position the oil pan correctly.
Notice: Refer to Fastener Notice in Service Precautions.
9. Snug the lower bellhousing bolts finger tight. Do not overtighten.
10. Tighten
10.1.
Tighten the oil pan-to-block and oil pan-to-oil pan front cover bolts to 25 N.m (18 lb ft).
10.2.
Tighten the oil pan-to-rear cover bolts to 12 N.m (106 lb in).
10.3.
Tighten the bellhousing bolts to 50 N.m (37 lb ft).
11. Install the left closeout cover and bolt.
Tighten the oil pan closeout cover bolt to 9 N.m (80 lb in).
12. Install the starter motor. Refer to Starter Motor Replacement.