
K 2500 Yukon 4WD V8-6.0L VIN U (2000)
8.
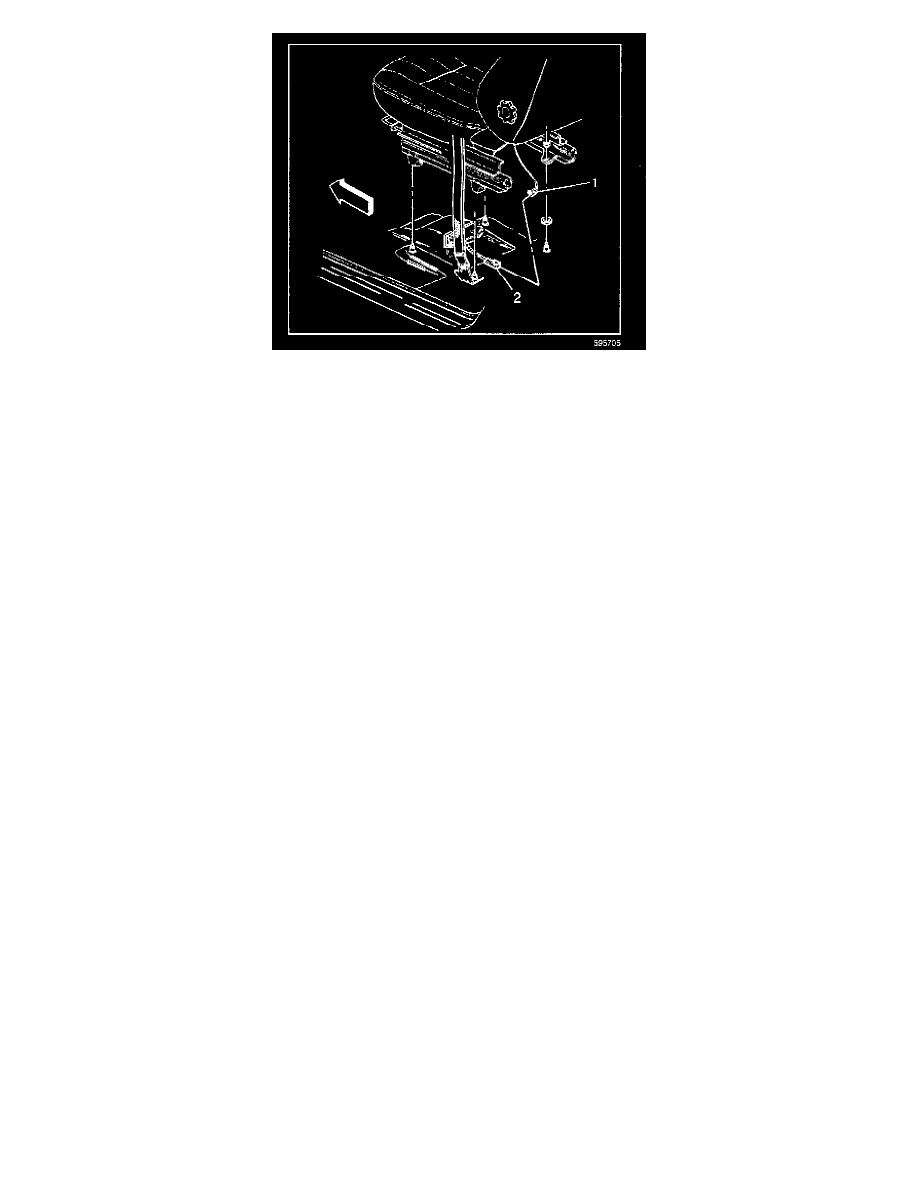
Remove the CPA and disconnect the passenger side air bag yellow 2-way connector (2) located under the seat.
9.
Remove the CPA and disconnect the driver's side air bag yellow 2-way connector (2) located under the seat.
Replacing the CPA
1.
Starting with the passenger side front seat, disengage the J-strip retainer at the bottom rear of the seat backrest cover.
2.
Remove the two pushpins that hold the seat cover wings to the seat cover backing and frame.
3.
Recline the backrest of the seat as far as possible. Collapse the lumbar and side bolster bags of the seat. It may be necessary to turn the key to the
ON position if equipped with a power seatback recliner and bolster.
4.
Turn the key to the OFF position.
5.
For seats with a self-contained center armrest, continue with step 6. Otherwise, go to step 9.
6.
Using a side-to-side motion, gently peel the backrest cover up over itself, turning it inside out, in order to access the armrest retaining clip.
7.
Remove the retaining clip. Access this from the front side of the seat.
8.
Gently pull the armrest out from the side of the seat.
9.
Using a side-to-side motion, gently peel the backrest cover up over itself, turning it inside out as you go, high enough to enable access to the
interface of the wiring and the side impact module.
10.
Remove the factory installed CPA and install a new part number, # 88938604. The yellow plastic CPA has a number printed on it that represents
the Julian date that the CPA was manufactured. Be sure the number is 177 00 or larger.
11.
Reinstall the armrest clip to its position on the seat frame, if equipped with a self-contained armrest.
12.
Using a side-to-side motion, reposition the backrest cover in its original orientation.
13.
Reinstall the armrest by inserting the pivot through the cover and through the seat frame. Ensure the pivot is snapped into place properly if
equipped with a self-contained armrest.
14.
Reinstall the plastic pushpins through the designated holes in the seat trim wings, the seat back backing, and the seat frame.
15.
Engage the J-strip retainer at the bottom rear of the seat backrest cover.
16.
Repeat as necessary all steps on the drivers side front seat backrest.
Enabling the SIR System
1.
Ensure the ignition is in the OFF position and the key removed from the ignition key lock cylinder.