
K 2500 Yukon XL 4WD V8-8.1L VIN G (2001)
8. Inspect for fuel leaks.
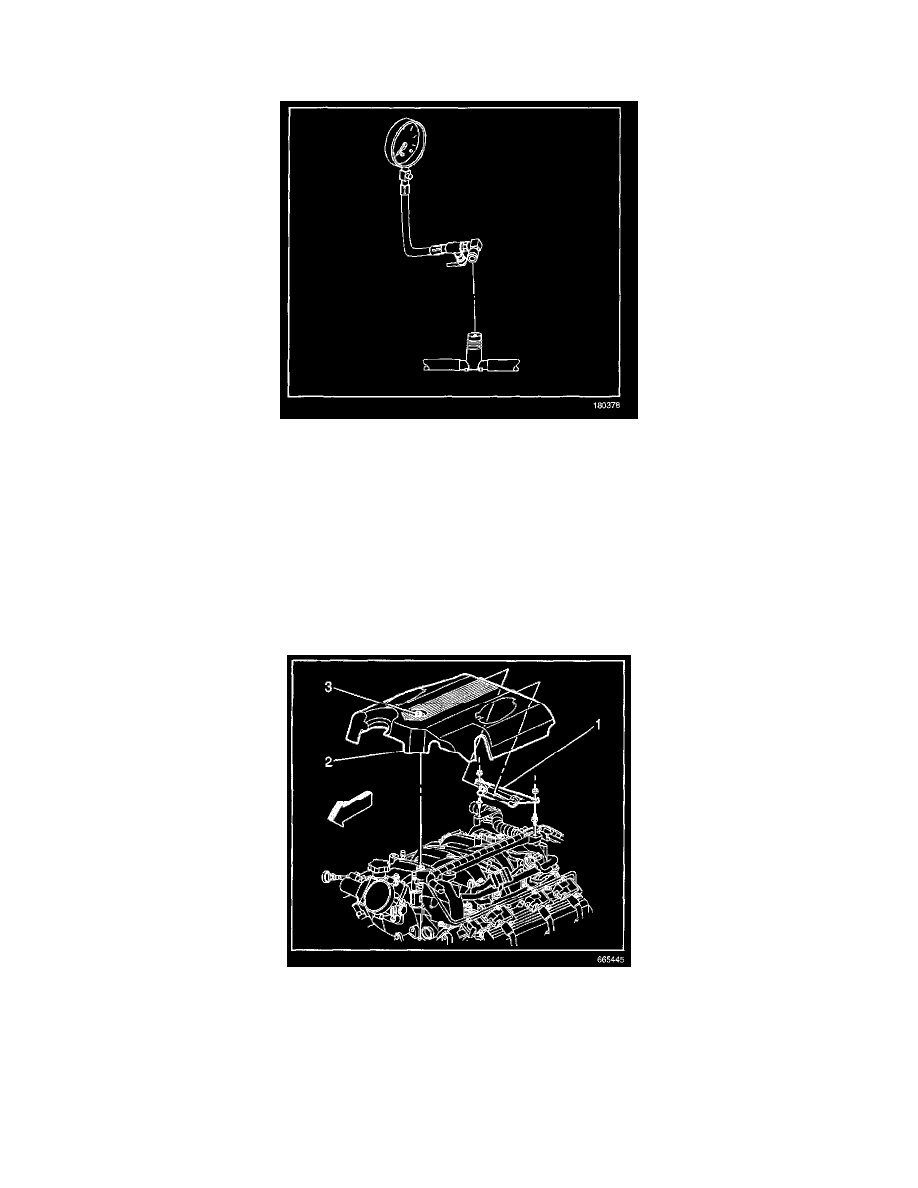
REMOVAL PROCEDURE
1. Place the fuel pressure gage bleed hose into an approved container and open the bleed valve to bleed OFF fuel system pressure.
2. Place a shop towel under the fuel pressure gage to catch any remaining fuel spillage.
3. Remove the Fuel Pressure Gage from the fuel pressure connection.
4. Drain any fuel remaining in the fuel pressure gage into an approved container.
5. Inspect for leaks using the following procedure:
5.1. Turn ON the ignition, with the engine OFF for 2 seconds.
5.2. Turn OFF the ignition, for 10 seconds.
5.3. Turn ON the ignition, with the engine OFF.
5.4. Inspect for fuel leaks.
6. Install the cap on the fuel pressure connection.
NOTE: Refer to Fastener Notice in Service Precautions.
7. Install the engine sight shield.
Tighten
Tighten the engine sight shield bolt to 10 N.m (89 lb in).