
K 2500 Yukon XL 4WD V8-8.1L VIN G (2001)
Important:
The optic cable must not be bent with a radius less than 25 mm (1 in).
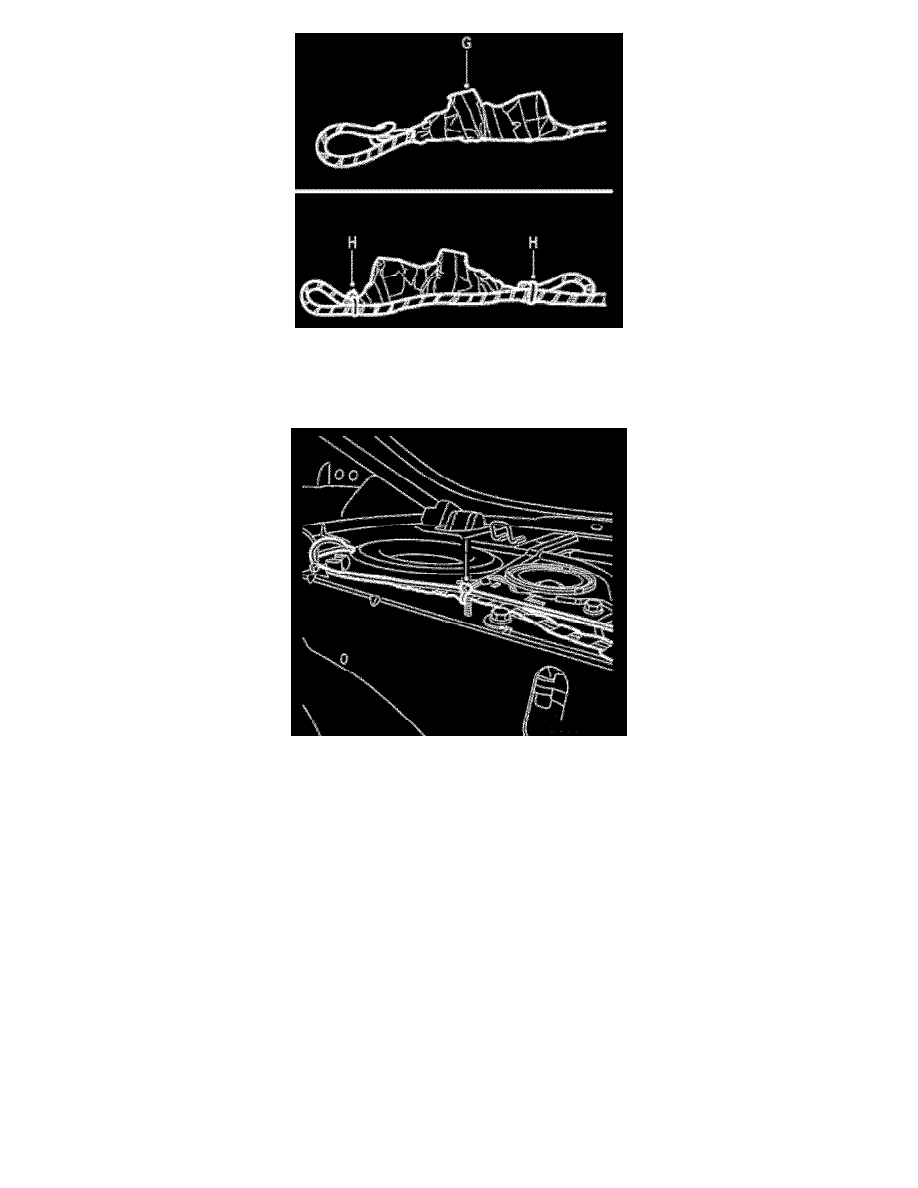
6.17. Fold back the wiring harness and tape over the connectors (G). Fold back the wiring harness once more and secure with cable ties (H).
6.18. Secure the new optic cable on the parcel shelf along the existing wiring harness by the ordinary securing points and by the speaker (I).
6.19. Thread the optic cable down next to the old cable from the parcel shelf to the left-hand wheel housing, next to REC. The cable is secured in
the existing clips.
6.20. Fit the right-hand C-pillar trim in accordance with WIS - 8. Body - Interior equipment - Adjustment/Replacement.
6.21. Fit the parcel shelf trim in accordance with WIS - 8. Body - Interior equipment - Adjustment/Replacement.
6.22. Fit the passenger seat in accordance with WIS - 8. Body - Seats - Adjustment/Replacement.
6.23. Fit the right-hand side bolster in accordance with WIS - 8. Body - Seats - Adjustment/Replacement.
6.24. Fold up the rear seat backrest.
6.25. Fit the right-hand B-pillar trim in accordance with WIS - 8. Body - Interior equipment - Adjustment/Replacement.
6.26. Fit the A-pillar's lower side piece.
7.
M04-05, 4D: Removing the OnStar® control modules and securing the wiring: