
K 2500 Yukon XL 4WD V8-8.1L VIN G (2001)
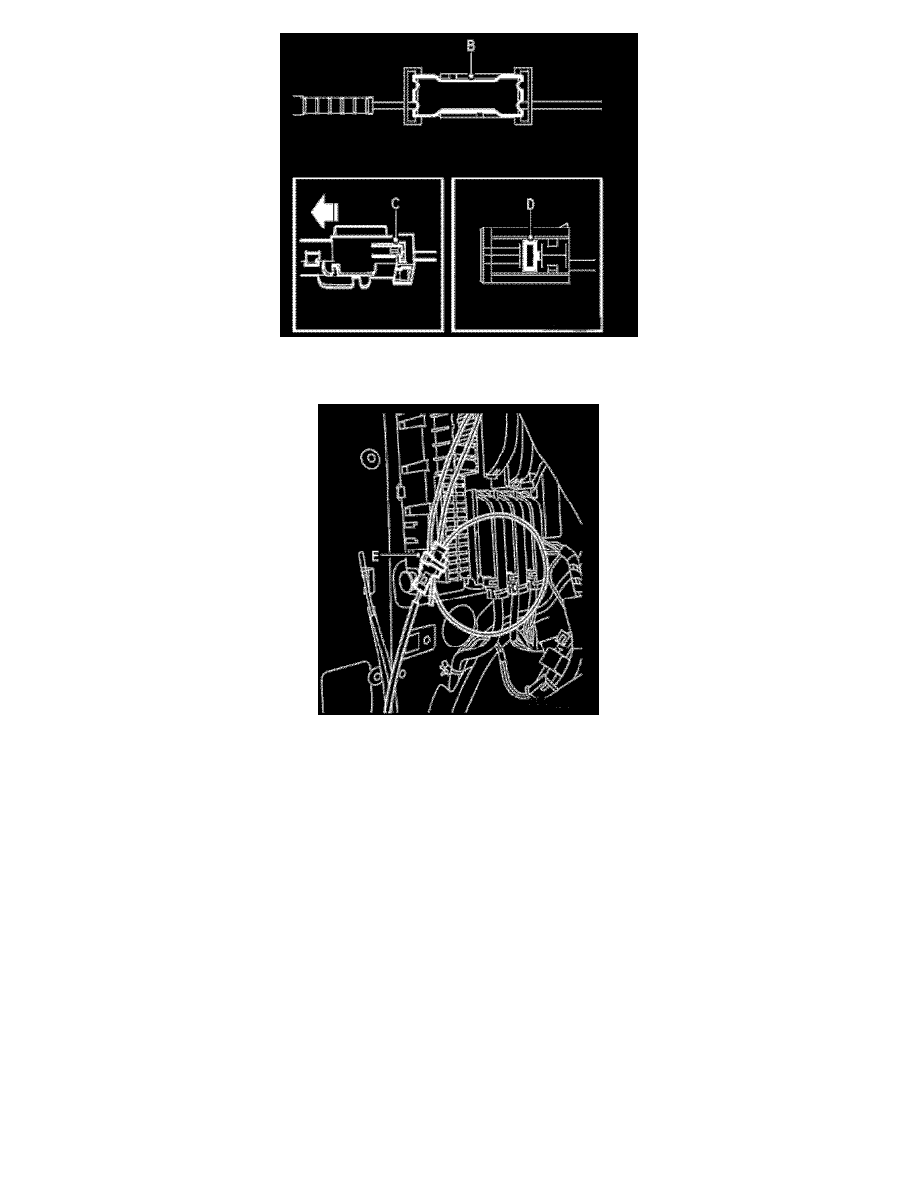
10.4. Remove the end cap from the new optic cable, connect to the connector and refit the secondary catch (D). Fit the terminal housing (C) to the
connector and refit the locking strip (B).
10.5. Secure the old optic cable together with the new one (E).
Important:
The optic cable must not be bent with a radius less than 25 mm (1 in).
Important:
Secure the wiring harness so that there is no risk of chafing and rattling.
11.
CV: Remove the rear seat in accordance with WIS - 8. Body - Interior equipment - Adjustment/Replacement. The O-bus connector H2-9 is located
behind the left speaker.
12.
M04-05: Disconnect the optic cables on the OnStar(R) control modules and join the cables:
12.1. Cut off the cable tie holding the connector (H2-9) against REC.