K 3500 Truck 4WD V8-379 6.2L DSL (1985)

Brake Bleeding: Service and Repair
Hydraulic System Bleeding
Manual Bleeding
1.
If vehicle is equipped with power brakes, remove vacuum reserve by applying brakes several times with engine off.
2.
Fill master cylinder reservoirs with suitable brake fluid. Be sure to always keep master cylinder reservoirs at least half full during entire
bleeding procedure.
3.
If master cylinder is suspected to have air in the bore, it must be bled first, as follows:
a.
Disconnect forward brake pipe connection at master cylinder.
b.
Allow brake fluid to fill master cylinder bore until it begins to flow from forward pipe connector port.
c.
Connect and tighten forward brake pipe at master cylinder.
d.
Depress brake pedal slowly one time and hold, then loosen forward brake pipe connection at master cylinder to purge air from bore. Tighten
connection, then release brake pedal slowly. Wait 15 seconds, then repeat sequence, including 15 second wait, until all air is purged from
bore.
e.
Bleed rear bore of master cylinder as front bore was bled.
4.
Bleed right rear brake as follows:
a.
Depress brake pedal slowly one time and hold.
b.
Loosen bleeder valve to purge air from brake, then tighten bleeder valve and slowly release pedal.
c.
Wait 15 seconds, then repeat sequence, including 15 second wait, until all air is purged.
5.
Bleed left rear, right front, and left front brakes, in that order, using same method as for right rear brake.
6.
Check brake operation and ensure pedal is firm. Also check master cylinder fluid level and add fluid as necessary.
7.
Turn off brake warning light by applying moderate pressure to brake pedal several times.
8.
Road test vehicle.
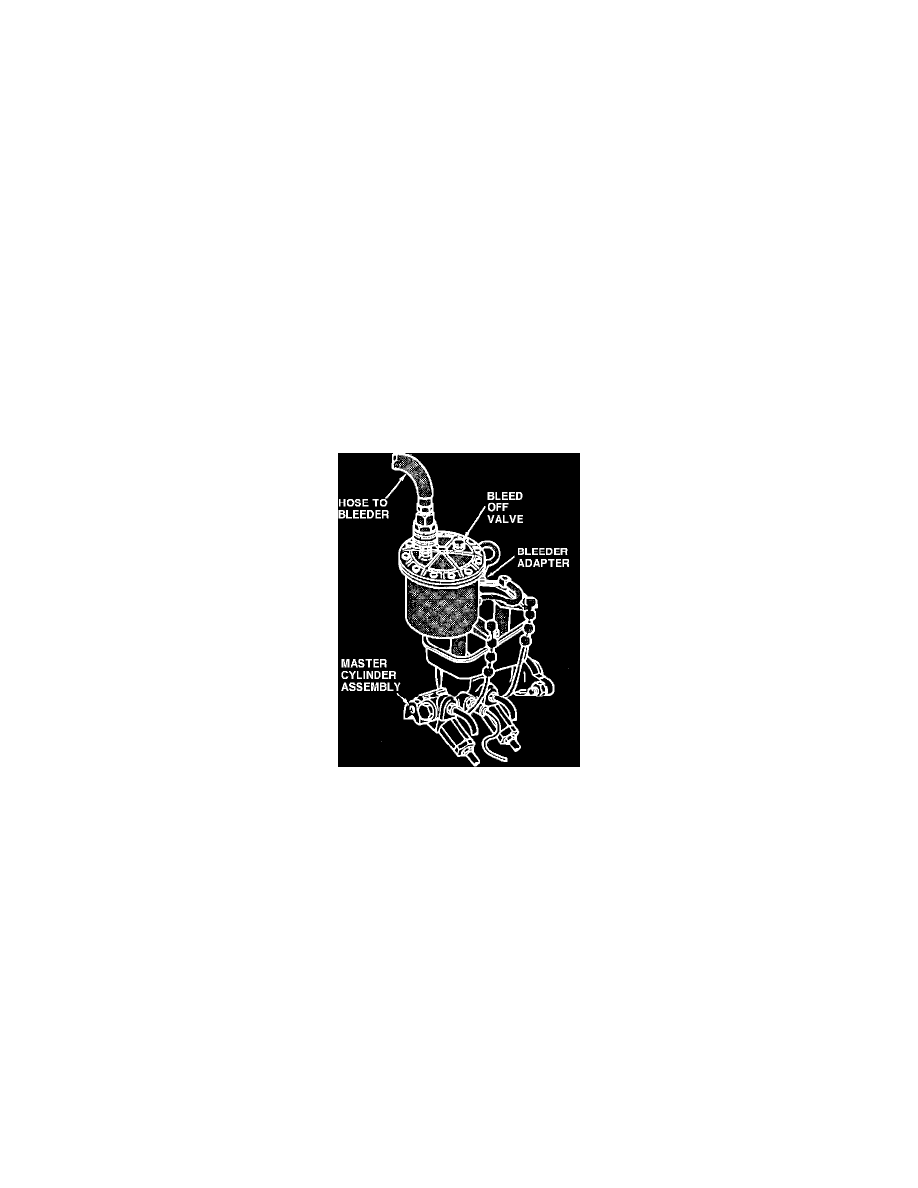
Fig. 1 Installing Pressure Bleeder Adapter
Pressure Bleeding
1.
Loosen, then slightly retighten bleeder valves at all four wheels. Repair any broken, stripped or frozen valves at this time.
2.
Using a diaphragm type pressure bleeder, install suitable bleeder adapter to master cylinder, Fig. 1.
3.
Charge bleeder ball to 20-25 psi, then depress and hold valve stem on combination valve.
4.
Connect pressure bleeder line to adapter.
5.
Open line valve on pressure bleeder, then depress bleed-off valve on adapter until a small amount of brake fluid is released.
6.
Raise and support vehicle.
7.
Bleed right rear, left rear, right front and left front brakes, in that order.
8.
Place transparent tube over bleeder valve, then allow tube to hang down into transparent container. Ensure end of tube is submerged in clean brake
fluid.
9.
Open bleeder valve 1/2 to 3/4 turn and allow fluid to flow into container until all air is purged from line.
Flushing Hydraulic System
If brake fluid is old, rusty or contaminated, or whenever new parts are installed in the hydraulic system, the system must be flushed. Bleed brakes,
allowing at least one quart of clean brake fluid to pass through system. Any rubber parts in hydraulic system which were exposed to contaminated fluid
must be replaced.
