
K 3500 Truck 4WD V8-393 6.5L DSL Turbo (1993)
Note:
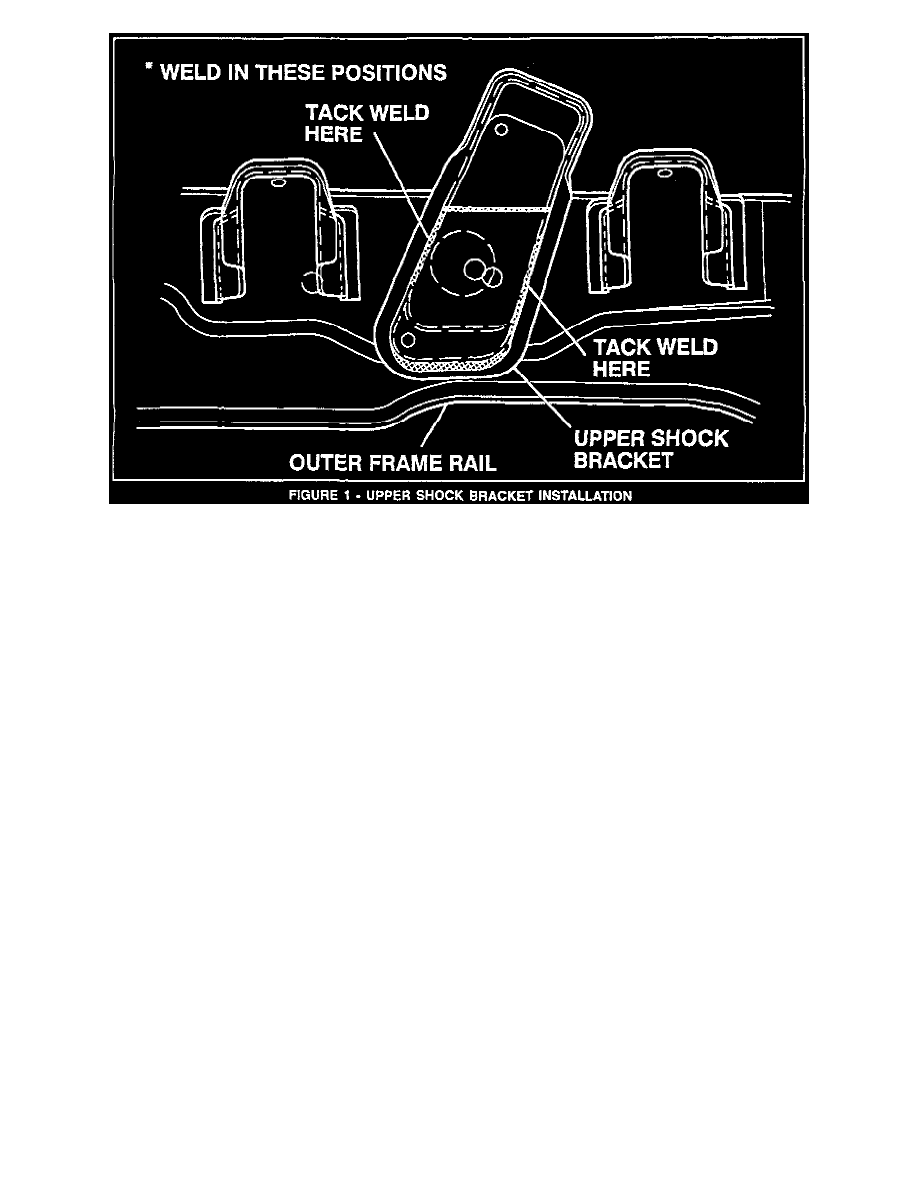
Be sure and tack the bracket down on each side and not on the top or bottom of the bracket (Figure 1). High stresses are on the top and bottom of the
bracket and any discontinuity in the top or bottom weld is not recommended.
15.
Remove the shock from the shock bracket and the lower control arm. Also remove the temporary screw and washer installed in Step 11.
16.
Weld the bracket in the positions shown in Figure 1. An arc welder is preferred because of the limited space between the shock bracket and the
control arm brackets. Consult the service manual for proper welding instructions.
17.
Install the shock absorber. Tighten the nuts to 90 N-m (66 lbs.ft.).
18.
Reinstall the splash shield using 5 new fasteners.
19.
Install the wheel and tire. Proper torque is shown below for both single and dual wheel models.
K 2500, 3500 (Single) - 60 N-m (120 lbs.ft.)
K 3500 (Dual) - 190 N-m (140 lbs.ft.)
20.
Lower the vehicle and reconnect the negative battery cable.