
K 3500 Truck 4WD V8-454 7.4L VIN J SFI (1996)
Intake Manifold: Service and Repair
Replacement (Upper)
REMOVAL
1. Remove the negative battery cable.
2. Remove the air cleaner assembly.
3. Remove the wiring harness connectors and the brackets and move aside.
4. Remove the throttle, the cruise control linkages and the bracket (if equipped).
5. Remove the throttle body electrical connectors.
6. Remove the Positive Crankcase Ventilator (PCV) and the hose.
7. Remove the Exhaust Gas Recirculation (EGR) inlet tube.
8. Remove the purge solenoid and the connectors.
9. Remove the ignition coil and the bracket. Refer to Powertrain Management.
10. Remove the number 8 spark plug wire from the distributor.
11. Remove the upper intake manifold bolts.
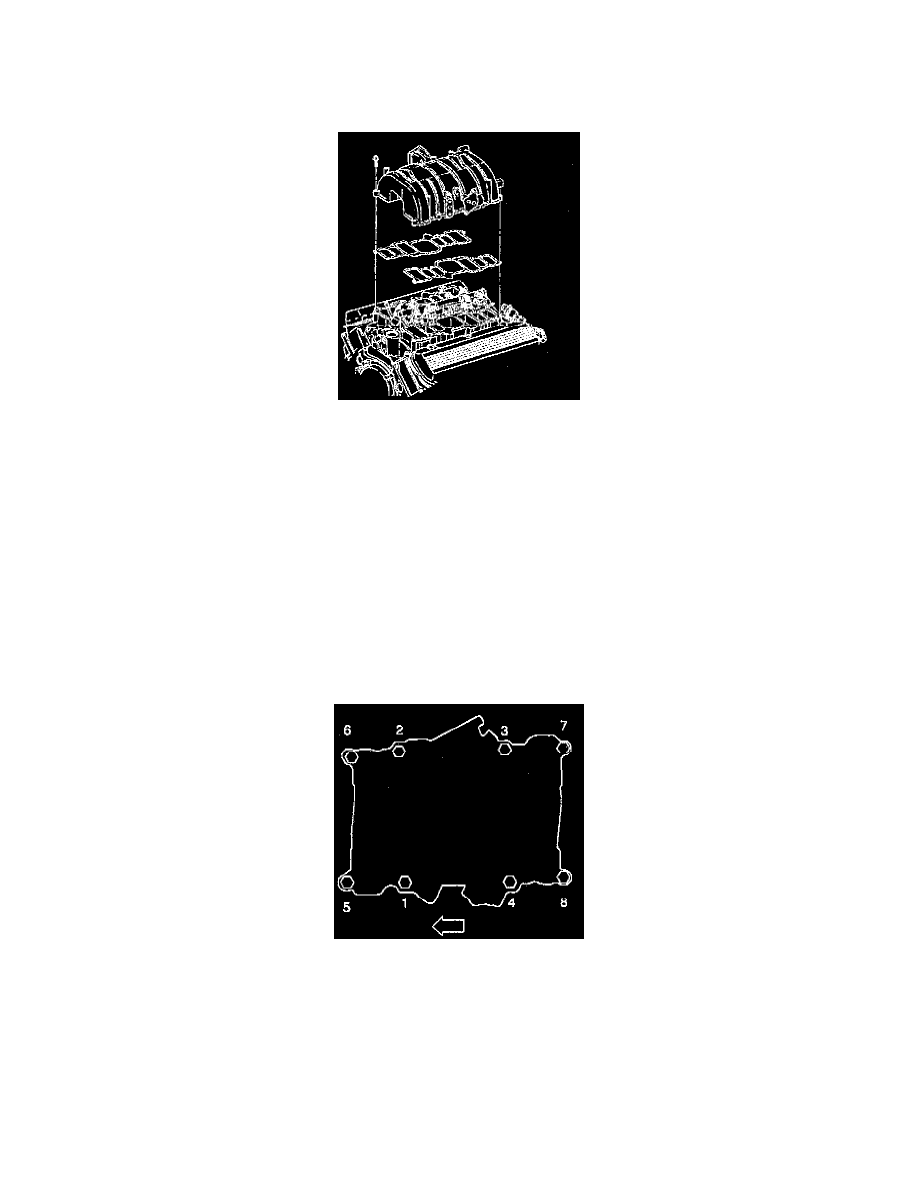
12. Remove the upper intake manifold and the gasket.
13. Clean the excessive carbon deposits from the exhaust and the EGR passages.
INSTALLATION
1. Install the upper intake manifold gasket.
2. Install the upper intake manifold.
3. Install the upper intake manifold bolts using the following procedure:
a. Coat a minimum of 8 threads of the bolts with threadlocking sealant GM P/N 12345493.
^
Tighten the bolts in sequence to 8 Nm (72 inch lbs.).
^
Re-tighten the bolts in sequence to 14 Nm (10 ft. lbs.).
4. Connect the number 8 spark plug wire.
5. Install the ignition coil and the bracket. Refer to Powertrain Management.
6. Install the purge solenoid and the connectors.
7. Install the EGR inlet tube.
8. Install the PCV and the hose.
9. Connect the throttle body electrical connectors.
10. Install the throttle and the cruise control linkage and the bracket (if equipped).