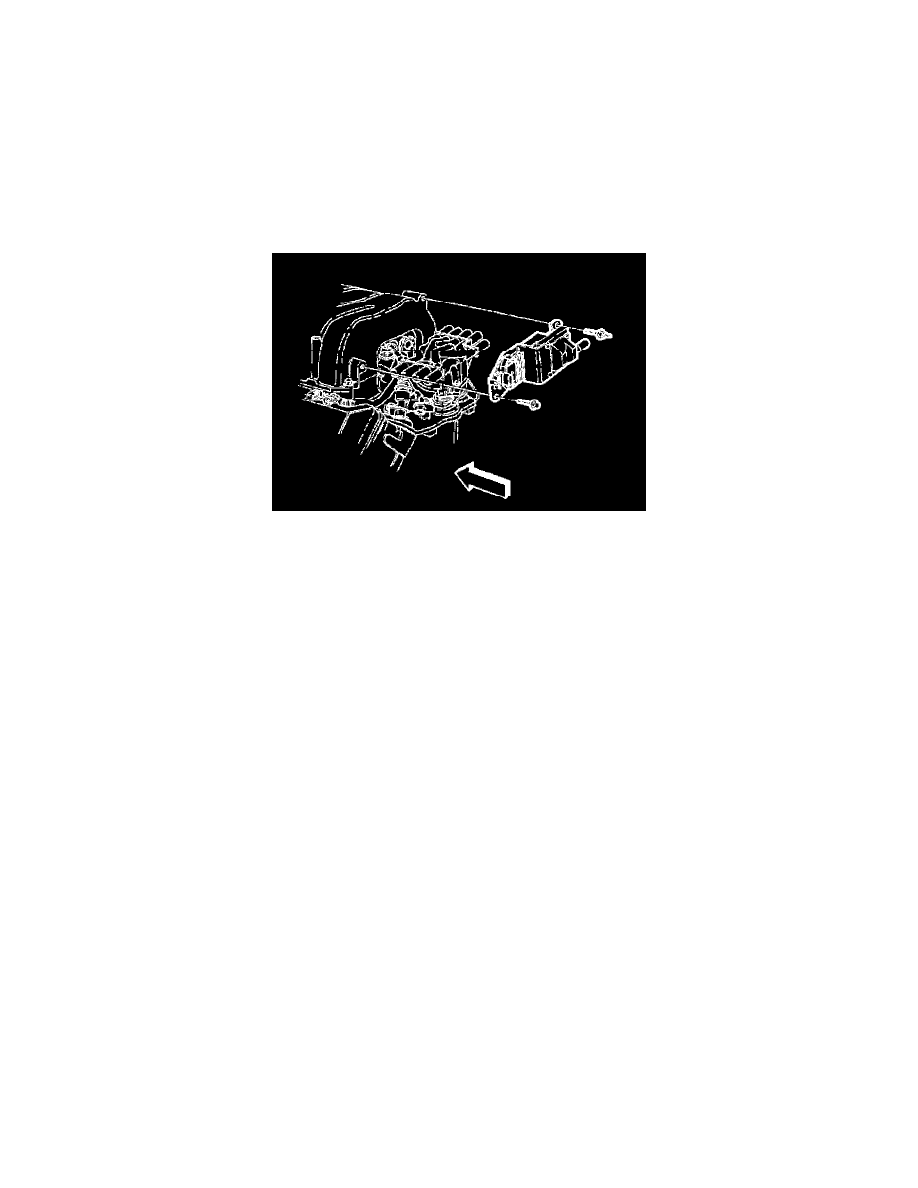
K 3500 Truck 4WD V8-454 7.4L VIN J SFI (1996)

B. If the rotor segment does not come out withing a few degrees of the pointer (8), the gear mesh between the distributor and the camshaft may be
OFF by a tooth or more.
C. If this is the case repeat this procedure to achieve the proper alignment.
8. Install the distributor hold down clamp bolt to the lower intake manifold. Tighten the distributor clamp bolt to 27 Nm (20 ft. lbs.).
Notice: Use the correct fastener in the correct location. Replacement fasteners must be the correct part number for that application. Fasteners requiring
replacement or fasteners requiring the use of thread locking compound or sealant are identified in the service procedure. Do not use paints, lubricants,
or corrosion inhibitors on fasteners or fastener joint surfaces unless specified. These coatings affect fastener torque and joint clamping force and may
damage the fastener. Use the correct tightening sequence and specifications when installing fasteners in order to avoid damage to parts and systems.
9. Install the distributor cap.
10. Install the distributor cap screws. Do not overtighten. Tighten the cap holding screws to 5 Nm (40 in. lbs.).
11. Install the ignition coil to the upper intake manifold.
12. Install the ignition coil bracket bolts to the upper intake manifold. Tighten the ignition coil bracket bolts to 27 Nm (20 ft. lbs.).
13. Install the ignition coil wire from the ignition coil.
14. Install the spark plug wire clips to the spark plug wire brackets.
