
K 3500 Truck 4WD V8-6.5L DSL Turbo VIN S (1999)
1. Install the heater core into the retainer.
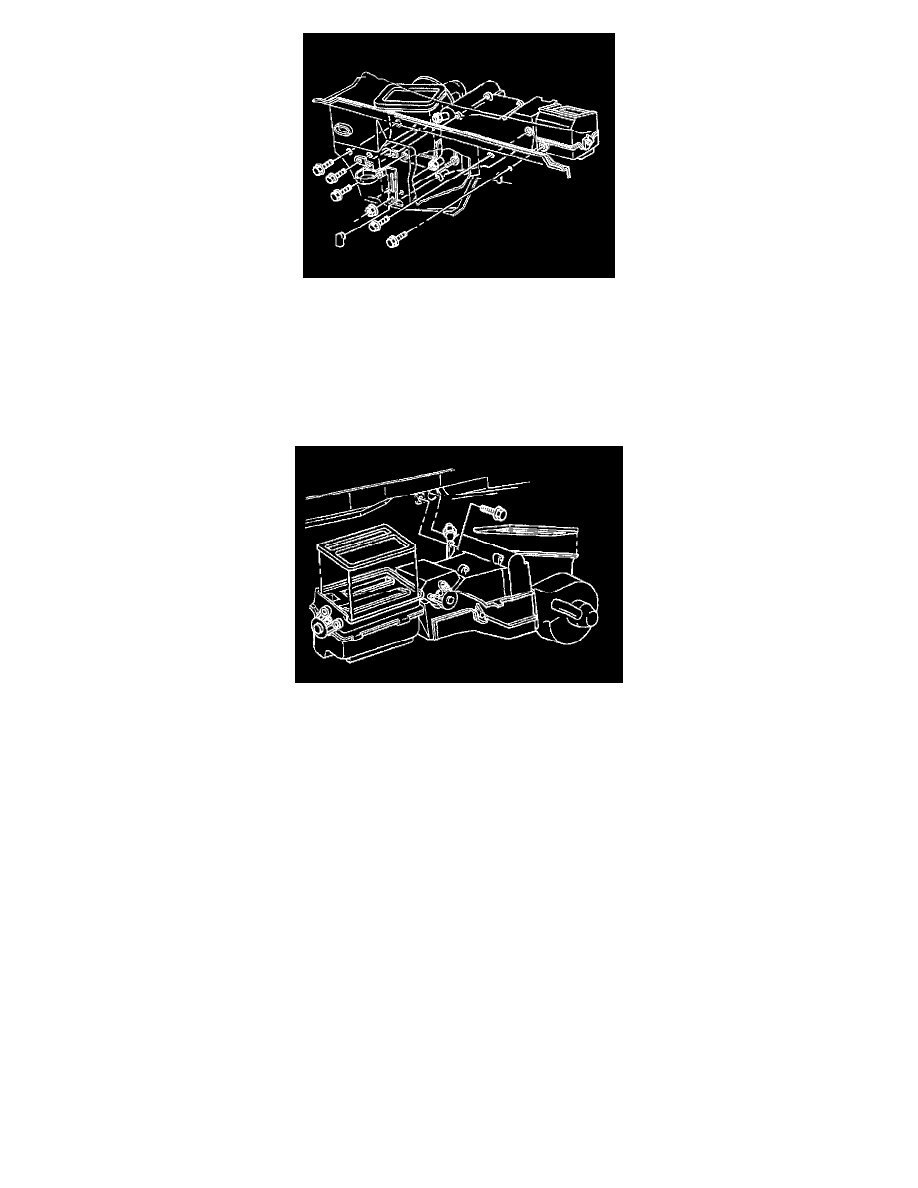
2. Install the 7 screws that hold the heater cover to the heater case. Replace the seals.
3. Install the heater cover.
Verify that the heater cover is properly sealed.
4. Install the heater case.
If necessary, ask an assistant for help.
5. On the engine side of the cowl, install the nuts that hold the heater case to the cowl.
6. On the engine side of the cowl, install the 4 screws that hold the heater case to the cowl.
7. On the interior side of the cowl, install the screw.
NOTE: Refer to Fastener Notice in Cautions and Notices.
8. Tighten the following fasteners:
Tighten
-
Tighten the screws on the engine side of the cowl to 1.9 N.m (17 lb in).
-
Tighten the two nuts to 2.8 N.m (25 lb in).
-
Tighten the screw on the interior side of the cowl to 11 N.m (97 lb in).
9. Install the heater hoses.
10. Install the coolant recovery reservoir.
11. Roll forward the instrument panel. Refer to IP Carrier Replacement in Instrument Panel, Gauges and Console.
12. Install the steering column.
13. Install the blower motor.
14. Install the blower motor cover.
15. Install the hinge pillar trim panels.
16. Install the center floor air distribution duct.
17. Connect the electrical connectors, as necessary.
18. Install the instrument panel storage compartment.
19. Add the engine coolant. Refer to Draining and Filling Cooling System
20. Inspect the system for leaks.