
K 3500 Truck 4WD V8-6.5L DSL Turbo VIN S (1999)
Steering Damper: Service and Repair
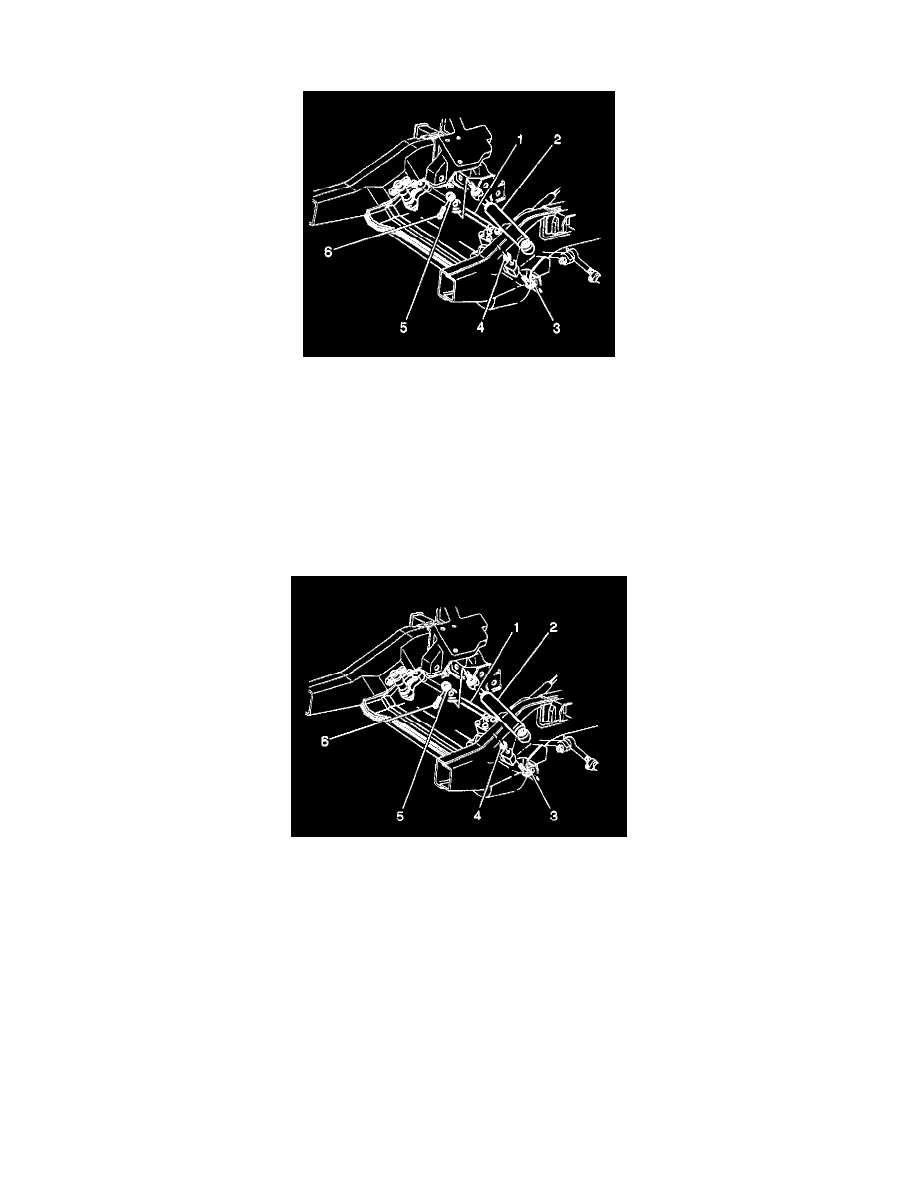
REMOVAL PROCEDURE
1. Remove the relay rod (1) cotter pin (6).
2. Remove the shock absorber lower ball stud nut.
3. Remove the shock absorber lower ball stud from the relay rod.
4. Remove the shock absorber mounting bolt nut (4).
5. Remove the mounting bolt (3).
6. Remove the shock absorber (2).
7. Inspect the following parts:
-
The shock absorber for leaks and damage.
-
The mounting bolts and nuts for damage or corrosion.
INSTALLATION PROCEDURE
1. Install the shock absorber (2).
Notice: Refer to Fastener Notice in Service Precautions.
2. Install the mounting bolt (3).
3. Install the nut (5).
4. Install the lower ball stud to the relay rod (1).
5. Install the nut (4).
-
Tighten the nut to 40 Nm (30 ft. lbs.)
-
Tighten the nut to 63 Nm (46 ft. lbs.)
6. Allow a maximum torque of 80 Nm (59 ft. lbs.) in order to align the cotter pin slot.
Do NOT back off the nut to insert the cotter pin (6).
7. Install the cotter pin.