K 3500 Truck 4WD V8-6.6L DSL Turbo VIN 1 (2001)

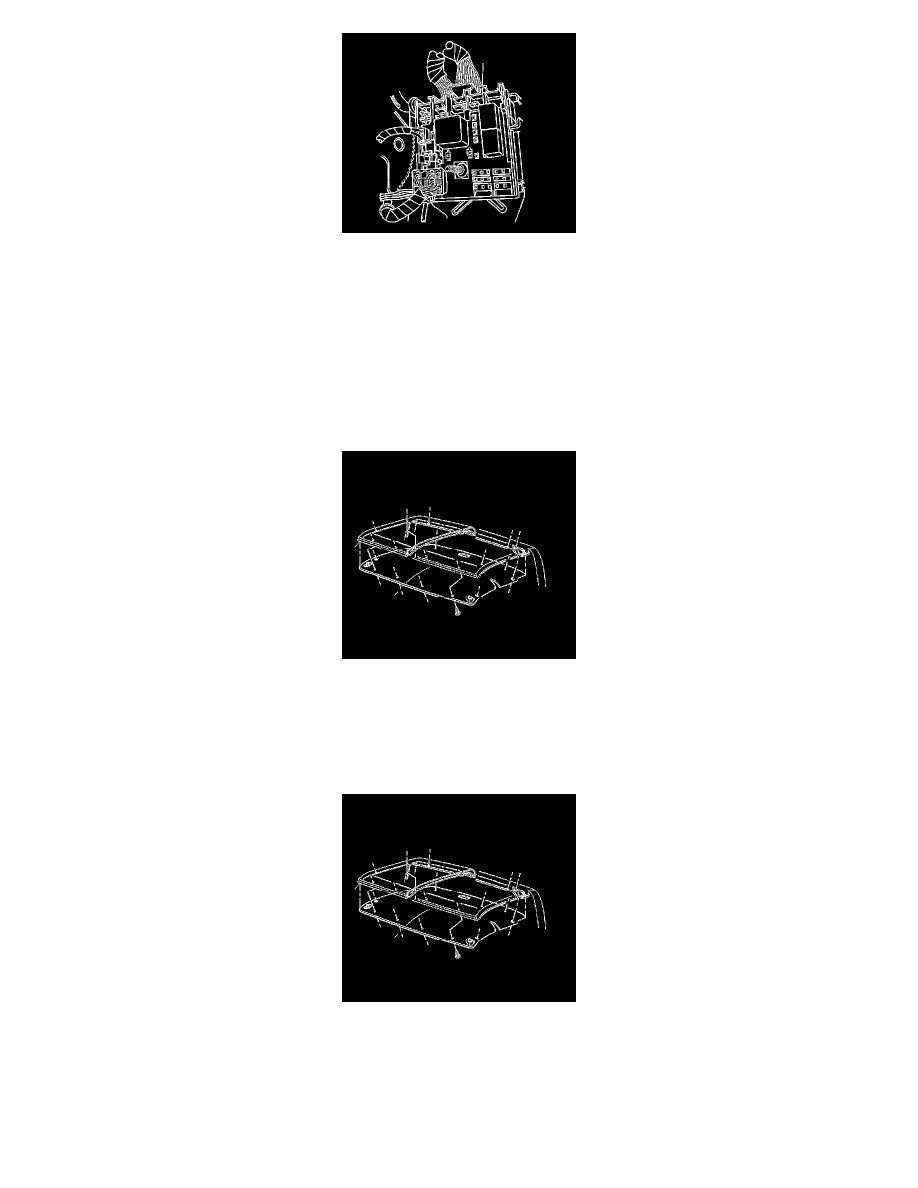
7. Disconnect the headliner wire connectors from the junction block located next to the clutch or brake pedal.
8. Remove the wire harness retainers along the windshield pillar.
9. Follow the routing of the wire harness through the IP and release any wire harness retainers.
10. Carefully pull out the wire harness from the windshield pillar ensuring that the wire harness does not get caught on any part.
11. Remove the center trim pillar moldings, if equipped.
12. Remove the rear quarter trim panels, if necessary.
13. Remove the overhead console, if equipped.
14. Remove both front sunshades.
15. Remove the rear coat hook, if equipped.
16. Remove the interior dome lamp.
17. Remove the assist handles, if equipped.
18. Disengaging the front of the headliner from the roof.
19. If replacing the crew cab headliner remove the rear window from the vehicle. Refer to Rear Window Replacement (Utility w/ Cargo Door) Rear
Window Replacement (Pickup) in Stationary Windows.
20. Remove the headliner from the vehicle by grasping the headliner on the left and the right sides near the front of the cab
Installation Procedure
1. With the aid of an assistant install the headliner to the vehicle.
2. Install the rear window into the vehicle, if removed.
3. Install the assist handles, if equipped.
4. Install the interior dome lamp.
5. Install the rear coat hook, if equipped.
6. Install both front sunshades.
7. Install the overhead console, if equipped.
