
K 3500 Truck 4WD V8-6.6L DSL Turbo VIN 1 (2001)
14.
Push the nuts (4) and ferrules (3) over each of the evaporator tube halves.
15.
Install the ferrules (3) with the small end toward the nut (4).
16.
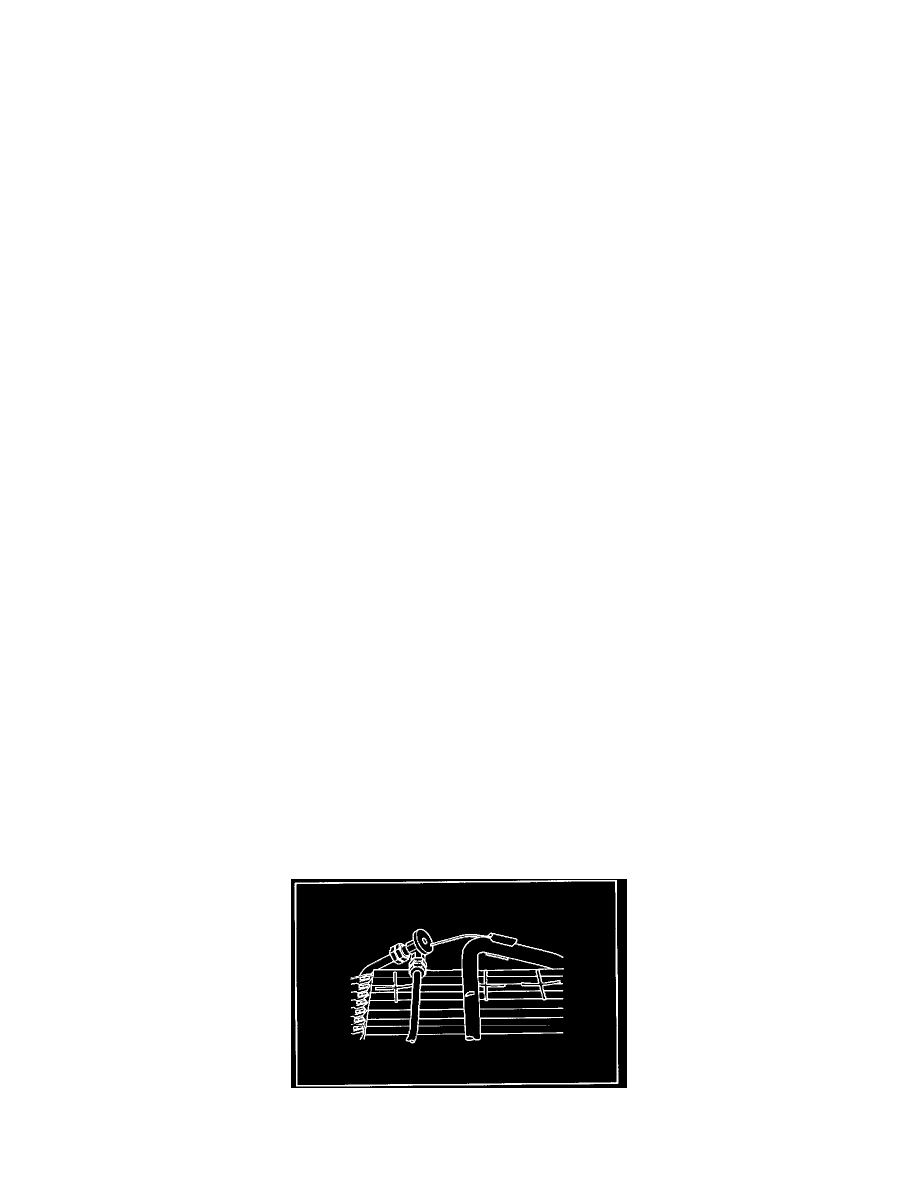
Install the A/C refrigerant filter (3), P/N 52474433, to the evaporator tube (2) with the flow arrow pointing towards the evaporator.
17.
While holding the evaporator tube in the A/C refrigerant filter (1), tighten the nuts (4) to the A/C refrigerant filter (1).
Tighten
Tighten the nuts to 15 Nm (11 lb ft).
18.
Remove the nuts (4) from the A/C refrigerant filter (1).
19.
Coat the 0-rings (2) with 525 viscosity Mineral oil, P/N 5416939 (in Canada, use P/N 10953496).
20.
Install the 0-rings (2) to the evaporator tube halves.
21.
Install the nuts (4) to the A/C refrigerant filter (1).
Tighten
Tighten the nuts to 15 Nm (11 lb ft).
22.
Install the retainer to the evaporator tube to air cleaner support bracket.
23.
Raise the vehicle and locate the rear A/C suction line on the right side pinch weld.
Important:
^
Measure 152 mm (6 in) rear of first rear A/C line retaining clip and mark the suction line.
^
Do not allow metal burrs to enter the rear A/C suction line.
^
When you section the A/C lines, ensure that the correct minimum length remains in the straight section of the line on both sides of the splice.
24.
Using a tubing cutter, cut the marked section of the rear A/C suction line and discard the front section of the line.
25.
Splice in the new front section of rear A/C suction hose, P/N 15095996, using J 41425 A/C Line Repair Kit and splice J 41425-750. Refer to the
Heater and A/C Pipe Repair - Auxiliary procedure in the Service Manual (SI 2000 Document ID # 594055).
26.
Connect the rear A/C suction line to the Y in the suction line attached to the compressor.
Tighten
Tighten the nut to 16 Nm (12 lb ft).
27.
Install the wheelhouse panel to the wheelhouse. Refer to the Wheelhouse Panel Replacement procedure in the Service Manual (SI 2000 Document
ID # 449783).
28.
Replace the rear thermo expansion valve with P/N 52491670. Refer to the Thermal Expansion Valve Replacement - Auxiliary procedure in the
Service Manual (SI 2000 Document ID # 594045).