
K 3500 Truck 4WD V8-6.6L DSL Turbo VIN 1 (2001)
Intercooler: Service and Repair
Charged Air Cooler Replacement
Removal Procedure
1. Drain the engine coolant.
2. Remove the air cleaner assembly and mounting bracket.
3. Remove both. charged air cooler hose assemblies.
4. Remove the radiator assembly.
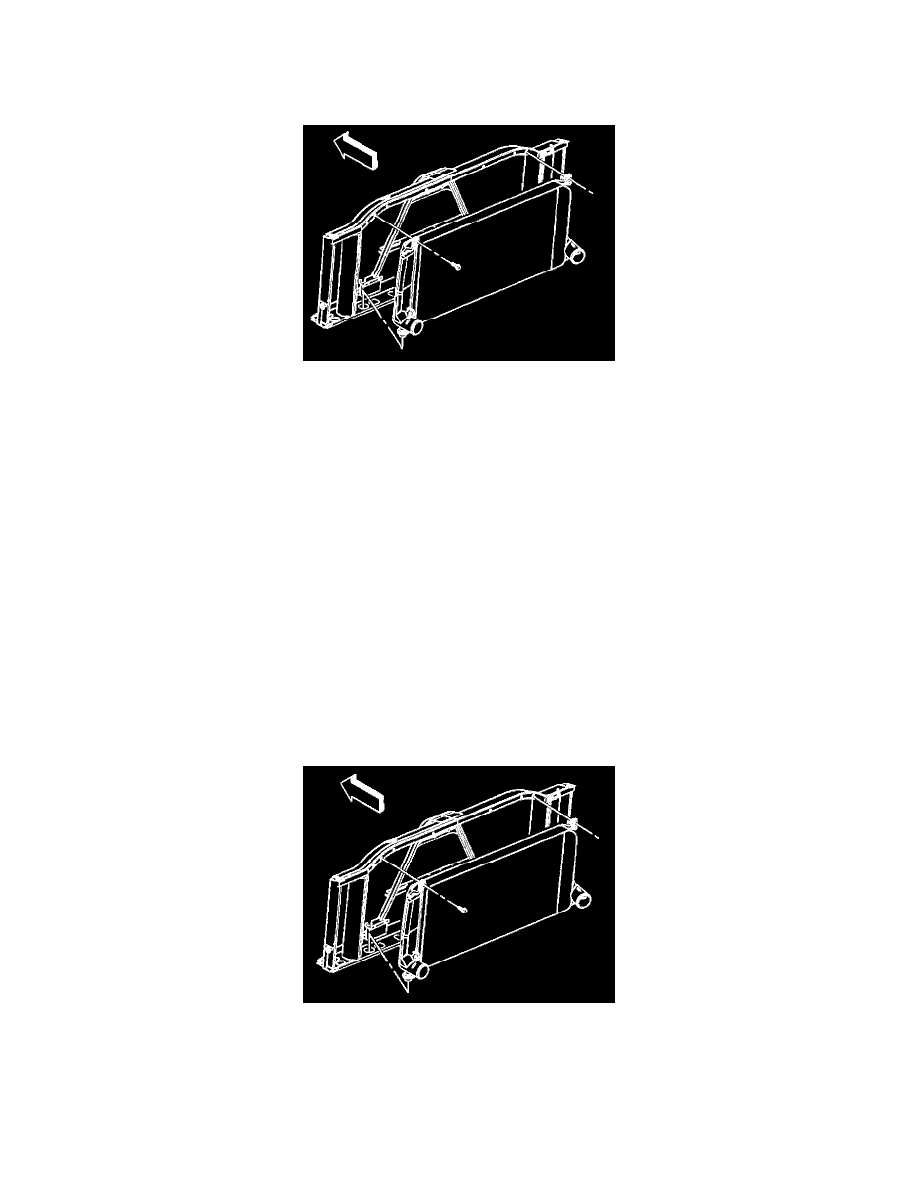
5. Remove the 2 bolts retaining the charged air cooler to the radiator support.
Important: Do not damage the charged air cooler fins while removing.
6. Remove the charged air cooler.
6.1.
Lift the bottom mounts from the radiator support.
6.2.
Remove the left side from the radiator support.
6.3.
Angle up the right side and turn to remove.
7. Clean the charged air cooler by flushing with mild soap and water. Do not use stream pressure to clean.
8. Inspect the charged air cooler for the following damage:
^
Damaged fins
^
Cracked or distorted hose connections
^
Broken or loose welds
^
Leaks in the core or the tank connections
9. Replace the charged air cooler if damage is found.
10. Inspect the charged air cooler mounting insulators and replace if required.
Installation Procedure
1. Install the charged air cooler to the radiator support.
1.1.
Angle in the left side.
1.2.
Slide to the left.
1.3.
Move in the right side.
1.4.
Position bottom insulators in the radiator support.
Notice: Refer to Fastener Notice in Service Precautions.