
K 3500 Truck 4WD V8-6.6L DSL Turbo VIN 1 (2001)
56.
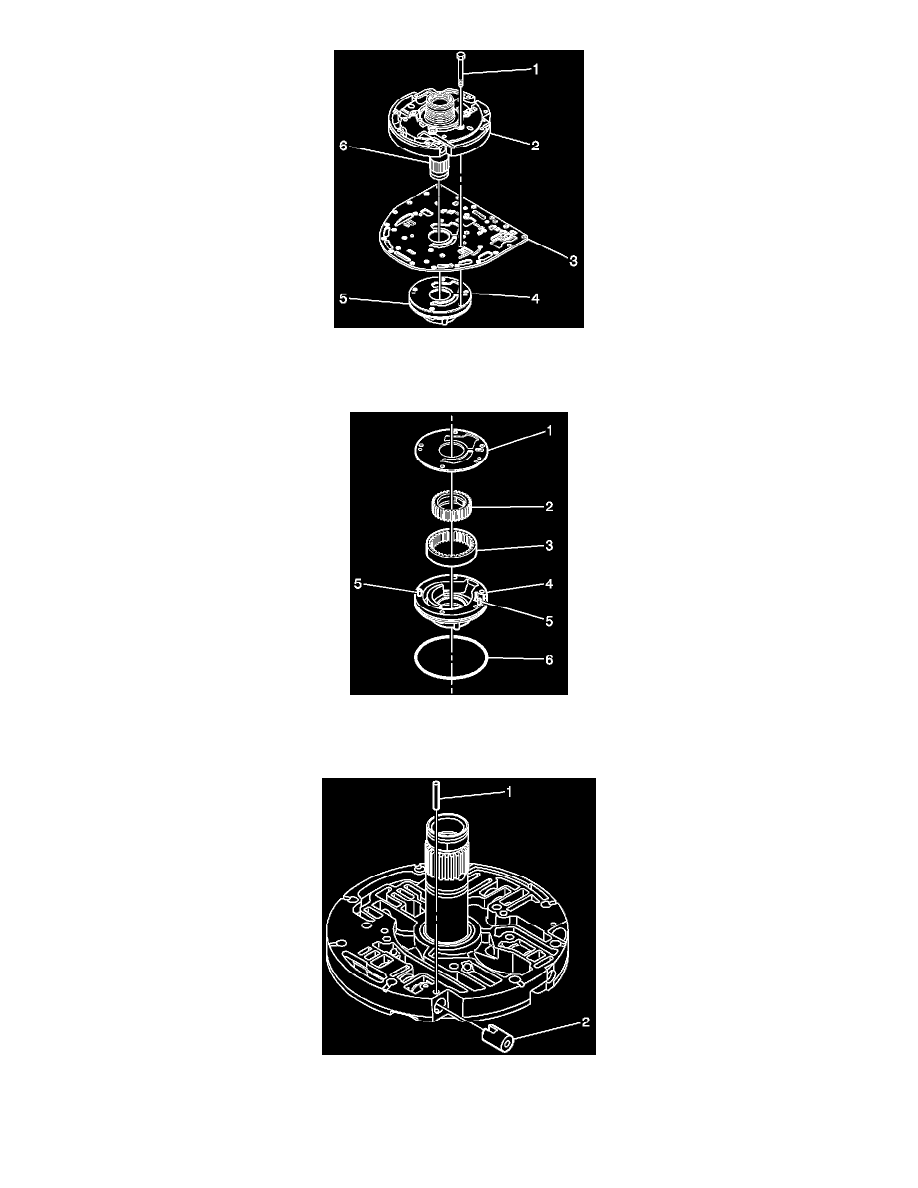
Remove the five bolts (1) that retain the pump assembly to the front support assembly (2).
57.
Carefully lift the front support assembly (2) and the separator plate (3) from the oil pump assembly (5).
Important:
The oil pump drive and driven gears have a punch mark on one side. Before the gears are removed from the pump, inspect the drive and driven
gears for the location of the punch mark. The oil pump gears should be reassembled in this same orientation as removed.
58.
Carefully remove the oil pump cover (1) and inspect the drive gear (2) and driven gear (3) for the orientation of the pump gears and the associated
punch marks. This is a safety step so that if the cover is separated from the pump, the pump gears may be reinstalled in the same orientation as
when the transmission was originally assembled. Otherwise, a noise condition may be encountered after reassembly.