
K 3500 Truck 4WD V8-6.6L DSL Turbo VIN 1 (2001)
37.
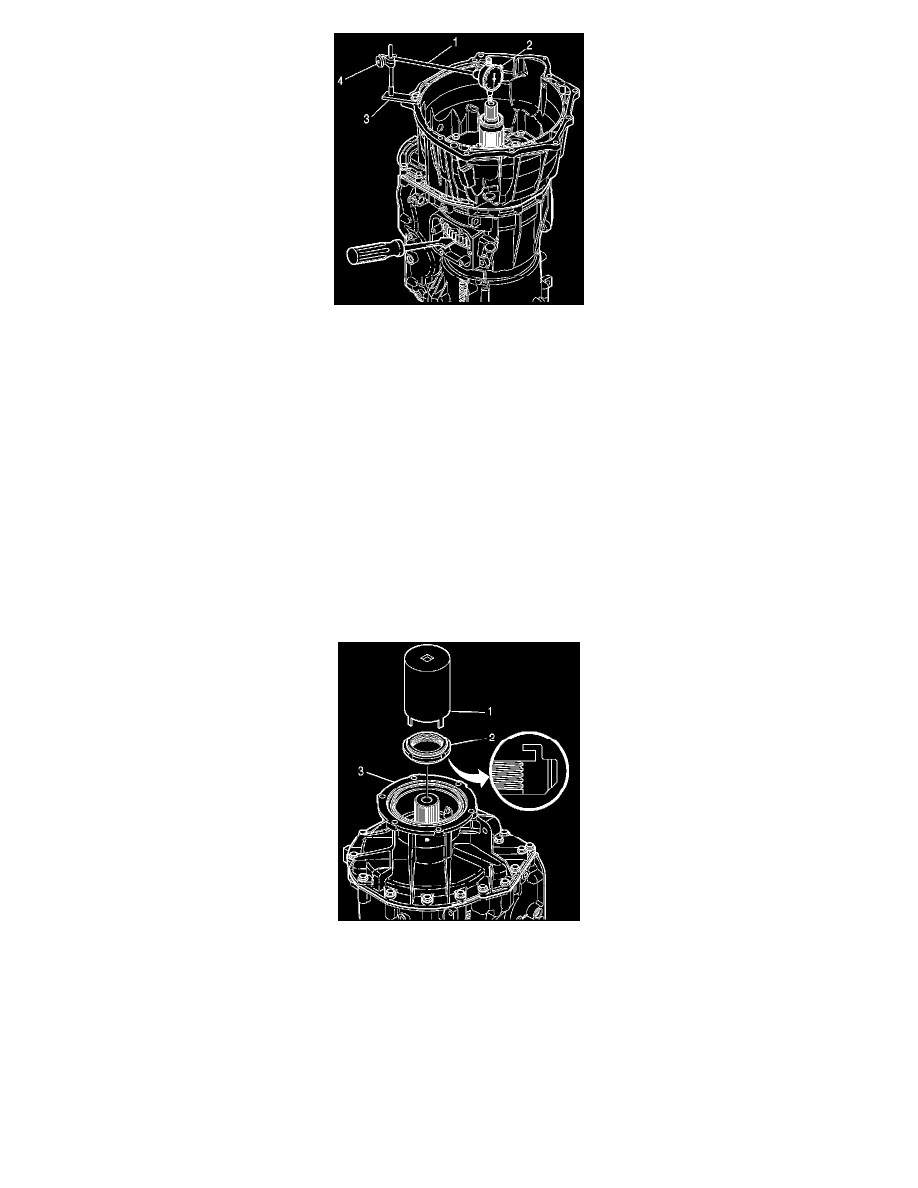
Install a dial indicator, as shown in the illustration above, to obtain the transmission end play measurement.
Important:
The end play measurement must be between 0.279 - 1.549 mm (0.0110 - 0.0610 in).
38.
Lift the rear of the rotating clutch assembly through the PTO hole in the transmission case as shown in the illustration above. Is the end play
measurement between 0.279 - 1.549 mm (0.0110 - 0.0610 in)? If not, you must repeat steps 28 through 34.
39.
Remove the dial indicator setup and rotate the transmission so that the extension housing is facing upward.
Important:
The used ball bearing assembly must be removed from the extension housing and replaced with a new bearing. Using the puller to remove the
original bearing may have damaged the race of the bearing. A new ball bearing assembly must be installed any time the puller is used on this
bearing.
40.
Remove the retaining ring and bearing assembly. Discard the bearing and the retaining ring.
41.
Install the NEW ball bearing assembly and the NEW retaining ring, beveled side up.
42.
Install a NEW output nut using the J 43769 - Spanner Nut Wrench.
Tighten
Tighten the output nut (2) to 61 N.m (45 lb ft).
43.
Rotate the transmission so that the converter housing is pointing upward.
44.
Remove the closeout plate from the side of the converter housing.
45.
Remove the lower cooler fitting from the side of the transmission. This is necessary for accessing the lower converter housing to transmission
attaching bolt.