
K 3500 Truck 4WD V8-6.6L DSL Turbo VIN 1 (2001)
Tighten
Tighten to 27 N.m (20 lb ft).
88.
Remove the transmission control main filter and do not reuse.
89.
Install a new control main filter, P/N 29539579.
Tighten
Tighten ONE FULL TURN after the filter seal contacts the case.
Note:
Ensure that the converter housing (bellhousing) opening is pointing upward or the pump seal may be damaged when the converter is placed
into position.
90.
Install the torque converter to the transmission assembly.
91.
Remove the J 46409 - Torque Converter Lifting Tool.
92.
Install the J 21366 - Converter Holding Strap.
93.
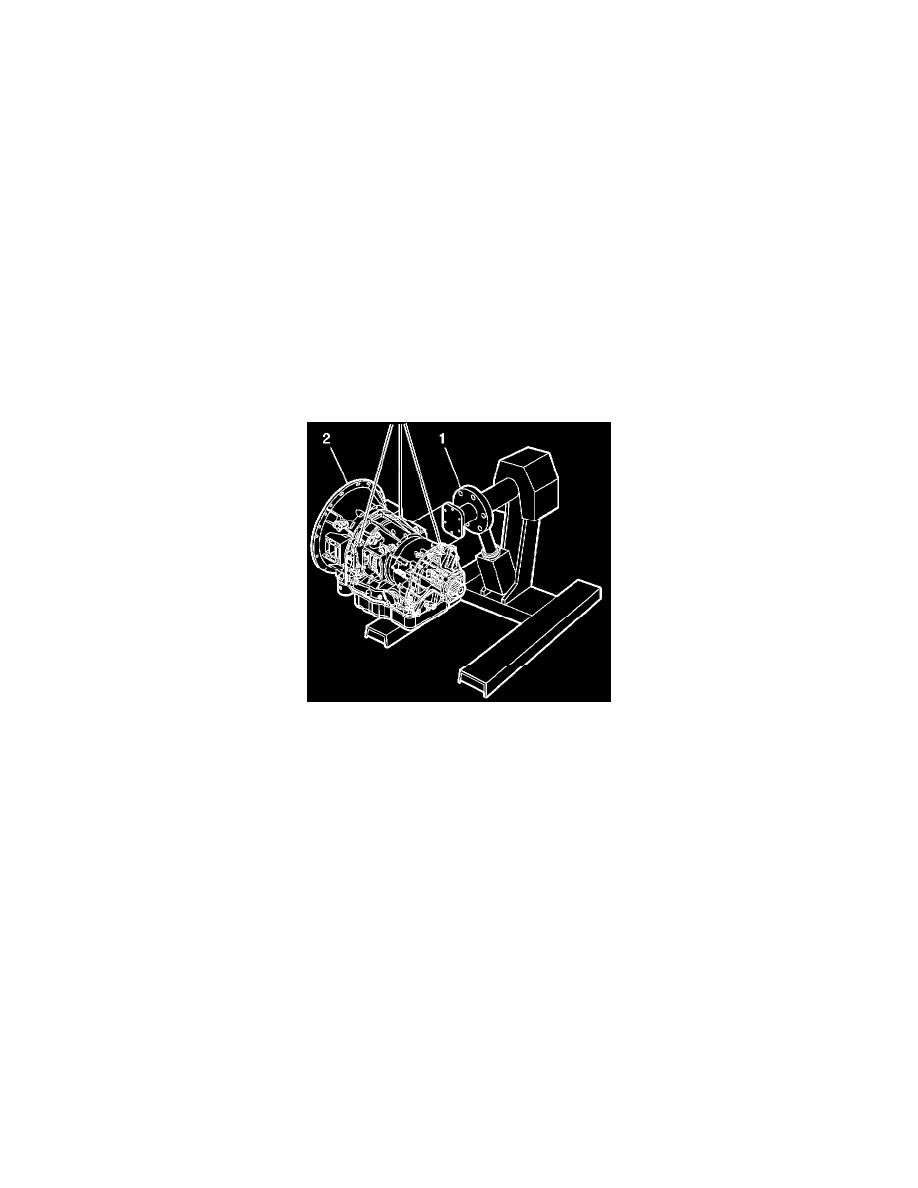
Using the transmission transfer lift, transfer the transmission from the engine stand to the transmission jack.
94.
Remove the J 44723 - Transmission Support Fixture.
95.
Using new PTO cover gaskets, reinstall the PTO covers.
Tighten
Tighten the bolts to 55 N.m (40 lb ft).
96.
Reinstall the cooler line adapter.
97.
Reinstall the inspection cover.
98.
Install the extension housing to transfer case gasket.
99.
Flush the transmission oil cooler. Refer to Automatic Transmission Oil Cooler Flush and Flow Test Essential Tool J 45096 Transflow(R) in
Corporate Bulletin Number 02-07-30-052C.
100. For transmission installation procedures, refer to the proper Service Information Document.
101. AFTER COMPLETION OF THE TRANSMISSION INSTALLATION, DIAGNOSE AND REPAIR THE CAUSE OF THE DRIVELINE
IMBALANCE.
Important: