K 3500 Truck 4WD V8-6.6L DSL Turbo VIN 1 (2001)

Windshield: Service and Repair
Windshield Replacement
Tools Required
*
J 24402-A Glass Sealant Remover (Cold Knife)
*
J 39032 Stationary Glass Removal Tool
*
Urethane Adhesive Kit GM P/N 12346392 or Equivalent
*
Isopropyl Alcohol or Equivalent
*
Cartridge-type Caulking Gun
*
Commercial-type Utility Knife
*
Razor Blade Scraper
*
Suction Cups
*
Plastic Paddle
Removal Procedure
Important: Before cutting out a stationary window, apply a double layer of masking tape around the perimeter of the painted surfaces
and inner trim of the window.
1. Open the hood.
2. Remove the rear view mirror.
Caution: If broken glass falls into the defroster outlets, it can be blown into the passenger compartment and cause personal injury.
3. Cover the defroster outlets and protect the headliner as needed.
4. Remove the antenna mast.
5. Remove the windshield wiper arms.
6. Remove the cowl air inlet grille panel.
7. Remove the door sealing weatherstrip from the upper pinchweld flange.
Caution: When working with any type of glass or sheet metal with exposed or rough edges, wear approved safety glasses and gloves in
order to reduce the chance of personal injury.
8. Use safety glasses and gloves.
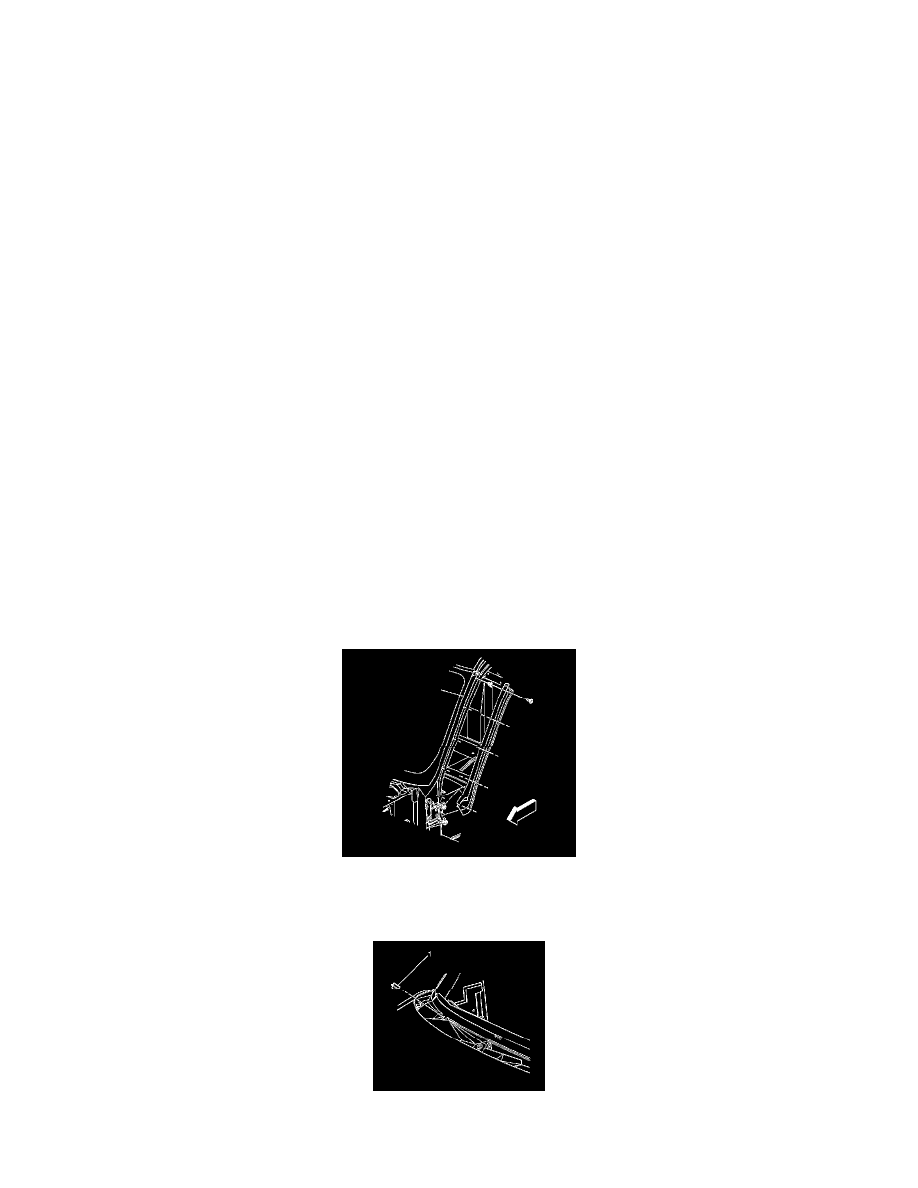
9. Reposition the front door weather strips from the pinchweld flange in order to access to the side reveal molding screws.
10. Remove the side reveal moldings screws.
11. Remove the side reveal moldings.
12. Remove the lower windshield supports (1) from the cowl panel, if equipped.
