
K Yukon/Denali 4WD V8-5.7L VIN R (2000)
Headliner: Service and Repair
Headlining Trim Panel Replacement (Extended Cab)
Headlining Trim Panel Replacement (Extended Cab)
Removal Procedure
1. Remove the IP trim panel in order to disconnect the electrical connectors, if required.
2. Remove the sunshades.
3. Remove the assist handles, if equipped.
4. Remove the rear window lower molding.
5. Remove the upper windshield garnish molding.
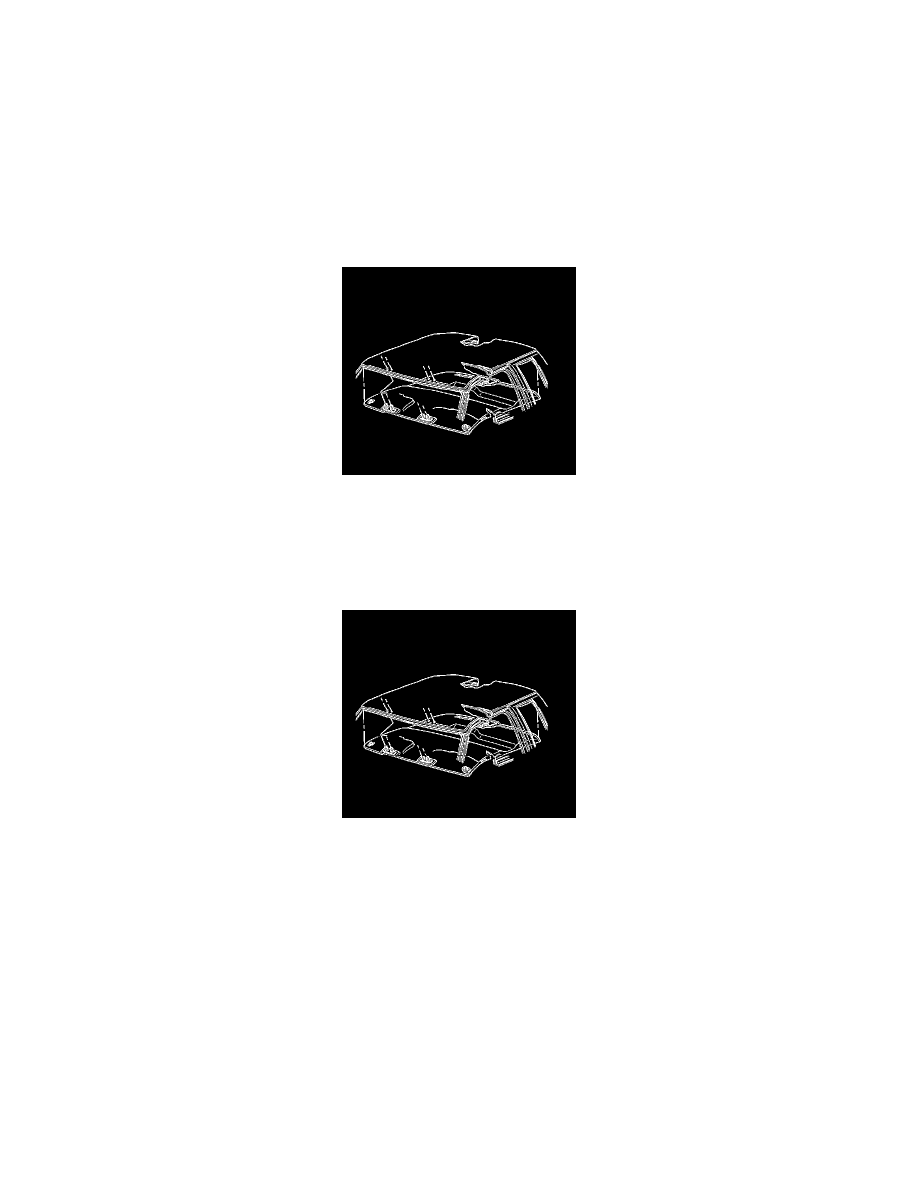
6. Remove the headliner.
1. Grasp the panel on the left side and the right side near the front of the cab.
2. Disengage the front of the panel from the roof.
Installation Procedure
1. Install the headliner to the vehicle.
2. Insert the retainers into the windshield frame.
3. Install the upper windshield garnish molding.
4. Install the rear window upper molding.
5. Install the quarter panel trim.
6. Install the rear window lower molding.
7. Install the assist handle, if equipped.
8. Install the sunshades.
9. Install the IP trim panel in order to disconnect the electrical connectors, if removed.