
K Yukon/Denali 4WD V8-5.7L VIN R (2000)
Tighten the slider to side rail screws to 3 N.m (27 lb in).
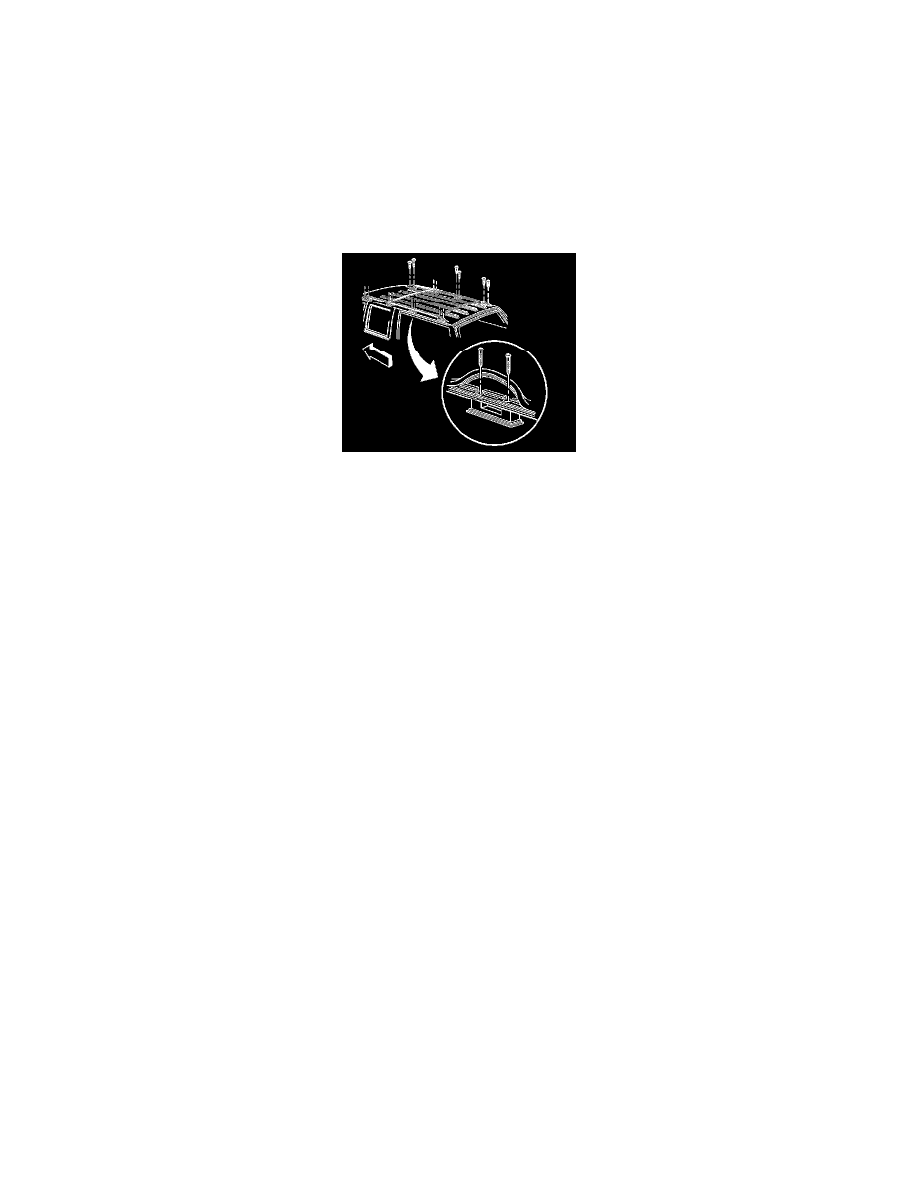
3. Place the cross rails (1) onto the sliders (4).
4. Install the screws (5) into the cross rails (6).
Tighten the cross rail screws to 2 N.m (18 lb in).
5. Connect the side rail supports (2) to the side rails (1).
6. Install the screws (3) into the side rail supports (2).
Tighten the side rail support screws to 2 N.m (18 lb in).
7. Install the center rail supports.
8. Place the luggage carrier onto the roof.
9. Install the end support to vehicle screws.
Tighten the screws to 3 N.m (27 lb in).
10. Install the screws into the center supports.
Tighten the screws to 3 N.m (27 lb in).
11. Place the rubber side rail cap over the center rail support.