
K Yukon/Denali 4WD V8-5.7L VIN R (2000)
12. For 6.5L only, remove the bolt and the clamp from the bracket.
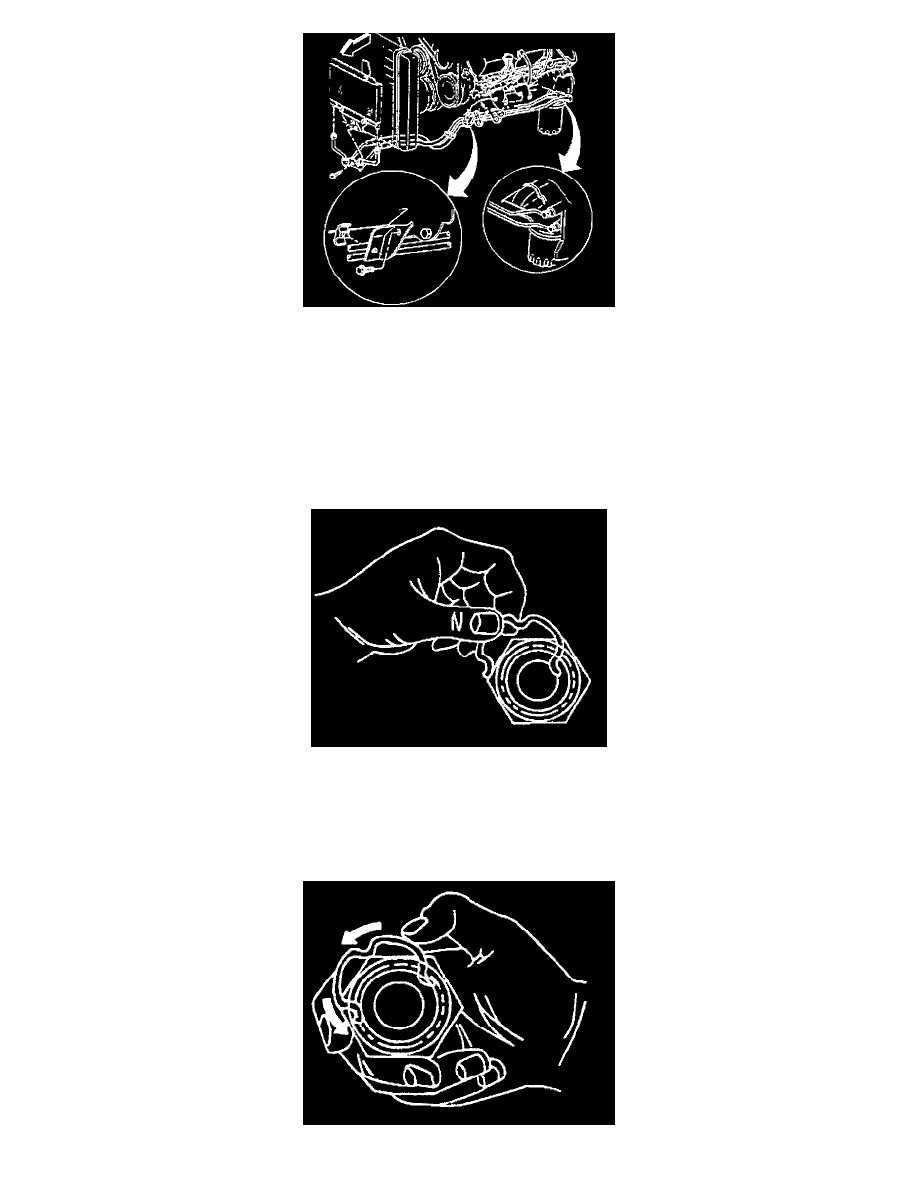
13. Remove the oil cooler lines from the oil cooler fittings.
14. Remove and discard the oil filter.
15. Clean all of the components in a suitable solvent, and dry them with compressed air.
-
Use a clean solvent and compressed air in order to backflush the oil the oil cooler and lines.
-
Use compressed air in order to remove the cleaning solvent.
-
Use the same type of oil normally circulated through the cooler in order to flush the system.
16. Inspect all of the fittings, connectors and cooler lines for damage or distortion.
Installation Procedure
1. Install the oil filter.
2. Install the retaining clip into the connector fittings. Do not reuse the existing retaining clips removed from the cooler line connector fittings. The
retaining clips being put into the cooler line connector fittings must be new.
3. Using your thumb and forefinger, insert a new retaining clip into one of the three connector fitting recesses. Ensure that the retaining clip engages
all three slots in the connector fittings. Failure to properly install the connector clips could cause the cooler lines to come loose and cause damage
to the engine.