
K Yukon/Denali 4WD V8-5.7L VIN R (2000)
Timing Cover: Service and Repair
Removal Procedure
1. Remove the crankshaft balancer. Refer to Crankshaft Balancer Replacement.
2. Remove the water pump. Refer to Water Pump Replacement (Gasoline).
3. Drain the engine oil. Refer to Engine Oil and Oil Filter Replacement.
4. Remove all the engine oil pan fasteners except the two nuts at the rear of the engine. Refer to Oil Pan Replacement.
5. Carefully separate the engine oil pan from the engine front cover.
6. Disconnect the Crankshaft Position (CKP) sensor wire. Refer to Crankshaft Position (CKP) Sensor Replacement.
7. Remove the engine front cover and gasket.
Installation Procedure
1. Install a NEW engine front cover. Refer to Engine Front Cover Installation.
2. Clean all the adhesive from the corners of the oil pan gasket where it meets the engine front cover.
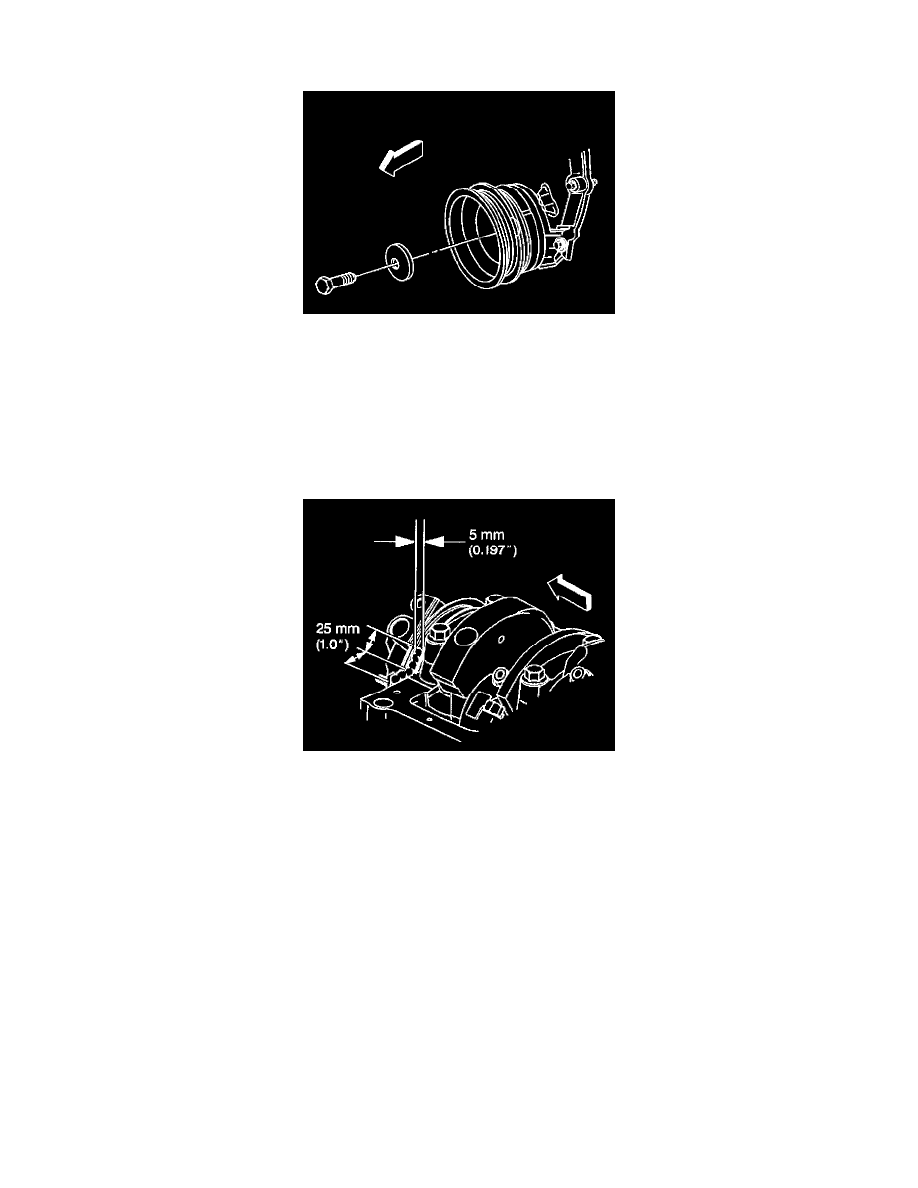
Important: The oil gasket and the oil pan must be installed and the fasteners tightened while the adhesive is still wet to the touch.
3. Apply a 5 mm (0.197 inch) wide and 25 mm (1.0 inch) long bead of adhesive, GM P/N 12346141 or equivalent, to the engine front cover to
engine block junction at the oil pan sealing surfaces.
4. Install the engine oil pan. Refer to Drive Belt Tensioner Replacement.
5. Connect the Crankshaft Position (CKP) sensor wire. Refer to Crankshaft Position (CKP) Sensor Replacement.
6. Install the water pump. Refer to Water Pump Replacement (Gasoline).
7. Install the crankshaft balancer. Refer to Crankshaft Balancer Installation.