
K Yukon/Denali 4WD V8-5.7L VIN R (2000)
Compressor Clutch Hub: Service and Repair
COMPRESSOR CLUTCH PLATE/HUB ASSEMBLY REPLACEMENT
REMOVAL PROCEDURE
TOOLS REQUIRED
-
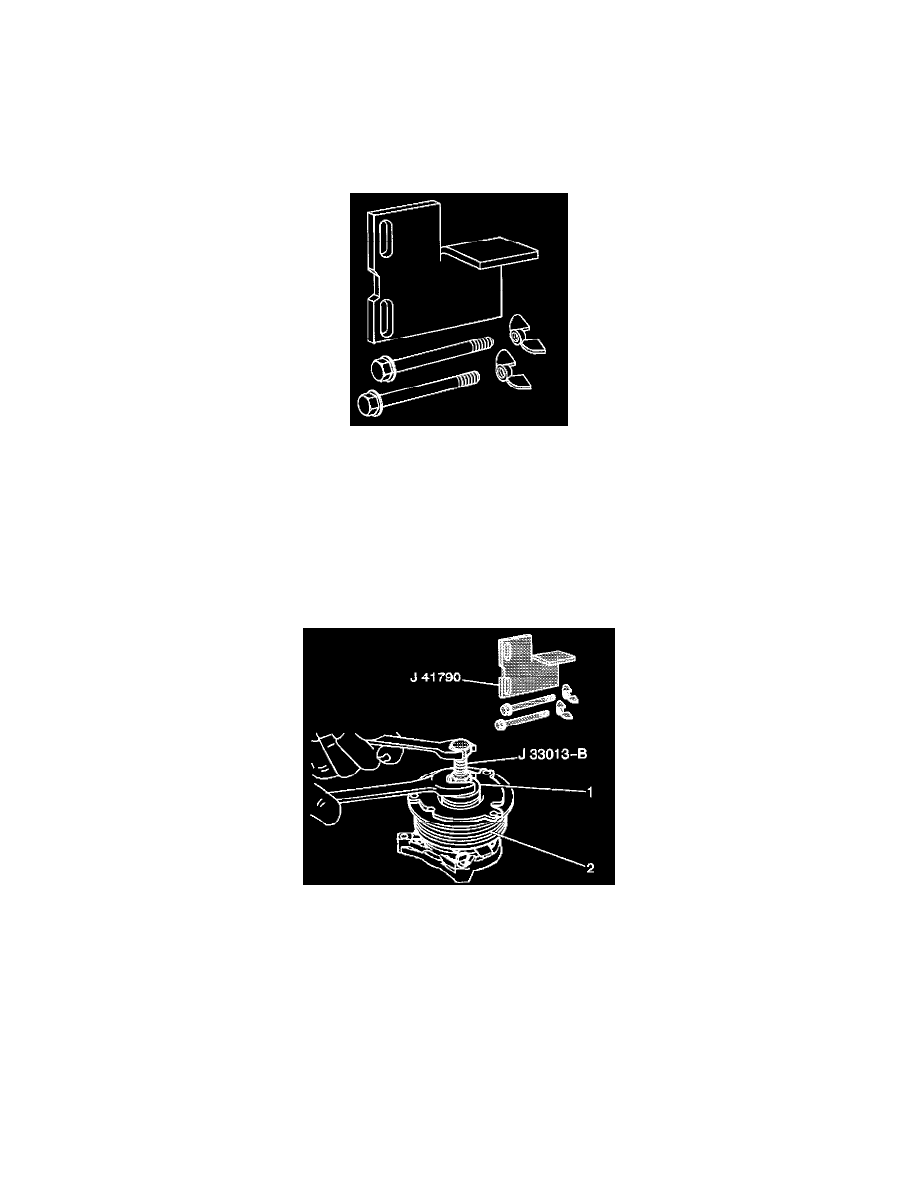
J 41790 Compressor Holding Fixture
-
J 33013-B Clutch Plate and Hub Assembly Installer-Remover
1. Remove the compressor from the vehicle.
2. Use the Compressor Holding Fixture HD-6 tool in order to hold the compressor in a the vise.
3. Use both thumb screws in order to attach the compressor to the holding fixture.
4. Install the compressor into a vise.
5. Remove the shaft protector from the clutch hub shaft.
NOTE: Do not drive or pound on the clutch hub or shaft. Internal damage to the compressor may result. The forcing tip on the J 33013-B
remover/installer center screw must be flat or the end of the shaft/axial plate assembly will be damaged.
6. Ensure that the center screw forces the tip to thrust against the end of the shaft.
7. Thread the J 33013-B into the hub.
8. While holding the body of J 33013-B of the remover with a wrench turn the center screw into the remover body in order to remove the clutch plate
and hub assembly.
9. Remove the shaft key. Retain the shaft key for reassembly.
10. Remove the old clutch plate and hub assembly (2) from the compressor.
INSTALLATION PROCEDURE