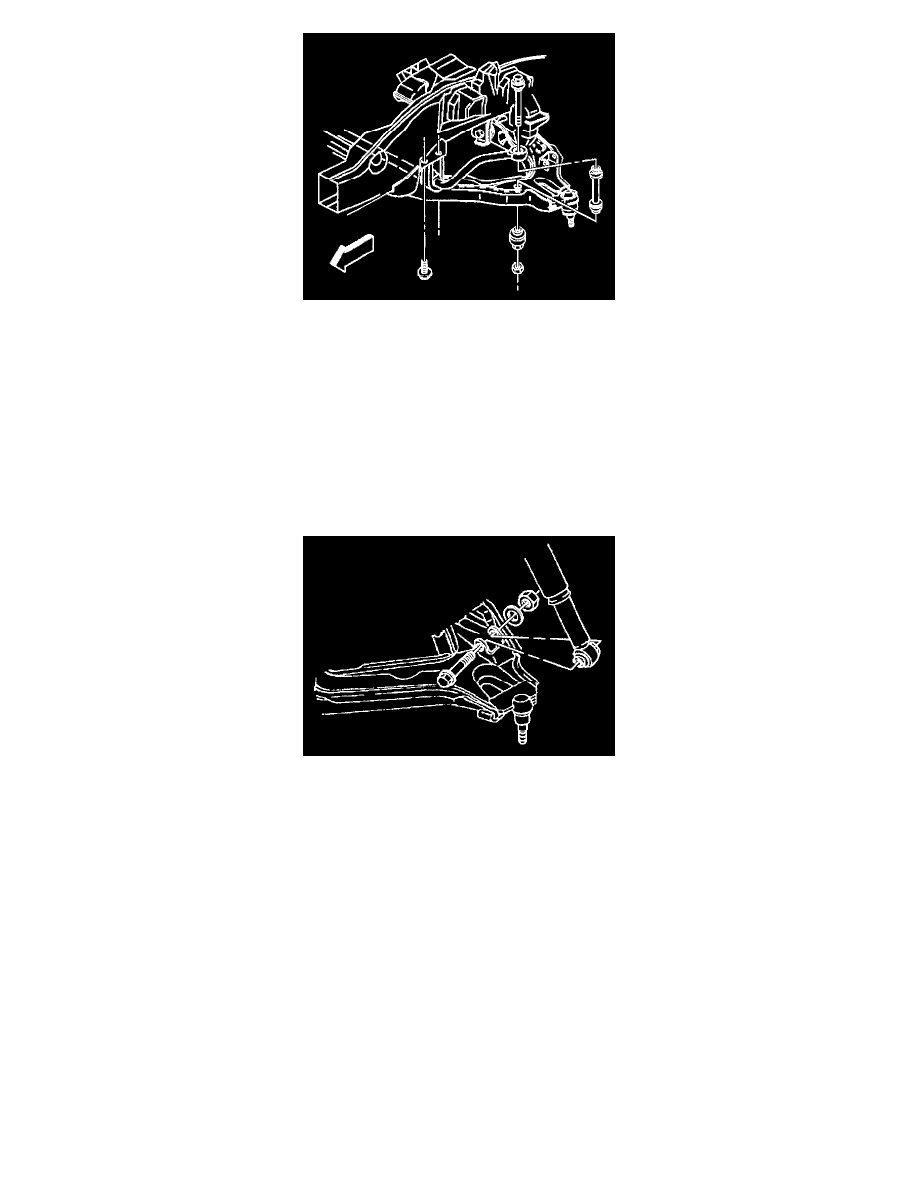
K Yukon/Denali 4WD V8-5.7L VIN R (2000)

1. Prior to wheel drive shaft installation, cover the shock mounting bracket, lower control arm ball stud, and all other sharp edges with shop towels so
that the wheel drive shaft boot is not damaged during assembly.
Important: Do not lubricate the wheel drive shaft splines and knuckle with grease.
2. Insert the outer C/V joint splined shank into the knuckle hub, rotating as necessary to avoid contact with the lower control arm. Secure the inboard
C/V joint flange to companion flange with bolts. Do not tighten.
Notice: Refer to Fastener Notice in Service Precautions.
3. Install the stabilizer shaft link spacer assembly, bolt, and nut (8050 GVW and above).
Obtain torque by running the nut assembly to the unthreaded portion of the bolt, then tighten to 18 Nm (13 ft. lbs.).
4. Install the shock absorber to the lower shock mounting bracket.
5. Install the shock mounting bolt, washer, and nut.
Tighten the nut to 73 Nm (54 ft. lbs.).
Notice: Use only a genuine GM front wheel drive shaft nut. Installation of anything but an OEM front wheel drive shaft nut could cause damage
to the vehicle.
