
K Yukon/Denali 4WD V8-6.5L DSL Turbo VIN S (1999)
Front Crankshaft Seal: Service and Repair
REMOVAL PROCEDURE
1. Disconnect both the battery negative cables from the batteries. Refer to Battery Cable in Powertrain Management.
2. Remove the upper fan shroud from the radiator. Refer to Fan Shroud Replacement (Upper) in Cooling System.
3. Remove the drive belt from the drive pulleys. Refer to Drive Belt Replacement.
4. Raise the vehicle and support with safety stands.
5. Remove the lower radiator shrouds from the radiators. Refer to Fan Shroud Replacement (Lower) in Cooling System.
6. Remove the crankshaft balancer from the crankshaft. Refer to Crankshaft Balancer Replacement.
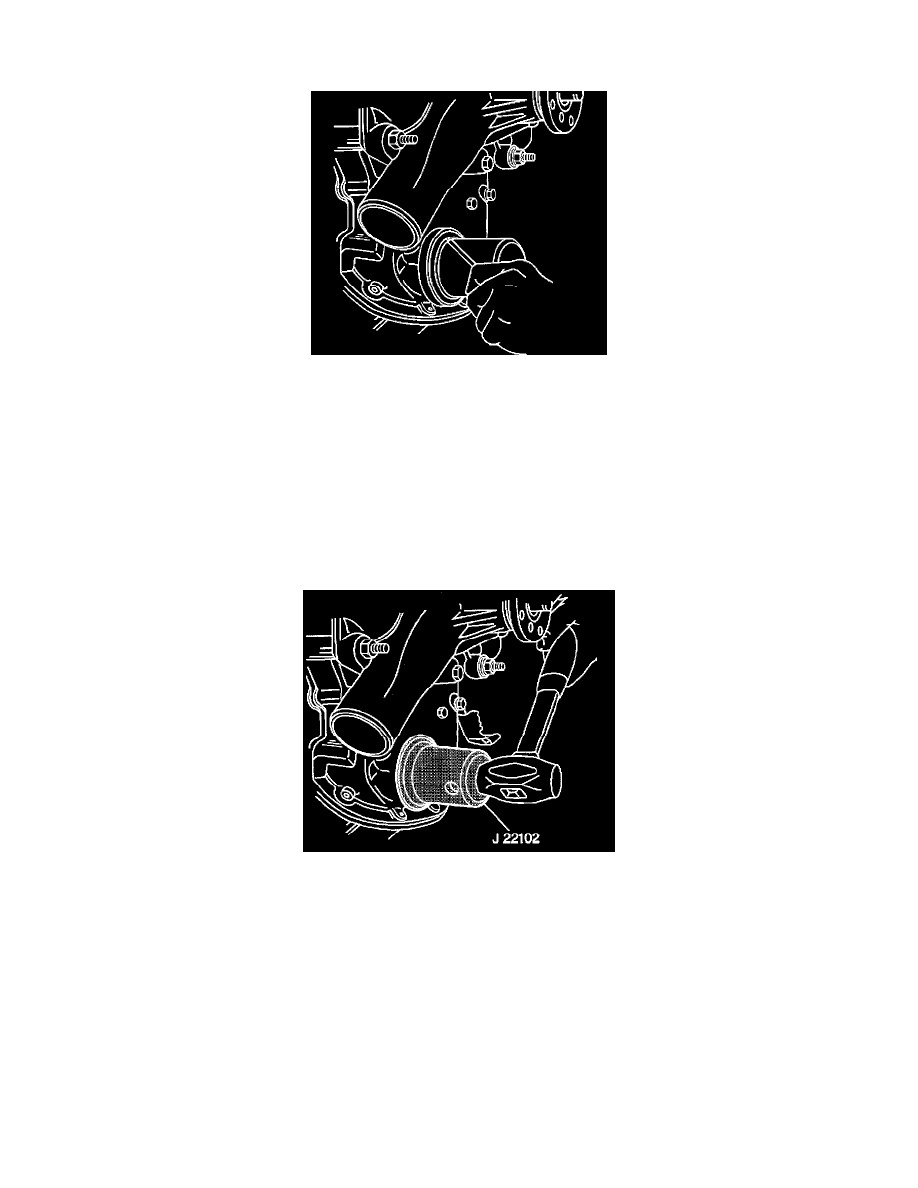
7. Remove the crankshaft front cover oil seal from the engine front cover.
INSTALLATION PROCEDURE
^
Tools Required
-
J 22102 Seal Installer
1. Use the J 22102 to install a new crankshaft front cover oil seal.
2. Install the crankshaft balancer to the crankshaft. Refer to Crankshaft Balancer Replacement.
3. Install the lower radiator shrouds to the radiator. Refer to Fan Shroud Replacement (Lower) in Cooling System.
4. Remove the safety stands and lower the vehicle.
5. Install the drive belt on the drive pulleys. Refer to Drive Belt Replacement.
6. Install the upper fan shroud to the radiator. Refer to Fan Shroud Replacement (Upper) in Cooling System.
7. Connect both the battery negative cables to the batteries. Refer to Battery Cable in Powertrain Management.