
K Yukon/Denali 4WD V8-6.5L DSL Turbo VIN S (1999)
Torsion Bar: Service and Repair
4 Door Utility, Only
REMOVAL PROCEDURE
^
Tools Required
-
J 36202 Torsion Bar Unloading/Loading Tool
1. Raise the vehicle. Support the vehicle with suitable safety stands.
2. Remove the adjustment assemblies on both torsion bars.
2.1. Mark the adjustment bolt setting.
2.2. Using the J 36202, increase the tension on the adjustment arm.
2.3. Remove the adjustment bolt and the retaining plate.
2.4. Using the J 36202, decrease the tension on the adjustment arm.
2.5. Move the tool aside.
2.6. Slide the torsion bars forward.
2.7. Remove the adjustment arms.
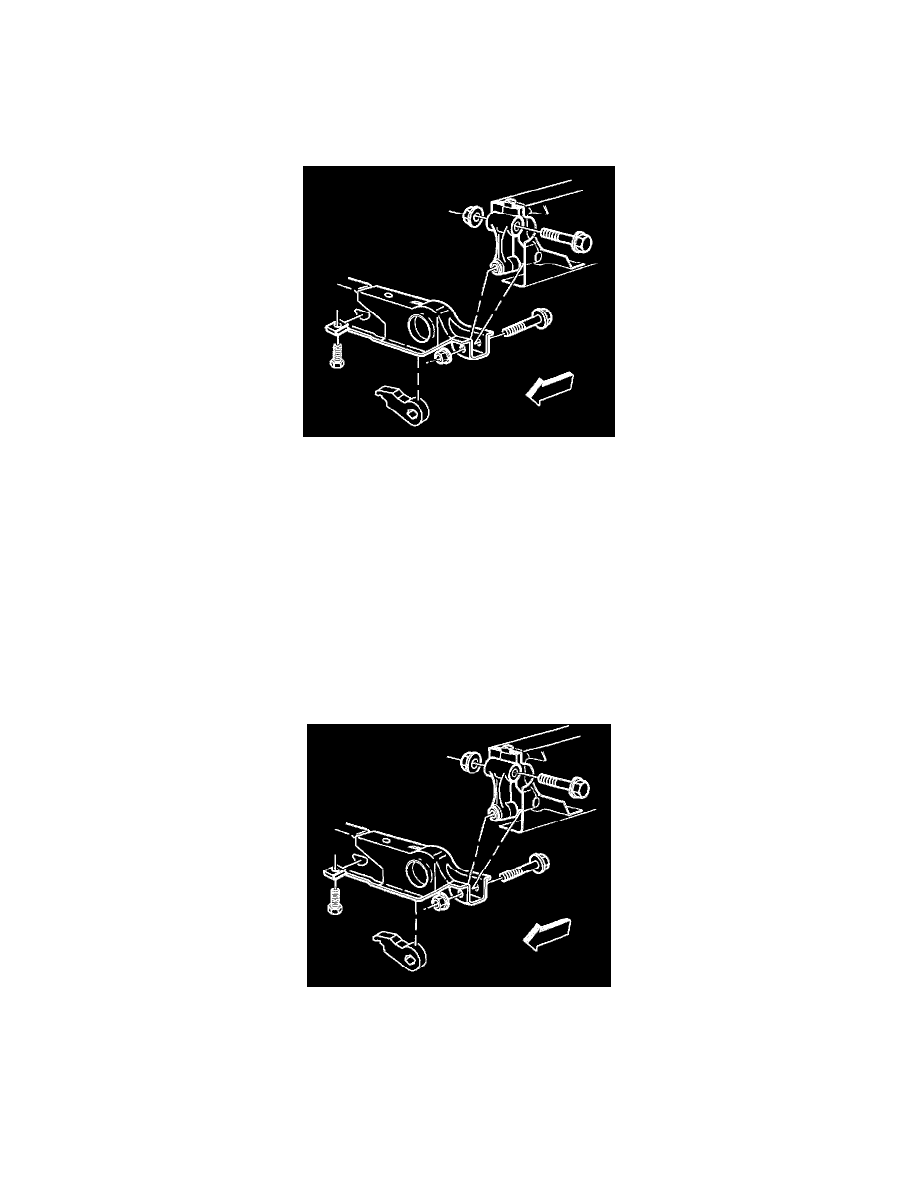
3. Remove the nuts and the bolts from the torsion bar support crossmember link assembly.
4. Remove the torsion bars. Note the location and the front ends of the torsion bars. The left side and the right side torsion bars are different.
5. Remove the support crossmember.
6. Remove the link assembly from the support crossmember.
INSTALLATION PROCEDURE
1. Install the link assembly on the support crossmember.
2. Install the support crossmember assembly to the frame, rearward of the mounting holes.
3. Install the torsion bars.
3.1. Make sure the bars are installed on the proper sides.
3.2. Slide the support crossmember forward until the torsion bars are supported.
4. Install the adjustment arms on the torsion bars.
5. Install the bolts and the nuts into the torsion bar support crossmember link assembly.