S15/T15 2WD Jimmy V6-262 4.3L (1991)

or socket (Figure 2).
7.
Install new MEM-CAL in MEM-CAL socket.
Important
Press only on the ends of the MEM-CAL. Small notches in the MEM-CAL must be aligned with the small notches in the MEM-CAL socket. Press on the
ends of the MEM-CAL, until the retaining clips snap into the ends of the MEM-CAL. Do not press on the middle of the MEM-CAL, only the ends.
8.
Install the access cover on ECM.
9.
Write the following on the white ECM bar code label.
MEM-CAL part number 16164052
10.
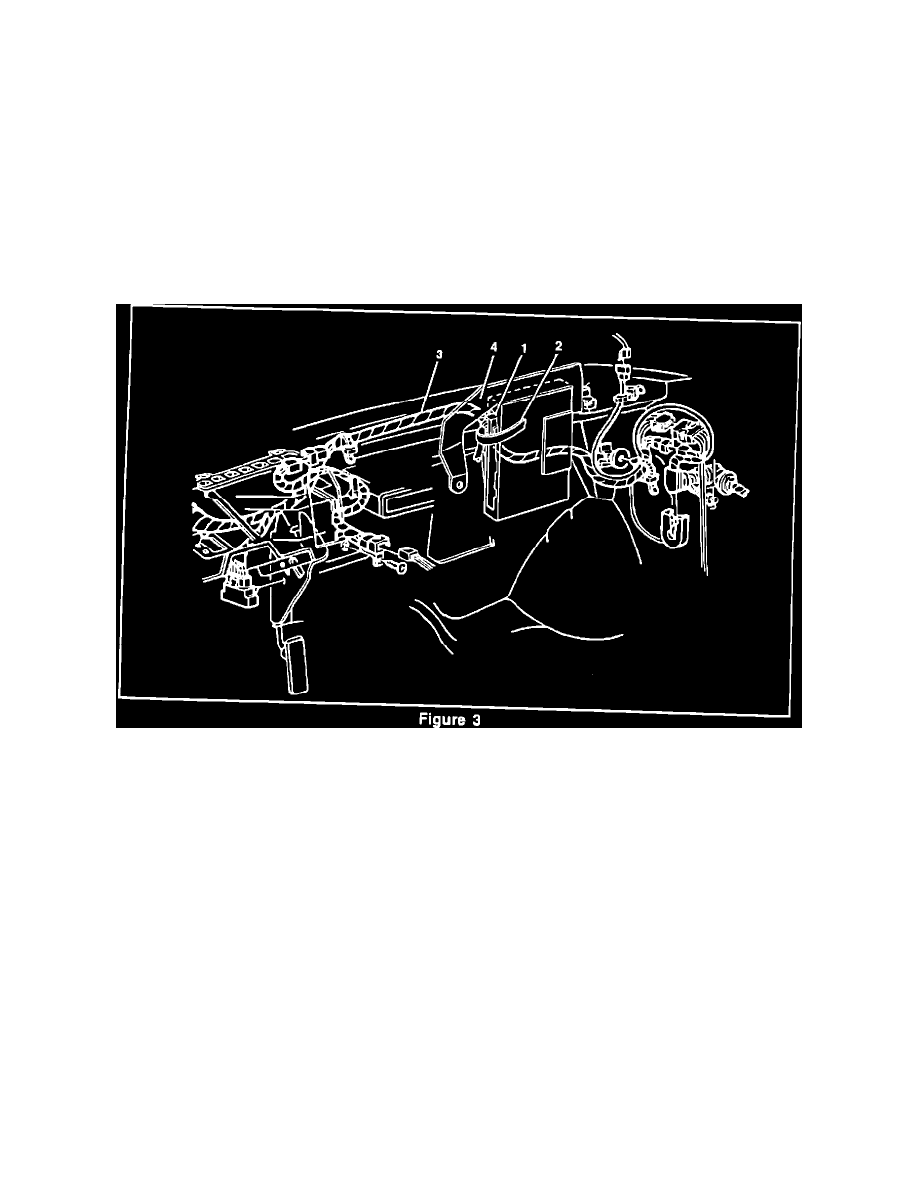
Install the ECM in the passenger compartment.
Important
When installing the ECM into the passenger compartment position the wire out of the top (green) connector (see item 1 Figure 3) between the connector
thumb latch and the tab on grey comb.
Place tape as shown (Item 2 Figure 3) to retain wire in this position during ECM installation.
To avoid interference, it will be necessary to move the cross body power door lock harness as shown prior to ECM installation (see Item 3 Figure 3).
11.
Apply the supplied tamper proof sticker over the access cover of ECM.
Important
Record the new PAS ECM tamper resistant label registration number on the front of the repair order as part of the write up.
12.
Install the connectors to ECM.
13.
Install the "Campaign Identification Label".
14.
Install the negative battery cable.
Parts and Warranty Information
