
S15/T15 4WD Jimmy V6-173 2.8L (1988)
Valve Cover: Service and Repair
Right Side
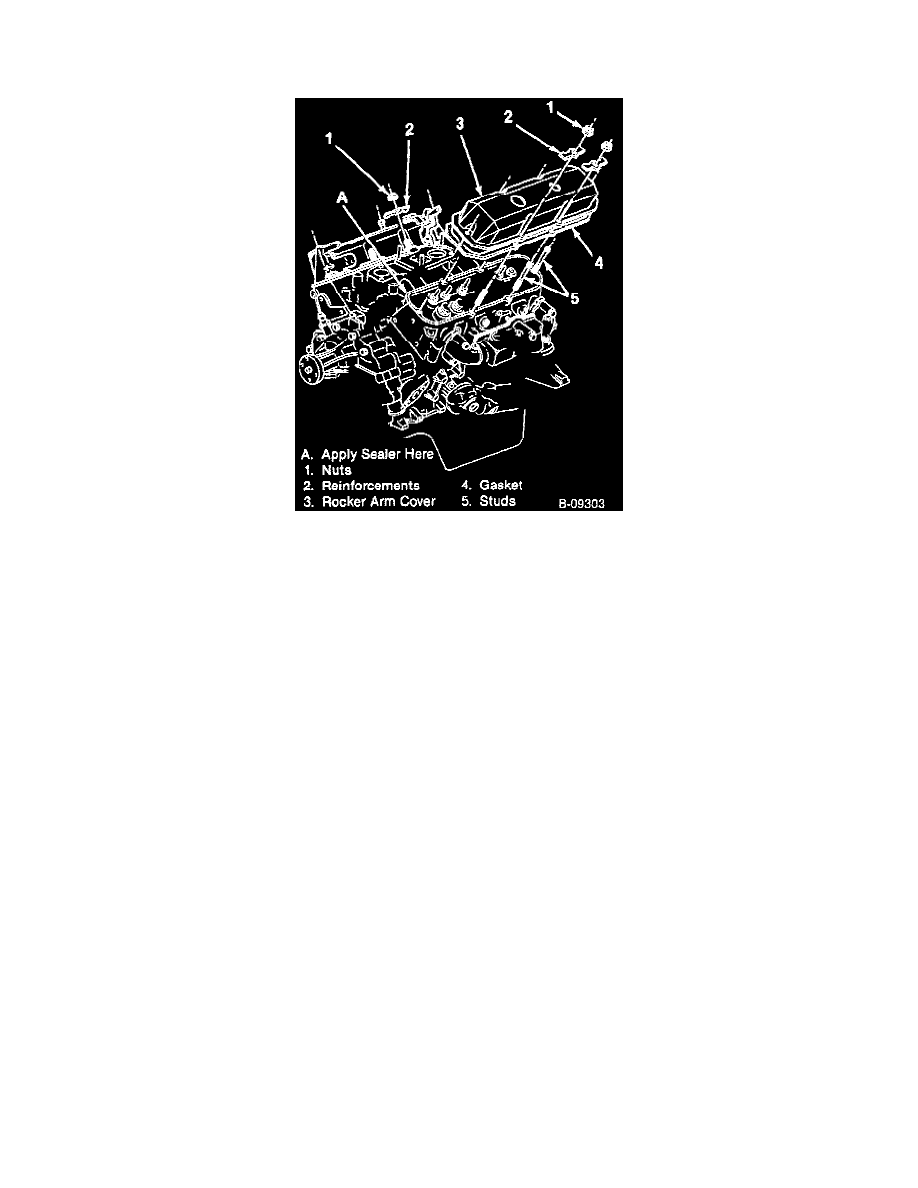
Valve Cover - Typical
REMOVE OR DISCONNECT
1. Battery negative cable.
2. Air cleaner.
3. Ignition coil and bracket.
4. Spark plug wires from the bracket at the valve cover stud.
5. PCV valve.
6. Vacuum pipe at the manifold.
7. Throttle, cruise control and TVS cables and bracket at the TBI unit.
8. Generator, and lay aside.
9. Valve cover nuts and reinforcements.
10. Valve cover and gasket.
CAUTION If the cover sticks to the head, bump the end of the cover. If the cover still does not come loose, carefully pry until loose. DO NOT
DISTORT THE SEALING FLANGE.
CLEAN
^ All traces of the old gasket from the valve cover and cylinder head.
INSPECT
^ Valve cover sealing surfaces for distortion. Replace if necessary.
INSTALL OR CONNECT
^ Apply a dab of RTV sealant (GM Part No. 1052917 or equivalent) at the point where the sealing area of the head meets the sealing area of intake
manifold.
1. Valve cover and new gasket.
2. Reinforcements (2) and nuts (1).
Tighten
^ Nuts (1) to 8.0 Nm (72 in.lbs.).
3. Generator.
4. Throttle, cruise control and TVS cables and bracket.
5. Vacuum pipe.
6. PCV valve.
7. Spark plug wires.
8. Coil and bracket.