
S15/T15 4WD Jimmy V6-262 4.3L VIN Z (1992)
Control Arm Bushing: Service and Repair
Upper Control Arm Bushing
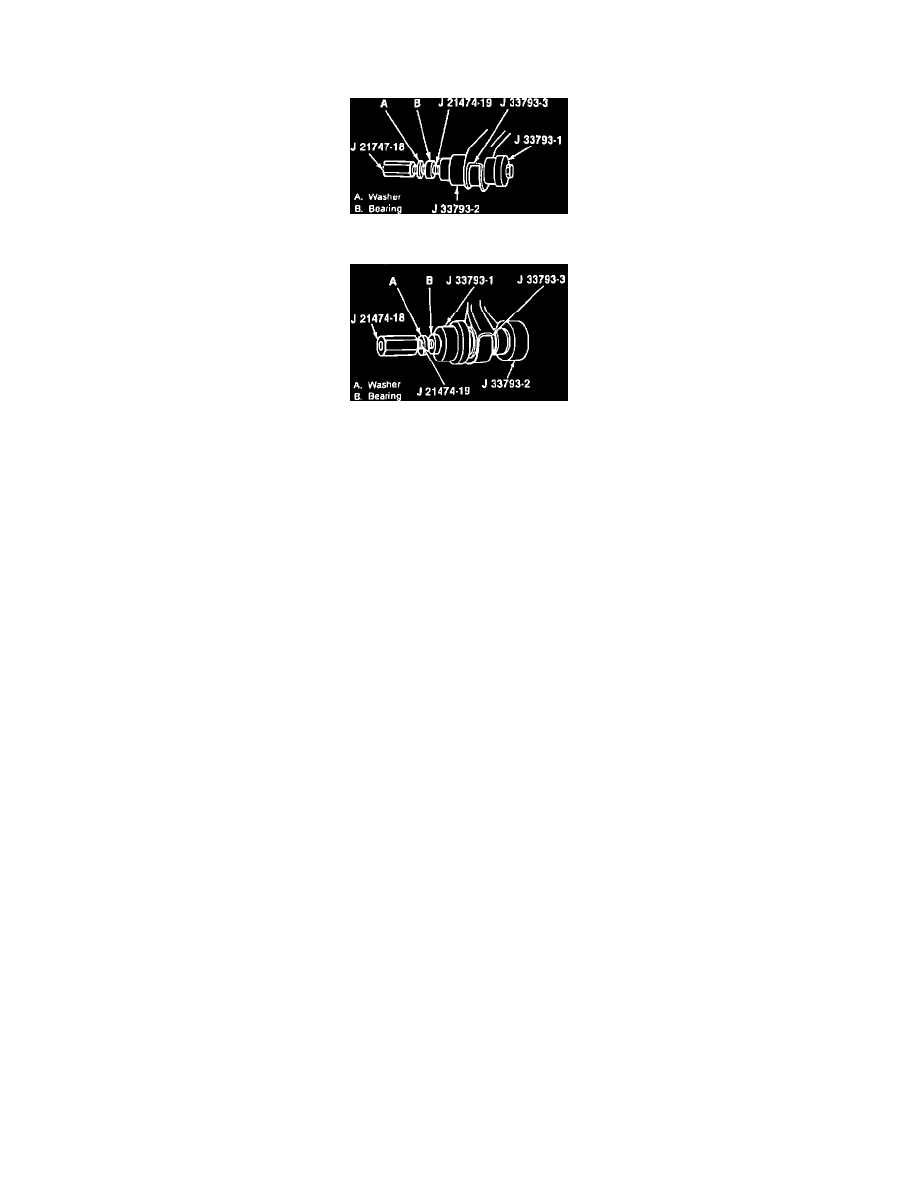
Fig. 4 Upper Control Arm Bushing Removal. 4 X 2 Models
Fig. 5 Upper Control Arm Bushing Installation. 4 X 2 Models
4 X 2 MODELS
1.
Remove upper control arm as described under UPPER CONTROL ARM.
2.
Remove nuts from end of pivot shaft, then remove bushings, Fig. 4.
3.
Install bushings by installing pivot shaft in control arm and pressing new bushings into control arm, Fig. 5. Torque pivot shaft nuts to
specifications, with weight of vehicle resting on wheels. Both bushings must be installed .48-.52 inch from face of control arm to bushing
outer sleeve.
4 X 4 MODELS
1.
Remove upper control arm as previously outlined under UPPER CONTROL ARM.
2.
Refer to Fig. 4 and 5, for bushing removal and installation.