
S15/T15 4WD P/U V6-173 2.8L (1985)
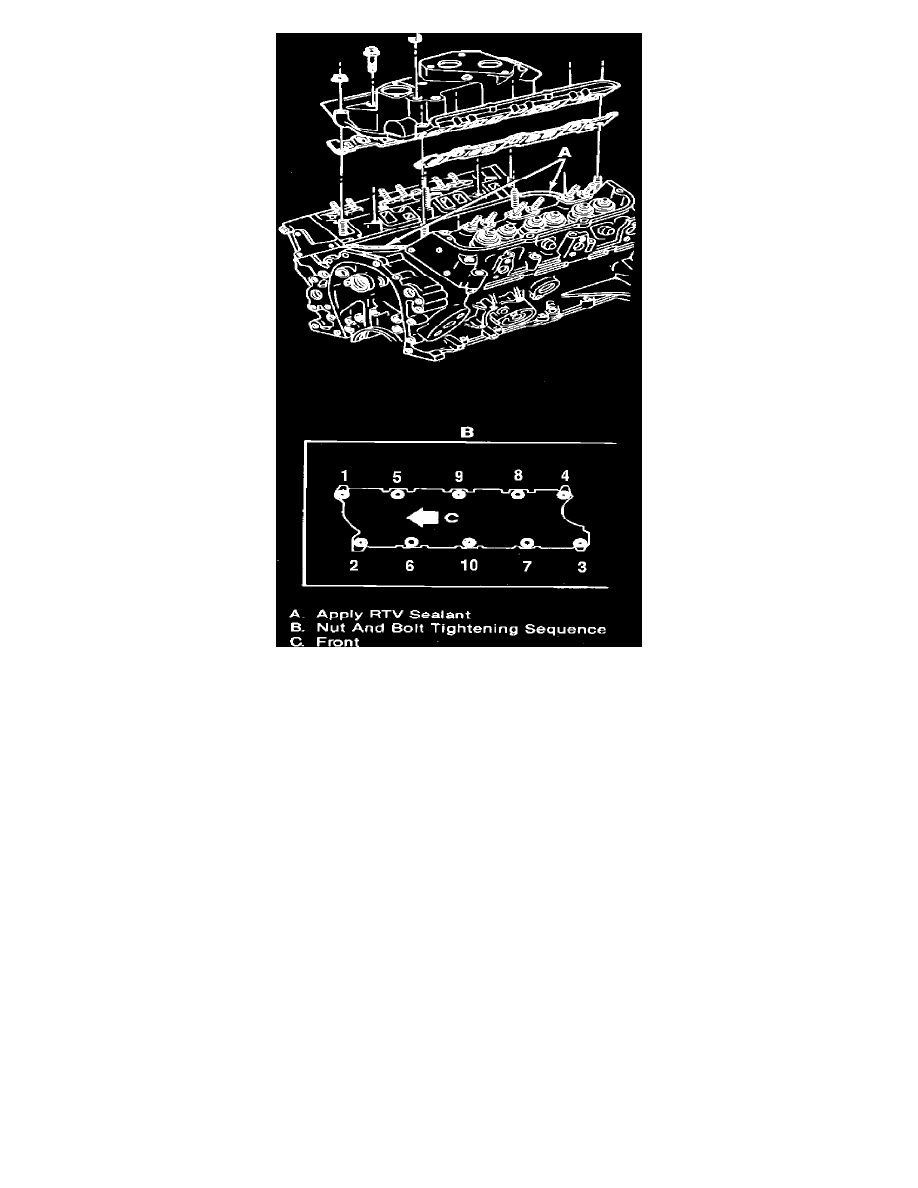
Fig. 4 Intake manifold tightening sequence. 1986-87
1.
Disconnect battery ground cable.
2.
Remove air cleaner, then drain cooling system.
3.
Disconnect all vacuum hoses, electrical connectors, linkages and fuel line from carburetor or throttle body unit.
4.
On 1985-87 models, proceed as follows:
a. Disconnect ignition wires from spark plugs.
b. Disconnect ignition coil wiring, then remove distributor cap with spark plug wires.
c. Mark distributor position for installation reference, then remove hold-down bracket and the distributor.
5.
On all models, disconnect air management hose and the emission canister hoses and remove pipe bracket from left hand valve cover.
6.
Remove left hand valve cover, then the air management bracket and right hand valve cover.
7.
Disconnect coolant hoses from intake manifold.
8.
Disconnect electrical connectors from intake manifold.
9.
Remove intake manifold attaching bolts and the manifold.
10.
Reverse procedure to install, using new gaskets. Ensure no oil or water is present on surface when new RTV is applied. Place a (3/16 inch)
bead of RTV, #1052366 or equivalent, on each ridge. Install manifold retaining bolts and nuts and torque in the sequence shown in Figs. 3
and 4 to 23 ft. lbs.