S15/T15 Jimmy 2WD V6-262 4.3L VIN Z (1994)

A. Right rear
B. Left rear
C. Right front
D. Left front
5. Attach J 28434 to the wheel cylinder/caliper bleeder valve.
-
Immerse the opposite end of the hose into a container partially filled with clean brake fluid.
6. Slowly apply the brake pedal one time and hold.
7. Loosen the bleeder valve to purge the air from the wheel cylinder/caliper.
8. Tighten the bleeder valve and slowly release the pedal.
9. Wait 15 seconds.
10. Repeat this sequence, including the 15-second wait, until all air is purged from the wheel cylinder/caliper.
11. Tighten the bleeder valve to 7 N.m (62 lbs. in.).
12. Continue steps 5 through 11 at each wheel until the system is bled.
13. Check the brake pedal for "sponginess" and the brake warning lamp for an indication of unbalanced pressure. Repeat the bleeding procedure to
correct either of these conditions.
Pressure Bleeding
PRESSURE BLEEDING
A diaphragm-type pressure bleeder must be used. It must have a rubber diaphragm between the air supply and brake fluid to prevent air, moisture, oil,
and other contaminants from entering the hydraulic system.
NOTICE: Brake fluid will damage electrical connections and painted surfaces. Use shop cloths, suitable containers, and fender covers to prevent
brake fluid from contacting these areas. Always reseal and wipe off brake fluid containers to prevent spills.
Tools Required:
- J 29567 Brake Bleeder Adapter
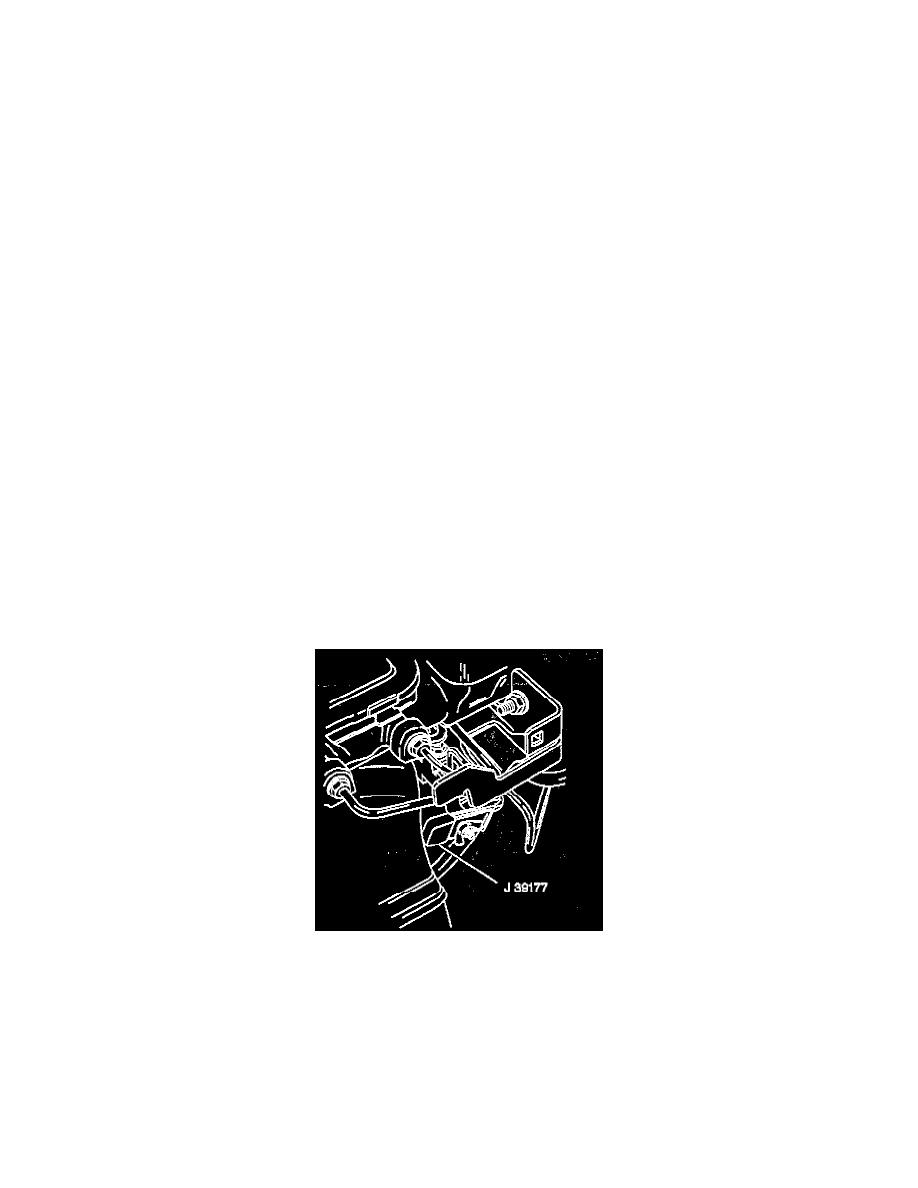
- J 39177 Combination Valve Pressure Bleeding Tool
- J 28434 Wheel Cylinder Bleeder Wrench
1. Fill the pressure tank at least 2/3 full of brake fluid. The bleeder must be bled each time fluid is added.
2. Charge the bleeder to 140-170 kPa (20-25 psi).
Combination Valve Pressure Bleeding Tool
3. Use J 39177 to depress and hold the valve stem on the combination valve.
