
S15/T15 Jimmy 4WD V6-4.3L VIN W (1996)
1. Handle bezel screw.
2. Handle bezel from door trim panel by prying at rear with lever in locked position.
Install or Connect
1. Handle bezel to door trim panel.
^
Route inside handle assembly and locking rod through appropriate openings in bezel.
^
Align lock rod to lock rod knob.
^
Snap bezel into place.
2. Handle bezel screw.
Tighten
^
Handle bezel screw to 5 N.m (44 lb. in.).
Lock Cylinder and Outside Handle Replacement
New lock cylinders are available as replacement parts. If door lock cylinders require replacement for any reason, apply a coating of GM P/N 12345120
or equivalent lubricant inside of the lock case and cylinder key-way prior to assembling and installing the cylinder.
New lock cylinders (tumblers) are available as replacement parts.
Remove or Disconnect
1. Trim panel.
2. Water deflectors from the door.
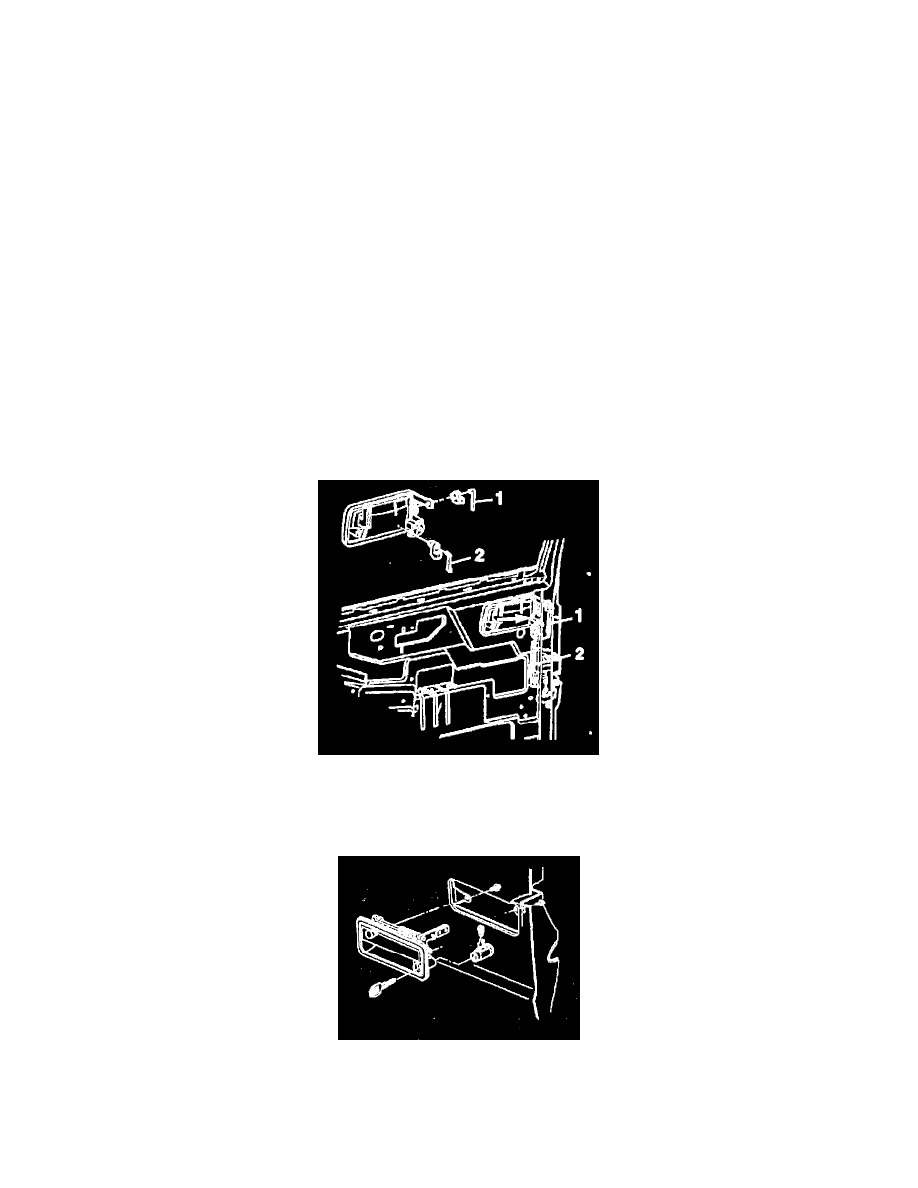
Front Door Lock Cylinder & Outside Handle Lock Rod Connectors
3. Outside handle rod from the rod clip (1).
4. Lock cylinder rod from the rod clip (2).
Front Door Lock Cylinder & Outside Handle
5. Outside handle mounting screws
6. Door lock cylinder from the outside handle housing.