
S15/T15 Jimmy 4WD V6-4.3L VIN W (1996)
Oil Pan: Service and Repair
OIL PAN REPLACEMENT
NOTICE: If the clearance between the rear of the oil pan and the transmission Is more than 0.254 mm (0.010 in.) powertrain durability may be
impacted.
Important
-
Any time the transmission and oil pan are off of the engine at the same time, the transmission must be installed before the oil pan. This will allow
the for proper measurement of the oil pan tolerance.
-
A one-piece type oil pan gasket is used.
Tools Required:
-
J 29107 Pittman Arm Puller
-
J 6632-01 Pittman Arm Remover
Remove or Disconnect
1. Negative battery cable.
2. Oil level indicator tube.
-
Raise the vehicle and support with safety stands.
3. Front axle shield.
4. Front under body shield.
-
Drain engine oil.
5. Wiring harness bracket at right side of the oil pan.
6. Left engine mount through bolts.
7. Right engine mount through bolts.
-
Raise the engine. Block in position.
8. Oil cooler line.
9. Oil filter adapter.
10. Pitman arm bolt.
11. Pitman arm.
12. Idler arm bolts.
13. Idler arm.
14. Front drive axle through bolts.
15. Front propeller shaft.
16. Roll differential forward.
17. Starter motor.
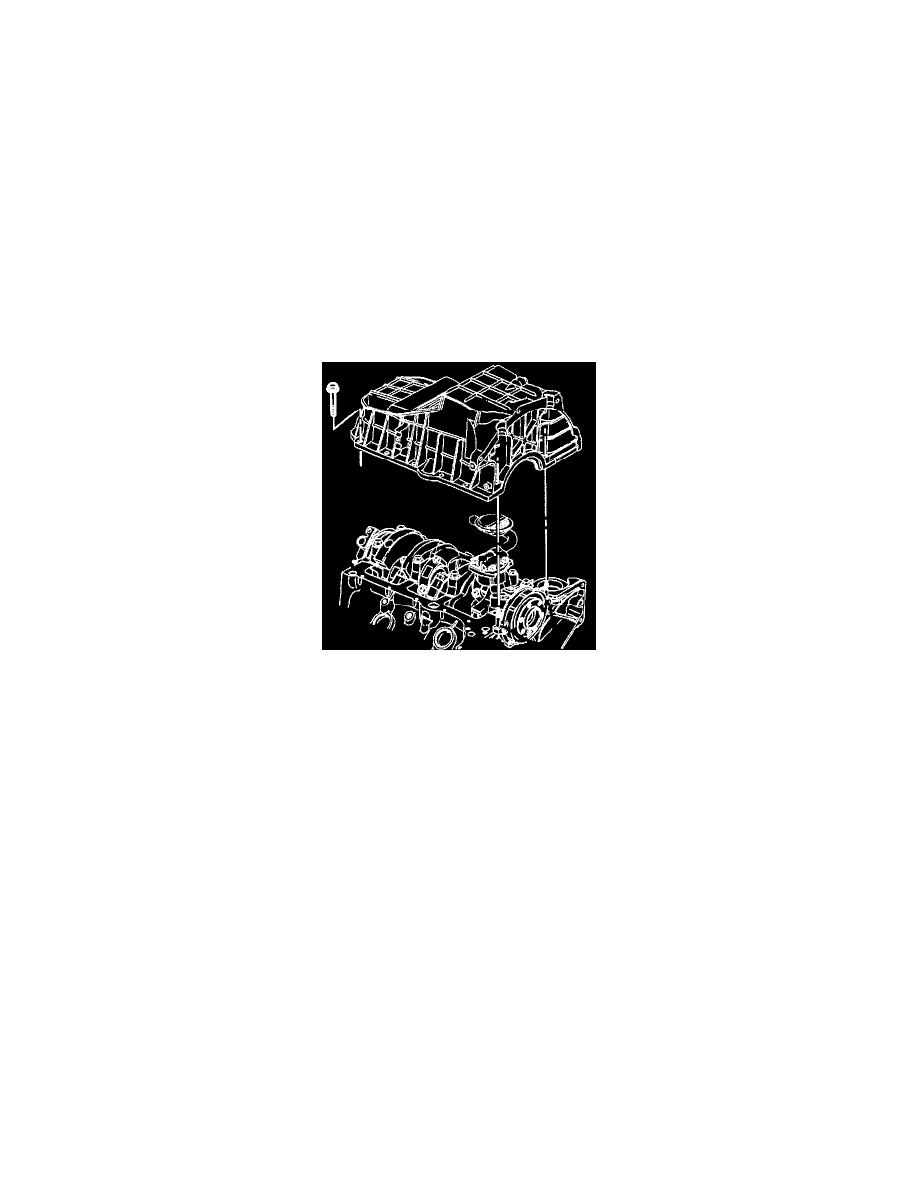
18. Oil pan bolts, nuts, and reinforcements.
19. Oil pan and gasket.
20. Rubber bell housing plugs.