
S15/T15 Jimmy 4WD V6-4.3L VIN W (1996)
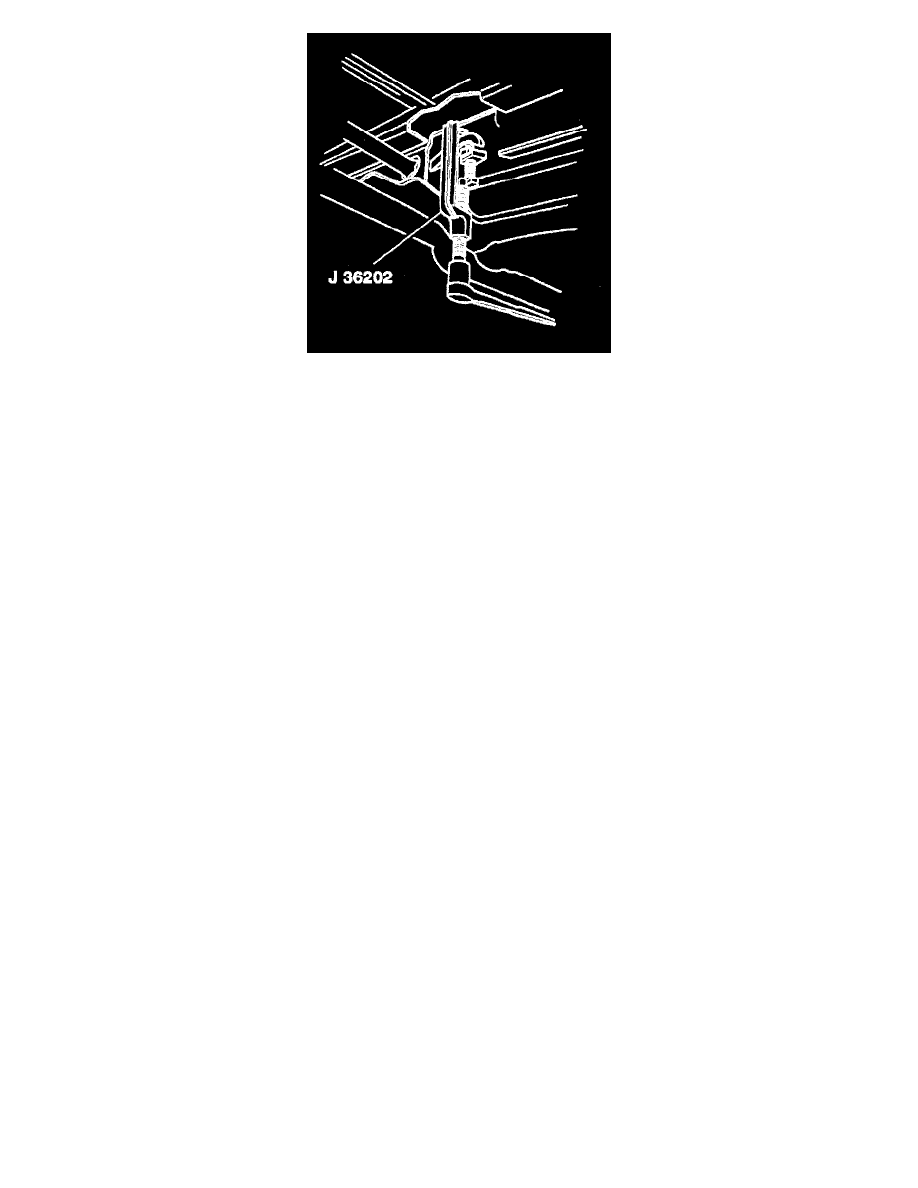
Figure 83 Installing Or Removing The Torsion Bar Adjusting Bolt
Remove or Disconnect
Tool Required:
-
J 36202 Torsion Bar Unloader
-
Raise the vehicle and support it with safety stands.
1. Transmission shield.
2. Both torsion bars using J 36202 (figure 83).
-
To aid in assembly, record the number of turns the tool makes when removing the adjusting bolt and then remove J 36202.
3. Lower link mount nut from one side.
4. Torsion bars.
-
Note the exact direction of the forward end and side of the torsion bar that is being removed.
5. Lower link mount nut from the opposite side.
6. Lower link mount.
7. Upper link mount nut.
8. Upper link mount.
9. Torsion bar support from the frame.
Install or Connect
1. Torsion bars in relation to how there were removed.
2. Torsion bar support.
3. Upper link mount.
4. Upper link mount nut. Tighten to 45 Nm (33 ft. lbs.).
5. Lower link mount bushing.
-
Place jackstand under torsion bar support member.
6. Lower link mount nut. Tighten to 68 Nm (50 ft. lbs.).
-
Using tool J36202, tighten the tool against the adjusting arm to the recorded number of turns thereby loading the torsion bars.
7. Transmission shield/
-
Lower the vehicle.
-
Check for final "Z" trim height.