
S15/T15 Sonoma P/U 2WD L4-2.2L VIN 5 Flex Fuel (2001)
3. Remove the passenger side toe-panel by gently prying out the panel using a flat-bladed tool.
4. Disconnect the instrument panel to console wiring harness connection.
5. Open the armrest in order to expose and remove the convenience tray from storage compartment.
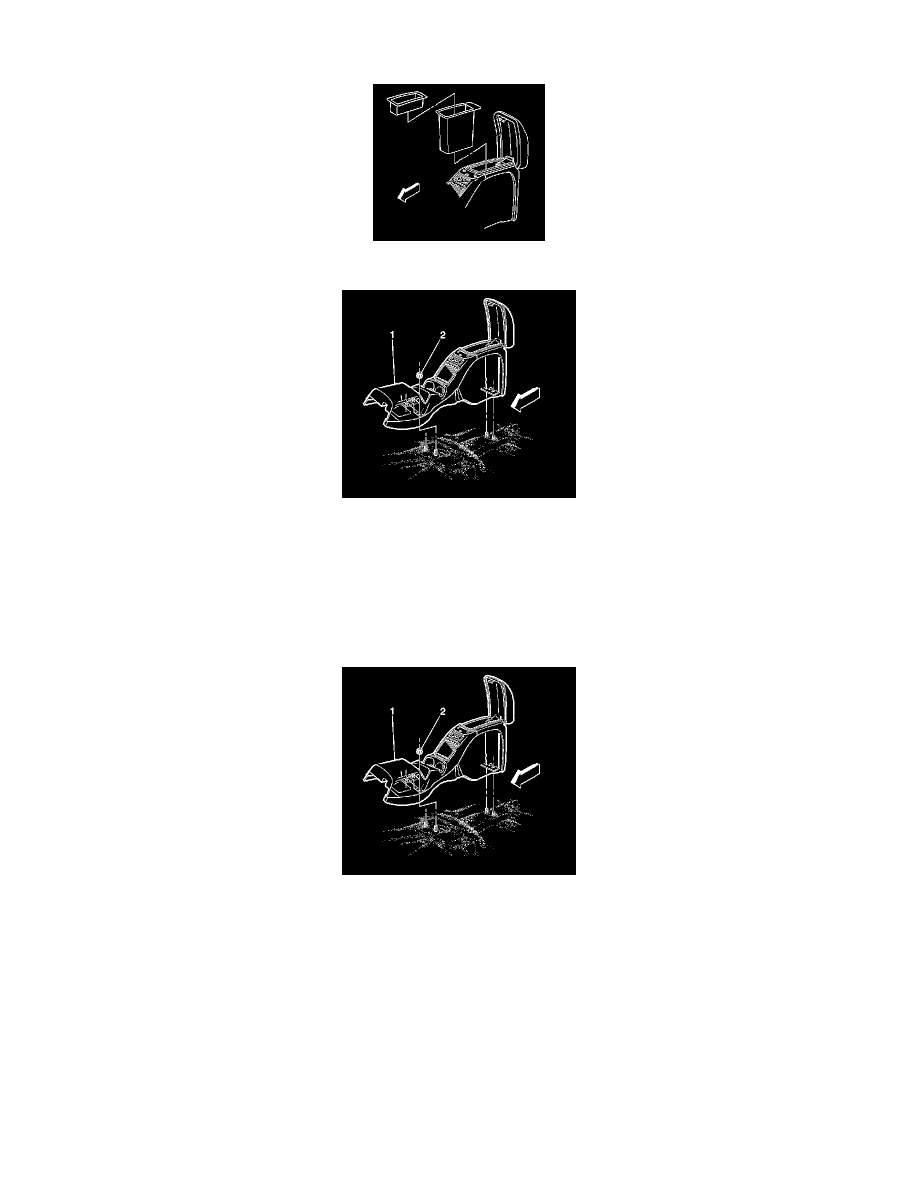
6. Remove the fasteners (2) that retain the console (1) to the shifter assembly and the vehicle floor.
7. Remove the console from the vehicle by lifting the console over the floor studs.
8. If replacing the center console, remove the compact disc player from the console.
9. If replacing the center console, remove the amplifier from the console.
10. If replacing the center console, remove the rear seat audio control from the console.
11. If replacing the center console, remove and retain the console wiring harness for use on the new console.
Installation Procedure
1. Install the console wiring harness to the console.
2. Install the rear seat audio control to the console.
3. Install the amplifier from the console.
4. Install the compact disc player from the console.
Important: Do not pinch the instrument panel to console wiring harness during this process.
5. Install the console to the vehicle by lifting the console (1) over and onto the floor studs.
Notice: Refer to Fastener Notice in Service Precautions.
6. Install the fasteners (2) that retain the console to the vehicle.
Tighten the console to the vehicle retainers to 10 N.m (88 lb in).