
S15/T15 Sonoma P/U 2WD L4-2.2L VIN 5 Flex Fuel (2001)
Timing Chain: Service and Repair
Timing Chain and Sprockets Replacement
-
Tools Required
-
J 22888-20A Crankshaft Gear Puller
-
J 5590 Crankshaft Gear Installer
Removal Procedure
1. Remove the engine front cover.
Notice: In order to rotate the engine install a bolt with the same threads as the crankshaft, but do not use the crankshaft balancer bolt or a bolt longer
than 1 inch, in the crankshaft. Failing to do so will cause damage to the bolt threads and the crankshaft threaded hole when removing the bolt.
2. Install a bolt in the end of the crankshaft.
Notice: Align the timing marks before removing the timing chain. If it is necessary to turn either the camshaft or the crankshaft with the timing chain
removed, loosen or remove the valve rocker arms. Turning either the crankshaft or camshaft with the timing chain removed may cause the pistons to
contact the valves, resulting in damage.
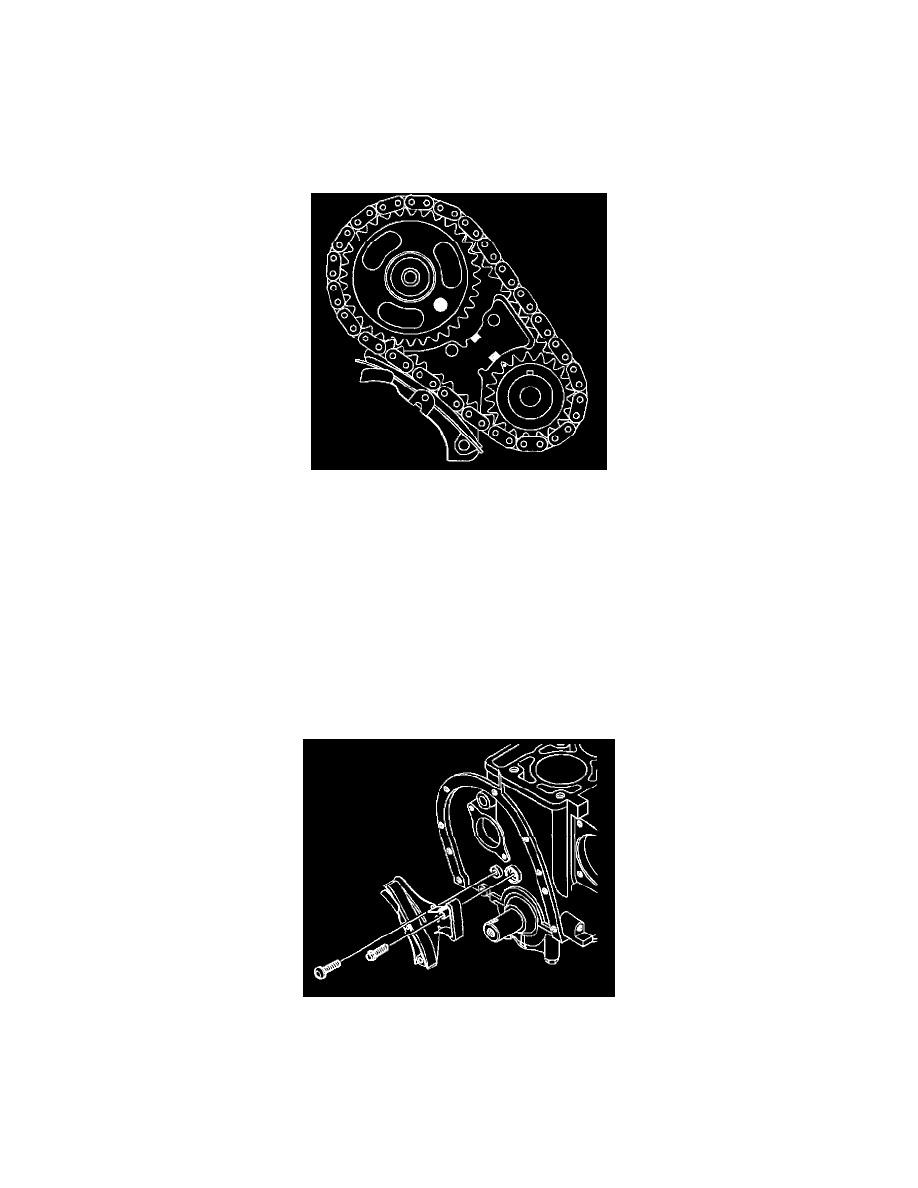
3. Rotate the crankshaft until the number 1 piston is at Top Dead Center (TDC) of the compression stroke.
Make sure the camshaft sprocket alignment mark, which is an 8 mm (0.31 inch) hole, and the stamped circle in the crankshaft sprocket align with
the tabs on the timing chain tensioner.
Important: Before removing the timing chain, measure the distance between the hole in the bracket and the unworn surface of the timing chain
tensioner shoe.
If the distance between the hole and the unworn surface of the timing chain tensioner shoe is more than 8 mm (0.314 inch), replace the tensioner,
timing chain, and both sprockets.
4. Remove the timing chain tensioner bolts.