
S15/T15 Sonoma P/U 2WD L4-2.2L VIN 5 Flex Fuel (2001)
8. Place a feeler gage between the clutch plate and the clutch rotor.
IMPORTANT: Make sure that the air gap is even all around the clutch plate and hub assembly.
9. Tighten the hex portion of the J 33013-B until the air gap between the clutch plate and clutch rotor is 0.40 mm (0.015 in).
10. Remove the J 33013-B.
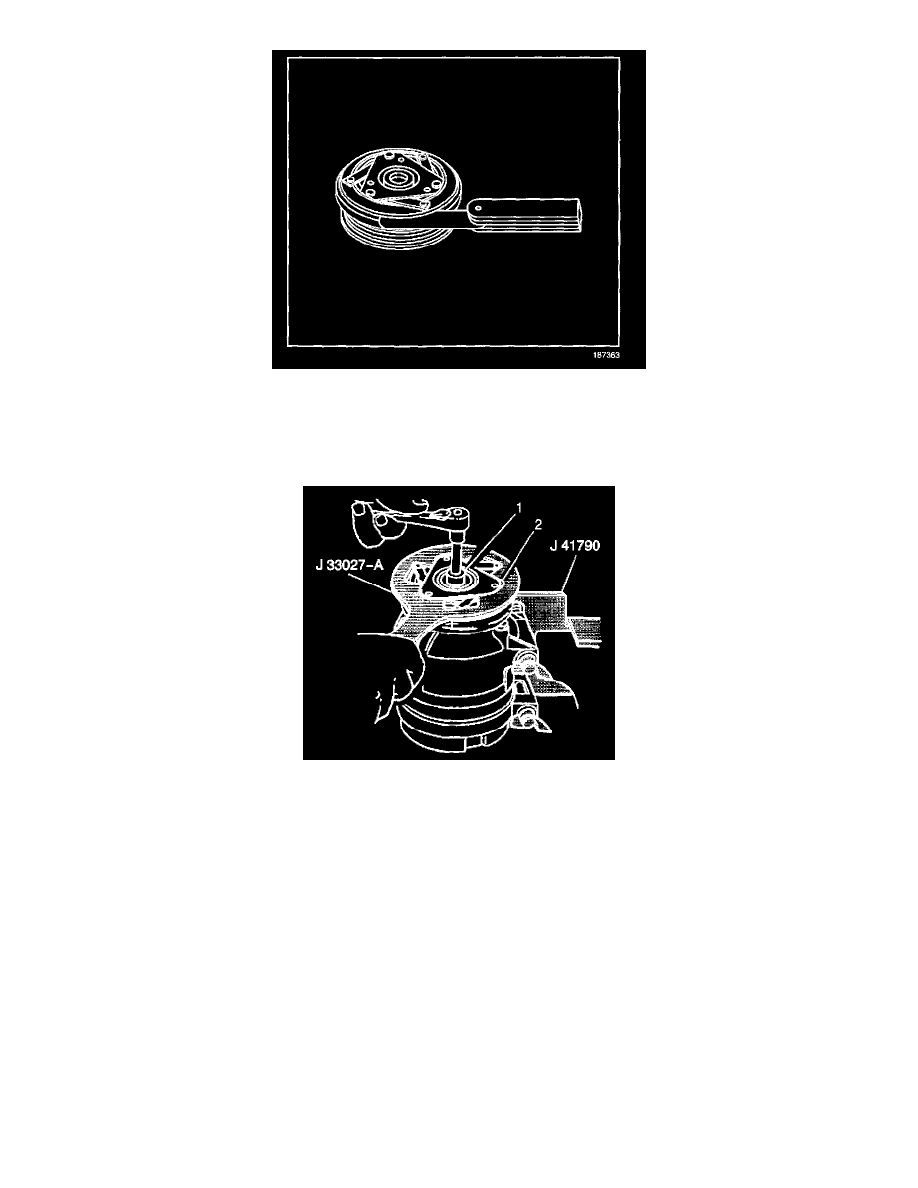
11. Hold the clutch plate and hub assembly (2) with the J 33027-A.
NOTE: Refer to Fastener Notice in Service Precautions.
12. Install the A/C compressor shaft nut.
Tighten
Tighten the A/C compressor shaft nut to 17.5 N.m (13 lb ft).
13. Spin the pulley rotor by hand to make sure the rotor is not rubbing against the clutch drive plate.
14. Remove the A/C compressor from the J 41790.
15. Install the A/C compressor into the vehicle.