
S15/T15 Sonoma P/U 2WD L4-2.2L VIN 5 Flex Fuel (2001)
4. Remove the J 33013-B.
4.1. Remove the center screw from the body of the J 33013-B.
4.2. Install the center screw into the opposite end of the J 33013-B.
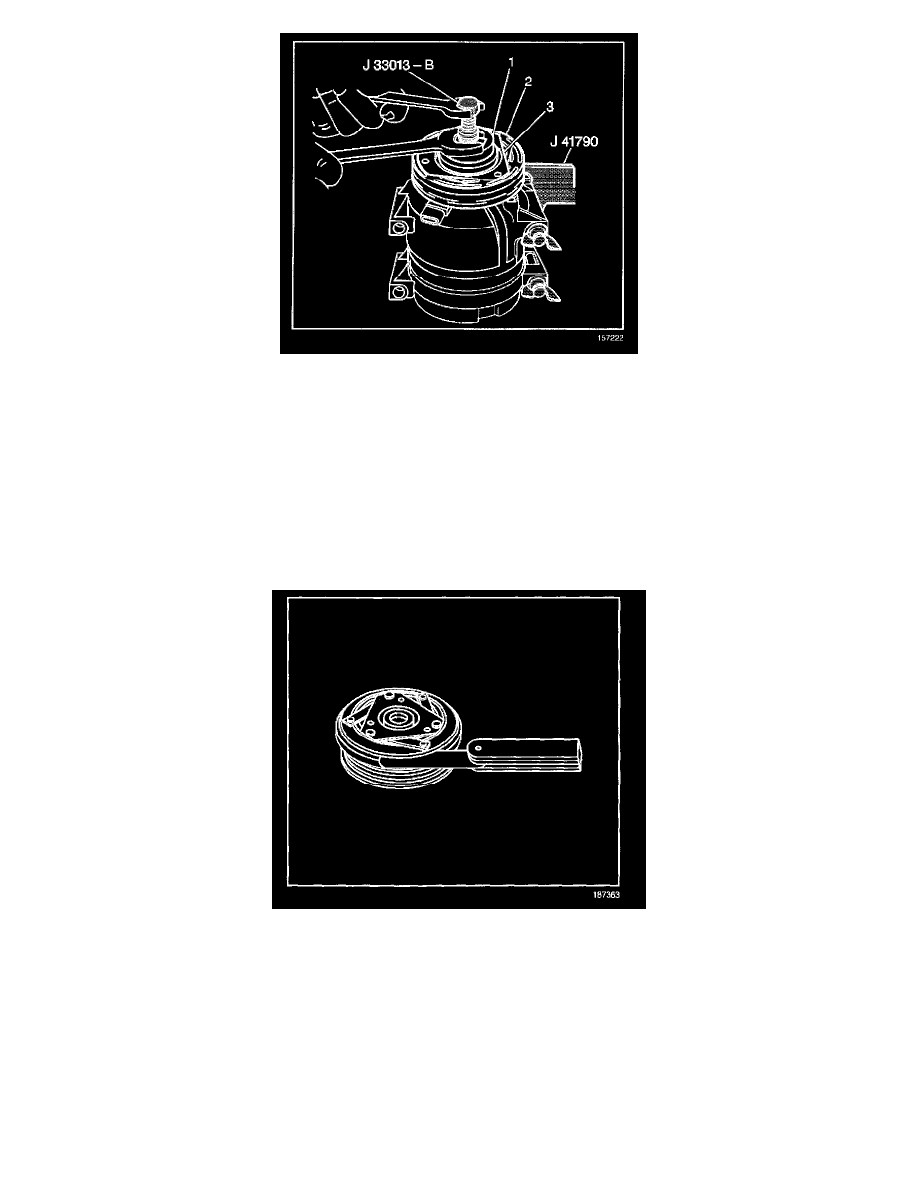
5. Install the J 33013-B and bearing tools (1) onto the clutch plate (3) and the hub assembly (2).
5.1. Back the body of the J 33013-B off enough to allow the center screw to be threaded onto the end of the A/C compressor shaft.
5.2. Thread the center screw several turns onto the end of the A/C compressor shaft.
Do not tighten the center screw on the A/C compressor shaft.
6. Hold the center screw with a wrench.
6.1. Tighten the hex portion of the J 33013-B body several turns.
6.2. Remove the J 33013-B from the clutch plate and hub.
6.3. Make sure that the shaft key is still in place in the keyway.
7. Reinstall the J 33013-B.
8. Place a feeler gage between the clutch plate and the clutch rotor.
IMPORTANT: Make sure that the air gap is even all around the clutch plate and hub assembly.
9. Tighten the hex portion of the J 33013-B until the air gap between the clutch plate and clutch rotor is 0.40 mm (0.015 in).