
S15/T15 Sonoma P/U 2WD L4-2.2L VIN 5 Flex Fuel (2001)
2.
Drain the engine coolant. Refer to Draining and Filling Cooling System in Engine Cooling.
3.
Remove the blower motor resistor. Refer to Blower Motor Resistor Assembly Replacement.
Important:
Mark and use the same mounting bolt for the heater/vent module during the installation process. Other mounting bolts are longer and will obstruct the
operation of the temperature door.
4.
Remove the heat/vent module mounting bolt through the blower motor resistor or service access cover opening.
5.
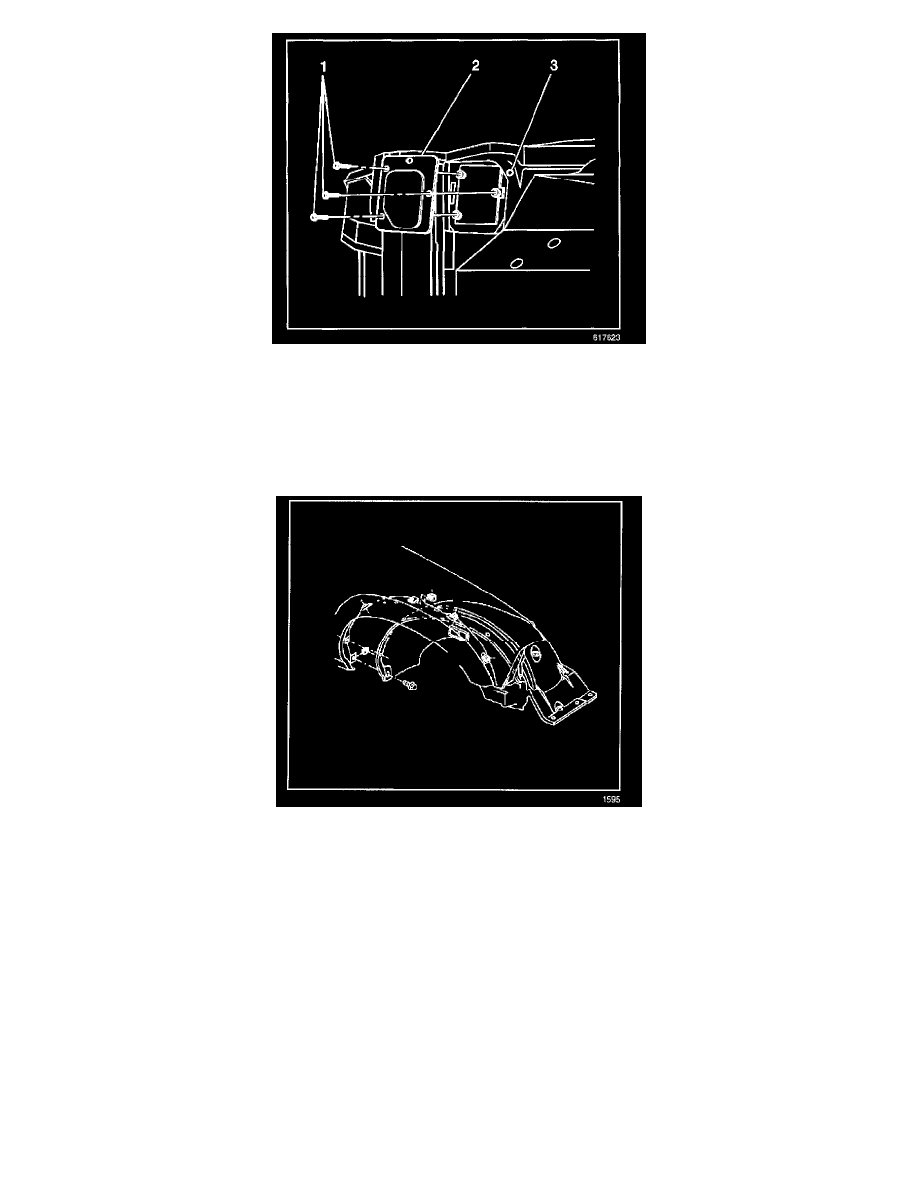
Remove the right wheel house panel. Refer to Wheelhouse Panel Replacement in Body Front End.
6.
Remove the front right tire. Refer to Tire and Wheel Removal and Installation in Tires and Wheels.
7.
On the Utility only, remove the A/C evaporator and blower module heat shield screws.
8.
On the Utility only, slide the A/C evaporator and blower module heat shield toward the front of the vehicle.
9.
Remove the 2 lower heat/vent module mounting nuts.
10.
On the Utility only, remove the A/C evaporator and blower module heat shield bracket.
11.
Remove the bottom right heat/vent module mounting bolt from inside the vehicle.
Important:
The heat/vent mounting stud has a flange on the inside and cannot be removed from under the hood. Stop turning the stud after the threads are off the
heat/vent module.