
S15/T15 Sonoma P/U 2WD L4-2.2L VIN 5 Flex Fuel (2001)
12.
On the Utility only, while an assistant inside the vehicle pulls the bottom right corner of the heat/vent module approximately 2.5 mm (1 in) back,
remove the 2 heat/vent module mounting studs.
13.
Lower the vehicle.
14.
On vehicles with a 2.2 L engine only, remove the engine wiring harness bracket located at the rear of the intake manifold. Refer to Valve Rocker
Arm Cover Replacement in Engine Mechanical - 2.2 L.
15.
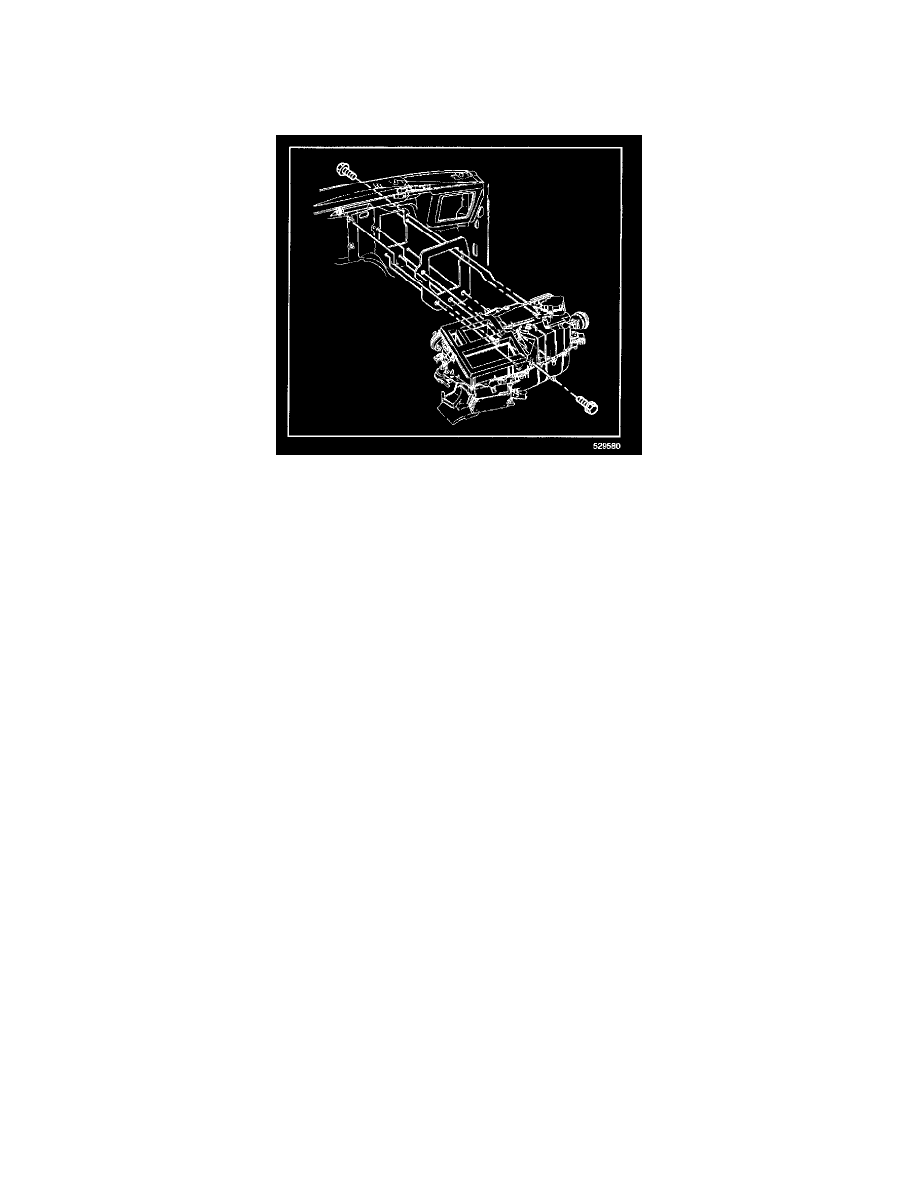
Remove the HVAC module mounting bolt located at the lower left side of the heater core to heater hose connection.
16.
Remove the HVAC module mounting nut located at the lower right side of the heater core to heater connection.
Important:
The heat/vent mounting stud has a flange on the inside and cannot be removed from under the hood. Stop turning the stud after the threads are off the
heat/vent module.
17.
On the Utility only, loosen the HVAC module mounting studs until the threads are free from the heat/vent module.
18.
Disconnect all of the electrical connectors from the HVAC module.
19.
Disconnect all of the vacuum lines from the heater assembly.
20.
Disconnect the heater hoses from the heater core.
21.
Remove the HVAC module from the vehicle.
Installation Procedure